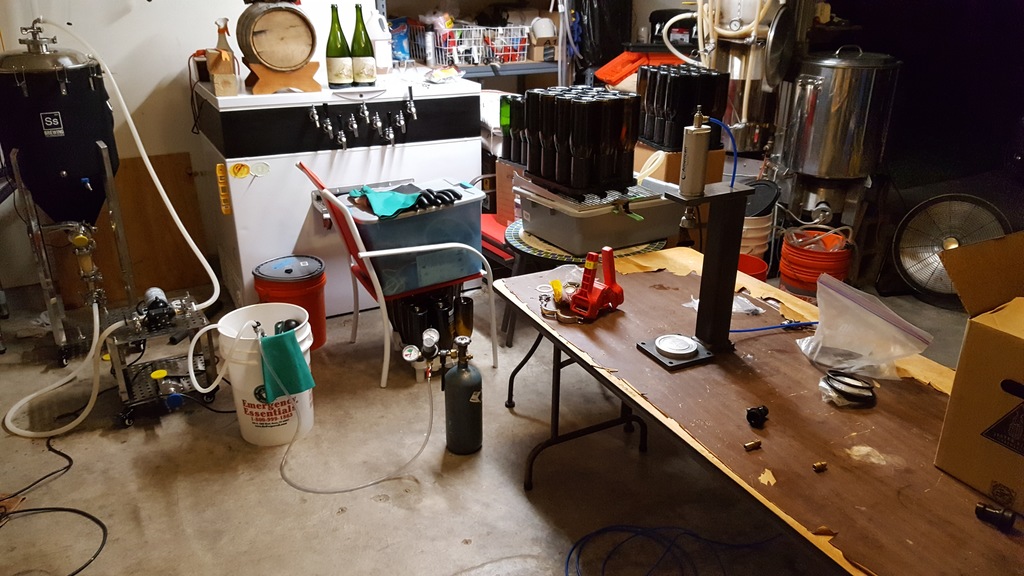
I bottled for the first time using the Chronical last night. It was quite a bit of work; roughly as long as a brew session including clean-up time. A lot of the extra time can be eliminated after applying the fixes I’ll list below. But for now, let’s walk through the process and I’ll describe The Good, The Bad and The Ugly.
Recirculating – The Good
The first step of the evening was to dump the existing yeast that had collected at the bottom of the conical during fermentation and aging. I picked up two 48 oz Nalgene water bottles with graduated markings. After sanitizing them, I connected a tri-clover 1.5″ to 3/8″ barb fitting, opened up the bottle, next the dump butterfly valve. A slow stream of yeast soup pushed out and then much faster some amount of beer. I quickly closed the valve and had about 40 oz of yeast sludge which has gone to the fridge. I may or may not reuse it. That ended up being really painless. I like the bottom dump!
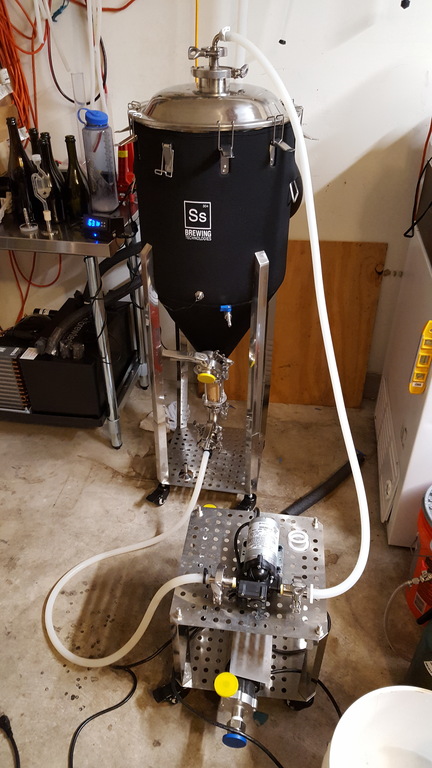
Next, I needed to mix in the priming sugar (approx 13 oz of table sugar) and yeast (.5 Liter starter stepped up). I mixed the yeast into a second Nalgene bottle, opened the top port and dumped it in. I replaced the bottom barb tri-clover fitting with a hose to connect the bottom port to the input-side of the diaphragm pump from Morebeer. The output side of the pump has a host connecting it to a 90 degree 1.5″ tri-clover elbow into to top of the conical. As a pre-caution around pressure build-up, I loosened all of the lid clamps; the were over the lip of the top but not locked down. I then opened the bottom butterfly valve and then started the pump. This ran flawlessly for about 15 minutes, then there was some foaming and the pump lost prime and stopped. I’ll save the explanation for the Ugly section.
Recirculating – The Bad
I had planned to do both recirculation and pressurized transfer from the conical and had purchased additional fittings to make this easier. However, none of the vendors have exactly what is needed. The blow-off accessory includes a built-in pressure relief valve in the 3″ fitting and then an open 17mm hole which is filled with a 1/2″ NPT to 1/2″ Barb fitting to allow you to connect a blow-off tube. The SSBrew Tech store will sell you a 3″ fitting with a 90 degree elbow barb, but if you want to use different connections, then you really want a 3″ fitting with 1.5″ tri-clover adapter *plus* the pressure relief valve. I didn’t end up having any pressure issues, however, I do plan on creating my own by modifying the current fittings with a small change. Instead if having the barb on the outside, I’ll reverse it and expose the 1/2″ threads through the top and connect that to a 1/2″ FPT to 1.5″ Tri-clover adapter. This allows me to connect any other tri-clover fittings (like a 90 degree elbow barb), but I can also put something different on it since it ends in a tri-clover fitting.
Recirculating – The Ugly (my fault)
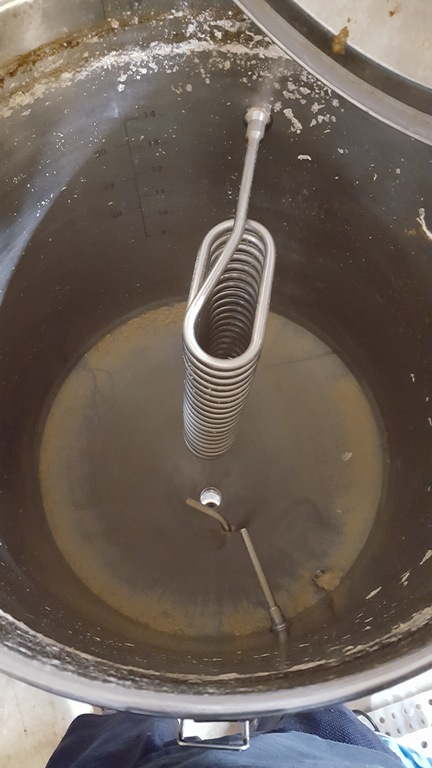
The recipe had been dry-hopped. I put the hops into a stainless steel mesh container and let it float in the conical for about two weeks. It was still floating when I started recirculating. After about 15 minutes, it started to appear foamy in the site-glass at the bottom of the conical. Then the pump struggled for prime and stopped. It slowly filled up and I restarted the pump. Same thing happened again; I thought something must be blocking it … oh NO! Yes, the mesh had been pulled down to the bottom of the conical and was blocking the flow. With some long sanitized gloves and a stainless spoon the hops were recovered with no issue. This did not help reduce oxygen exposure though. Note to self: Remove dry-hop container before recirculating.
Bottling from the Conical – The Good
The good news is that I got things working and 5 gallons of beer ended up in 49 750mL bottles, 10 gallons into kegs. That’s about it.
Bottling from the Conical – The Bad
The biggest issue I faced was that the conical does not have any easy way to apply CO2 pressure. All of the connections are tri-clamp (save the sampling port) and the recommended way requires one to build an adapter. It would be very nice if the Chronical came with it, or SSBrewTech sold it as a kit. Most of my hair-pulling this evening was related to this as all of my gas lines have female Flare fittings for easy attachment to check-valves and ball-lock quick disconnects. The Last Straw bottling equipment I purchased to compare to my Blichmann Beergun did not come with a 3-way flare tee for splitting the CO2 gas between the filler and the source (though NB lists them as a required part). I had to build one which was rather leaky and quite a bit of CO2 was lost while in use. The liquid line from the Chronical to the where I was filling and capping was probably 12 feet. This extra length is useful for when your filling with already carbonated beer as it slows the flow down. For uncarbonated beer, this just slowed down each bottle fill. The Last Straw itself appears designed specifically for filling already carbonated beer as the diameter of the liquid tube is very small, certainly smaller than the Blichmann.
Bottling from the Conical – The Ugly (my fault)
I have a 3-way flare tee but I couldn’t find it.
I have a 1/2″ barb to ball-lock post adapter, but I couldn’t find it.
The Fix!
First, I’m building the 3″ pressure relief tri-clover adapter to 1.5″ tri-clover. From there, I can switch between elbows and other things. Second, the fancy folks at brewershardware make tri-clover to ball-lock posts, both gas and liquid which allows instant connection to any of my current kegging and bottling equipment. Third, reducing the length of line used to as short as possible since I want to maximize fill-speed for bottling uncarbonated beer. Last, I’ll likely switch to the Beergun as it has a faster flow. I’m really torn as the single-handed orientation of the Last Straw was much more comfortable than how you have to hold the BeerGun.
New parts I’m ordering (Updated 2016-10-07):


