Sour Mashing Equipment

sour_mash_equipment-1024x768

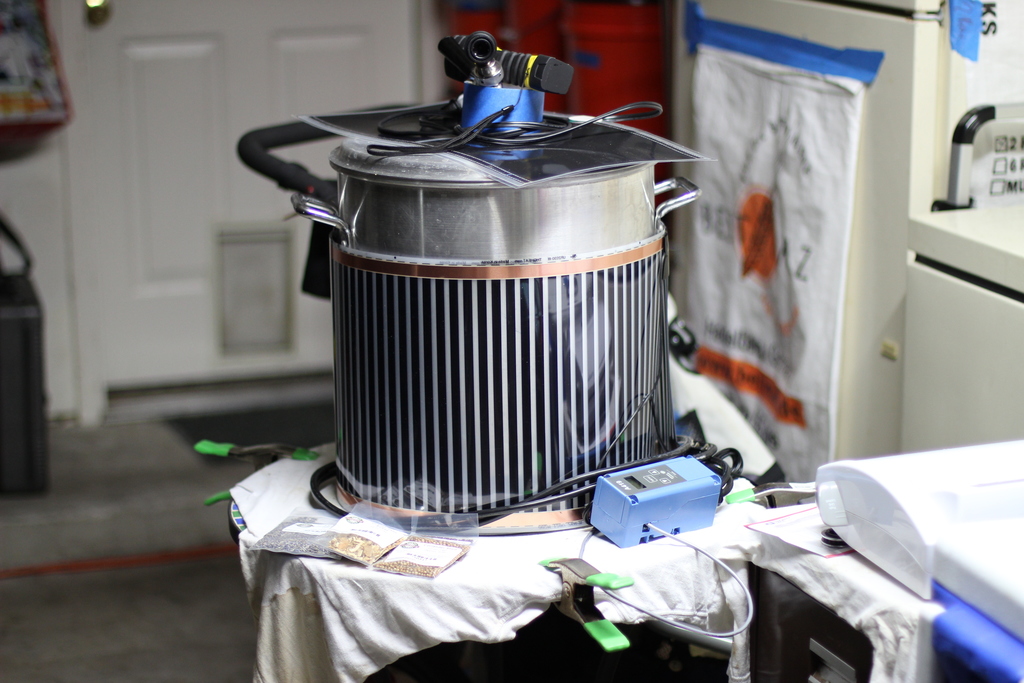
My first brew kettle wrapped in a heatbelt.

I’ve brewed two recipes now that have used a sour mashing technique. The first was a Berliner Weiss from a recipe provided by Black Star Coop. I ran into their Waterloo at the Austin Homebrew Supply store anniversary party a few years back and was hooked on the easy-drinking, sour beer. The second was a Belgian Double Wit, Licensed Fool

The general technique for souring a mash is well known: keep your mash temp warm for 12 to 24 hours after you’ve completed the normal mash schedule for the beer. This extended time and heat allow the biological bugs that reside on the surface of the grain to consume the sugars and multiply which in turn generate various souring compounds, like lactic acid from Lactobacillus.

I’ve heard many stories about how “sick” homebrewer’s beer became during this time as well as the terrible smell. I can attest to this roadkill aroma as I’ve bagged up still-hot grains from a mash and left it in the trashcan. The stench overwhelmed the garage and a new cleanup technique was born. I now remove the liquid and let the grains cool before tossing them in the can.

As I studied number threads on sour mashing on homebrewtalk.com and other articles I wondered if there was a cleaner way to get the sour flavors without risking the whole beer, or even a sour starter which can still be hit or miss. It turns out that, of course, there is a safer way.

Instead of letting the bugs on the grains infect either a starter or your mash we infect the wort with a specific bug, Lactobacillus, but we need to ensure that this is the dominate bug and nothing else can spoil the wort. A simple post-mash pasteurization is performed by heating the drained wort up to 176F and then chilling back down to 120F before pitching a vial of Lactobacillus from White Labs.

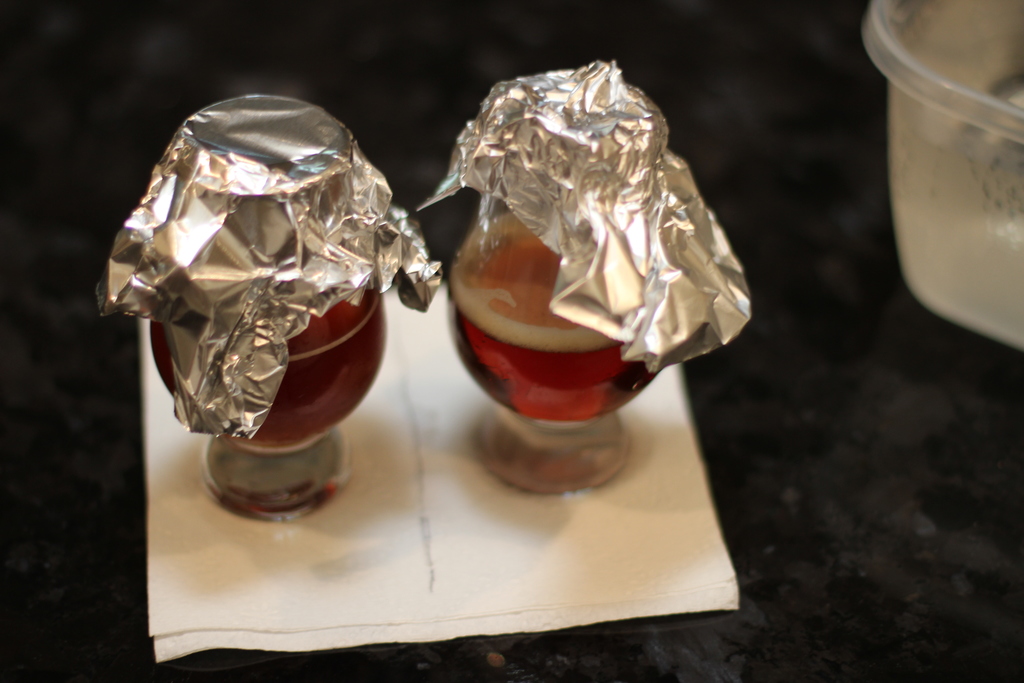
There are a few more details needed to ensure good lactic production. First, Lactobacillus are anaerobic, so removing as much oxygen from the environment promotes their grown and keeps other bad bugs (say Acetobacter) from taking hold. The best method I’ve seen for this is to flush the surface of the wort in your pot with CO2, and then covering with foil, plastic wrap, or a sealed kettle lid.

pellicle-on-licensed-fool-1024x768

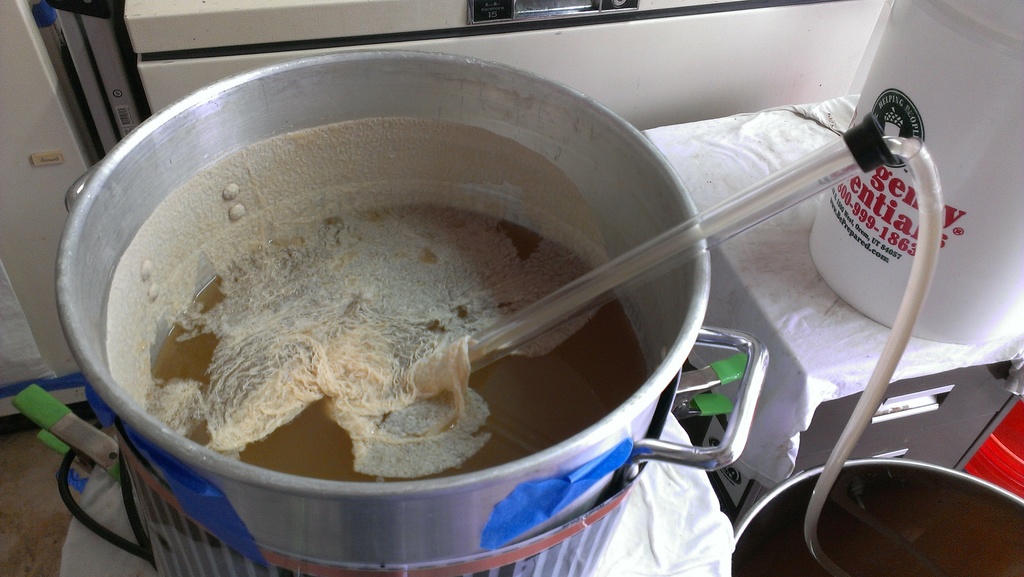
Sour mashed wort after 3 days

The other critical step is keeping the temperature at 120F without going too high or low. Many homebrewers use ice chest or water chests as mash tuns which have lots of insulation. These vessels tend to hold their heat well over time, but not so well over the multiple days needed for lactic production. This can be addressed with hot water infusions but this dilutes your wort.

Instead I chose to use my heatbelt setup typically reserved for fermentation temp control. My first sour mash occurred during the winter months so I wasn’t sure if two heat belts and some blankets would be enough in the cold garage, however that was fully sufficient. I’ve since upgraded the heatbelts (longer) and added an infrared layer so I can keep heat on my 20 Gallon Blichmann pots which will be needed when I do a 10 Gallon batch of Berliner Weiss.

If the sour mash goes well, then you’ll be presented with a nice, tart-smelling and funky wort. A top layer may form on the surface of the beer. The pelicle forms to protect the bacteria. You can remove it or ignore it. I ended up racking around it.

racking-licensed-fool-to-boil-kettle-1024x768

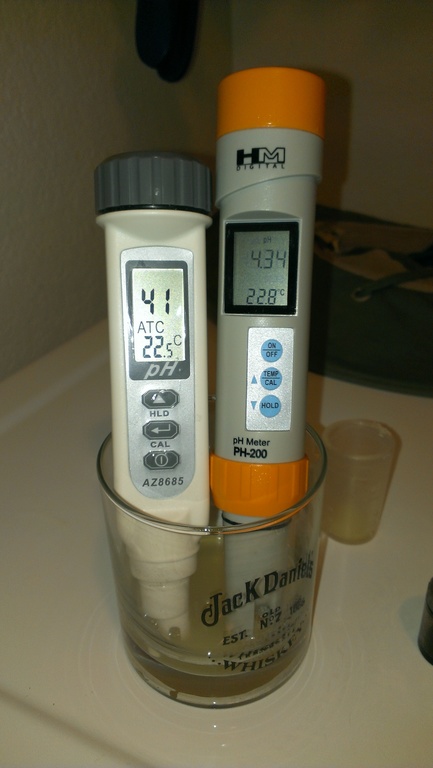
I also like to check the pH of the wort. As the souring level increases the pH will drop. My first Berliner Weiss I let sour for 3 days and ended up at around 4.0. My second sour brew went for the same time and got close, around 4.2.

checking-ph-1024x768

Equipment List
42 Quart Aluminum Pot with Lid
6′ Heat tape Belt
11″x17″ Infrared Head Pad
Johnson A419 Digital Temp Controller
pH Meter
Auto-siphon for use only with Sour Beers

Licensed Fool, Sour Mashed Belgian Wit

It was probably a few years ago when I first encountered Boulevard Brewing’s Two Jokers Double-Wit style beer. And in one or two sips, I was hooked along with a few of my fellow craft beer drinkers. My friends were aware that I had started brewing and so the obvious question of whether or not I could clone the beer was proposed. At the time, I had taken my hand at brewing a number of existing clones with great success, usually from the Brewing Network’s The Jamil Show (Can You Brew it) podcast show. One thing I had not yet done was to attempt to clone a beer myself.

Brewing with Wheat includes interviews with Boulevard’s head brewer and he discusses a number of the beers as well as a few details on Two Jokers. Using these tidbits along with a general ingredient list available on their website, I’ve taken a stab at what I think the recipe should look like.

One interesting aspect is that in the book, Boulevard says that they do short sour mash.  They dough-in at 95F, hold for 8 hours and target a pH of 4.8. I really liked this idea and re-used the sour mashing technique I used to create a Berliner Weiss, which I picked up from Jeff Young at Black Star Coop via the Sunday Show interview with them. I’m looking forward to seeing how this extra tartness goes with the Belgian Wit recipe.

Recipe Details

Batch Size Boil Time IBU SRM Est. OG Est. FG ABV
5.3 gal 60 min 16.3 IBUs 5.1 SRM 1.075 1.013 8.1 %
Actuals 1.046 1.01 4.7 %

Style Details

Name Cat. OG Range FG Range IBU SRM Carb ABV
Witbier 16 A 1.044 - 1.052 1.008 - 1.012 10 - 20 2 - 4 2.4 - 2.9 4.5 - 5.5 %

Fermentables

Name Amount %
Brewer's Malt, 2-Row, Premium (Great Western) 8.5 lbs 56.43
White Wheat Malt 3.314 lbs 22
Wheat, Flaked 2.937 lbs 19.5
Munich Malt 5 oz 2.07

Hops

Name Amount Time Use Form Alpha %
Magnum 0.18 oz 60 min Boil Pellet 13.5
Northern Brewer (AHS) 0.5 oz 15 min Boil Pellet 9
Lavender 0.5 oz 15 min Aroma Pellet 12.2

Miscs

Name Amount Time Use Type
Calcium Chloride 4.80 g 60 min Mash Water Agent
Gypsum (Calcium Sulfate) 4.80 g 60 min Mash Water Agent
Epsom Salt (MgSO4) 0.50 g 60 min Mash Water Agent
Cardimom 2.00 g 30 min Boil Spice
Coriander Seed 0.50 oz 15 min Boil Spice
Orange Peel, Sweet 0.50 oz 15 min Boil Spice
Seeds of Paradise 0.70 g 5 min Boil Spice

Yeast

Name Lab Attenuation Temperature
Belgian Witbier (3944) Wyeast Labs 74% 62°F - 75°F

Mash

Step Temperature Time
Saccharification 148°F 90 min
Mash Out 168°F 10 min

Notes

Color (EBC) 15.8
Bitterness (IBUs) 15
Original Gravity (Plato) 17.5
Terminal Gravity (Plato) 3.8
Alcohol (ABV) 8%
CO2 - Bottles 3.5 vol. (7.0 g/L)
CO2 - Kegs N/A

Sour Mash
- purge mash tun with c02
- mash in at 95F, hold for 8 hours until pH at 4.8
- add lactic and citric for target pH

Not included in the pretty-print form of the recipe is the Spices … I’m actually working on a patch to the beerxml wordpress plugin to display Misc. items in the recipe.  But if you download the recipe directly, it’s all in the XML.  Also, You’ll note Lavender listed as a hop; this is purely because Beersmith doesn’t let me say Spices steep after the boil which is what the BYO Brewing with Spices article discusses.


Testing for Diacetyl

img_8509-1024x768

A few weeks ago I got results back from the Alamo City Cerveza Fest.  I was looking forward to these results for a number of reasons, one being just because of all of the drama.  The other was a different set of opinions about Big Fat Phony, a beer that we infused with peaty Scotch.  And finally, I had sent in an IPA of mine that originally I wasn’t so sure of, but in the past couple of weeks before sending had really turned into something quite nice.

That I didn’t place with it wasn’t much of a surprise.  Instead, I take solace in collecting the feedback so I can focus on making better beers, more so than any desire to win a competition.  On my score sheet however was something I was pretty shocked to read.  A very noticable flaw, diacetyl.  That lovely aroma of movie theater butter popcorn.  Most folks can pick it up a mile away; and it’s detectable at very light levels, in the parts-per-billion.  And here on my score sheet, two judges pick it up.  One of them even says that it’s over-shadowing the rest of the beer.  Wow.

I was completely stunned and crushed.  I’ve been drinking this beer since it was kegged with not a hint in sight.  But that’s not always good enough.  In many cases the beer can have diacetyl precursors which once exposed to warm temperatures and oxygen can reform into diacetyl.   Strugging with this possiblility I wondered how I could find out without bottling and waiting two weeks.

It turns out that diacetyl levels are actually a really good indicators of fermentation progress.  In the fermentation process diacetyl levels increase during yeast growth phase.  Near the end of fermentation, gravity reduction has ceased, but the yeast are still working to finish up, and consume many of the by-products (such as diacetyl) that were produced earlier in fermentation.  If you can test and detect diacetyl levels (usually done via gas chromotography in a lab) then you can know for certain when the yeast are “done”.

As a homebrewer we don’t usually have access to $40,000 equipment, but we can perform a test that can help determine if diacetyl or pre-cursors are present.  I decided that I needed to use this to test if my IPA was harboring some skanky butter aroma.    The test itself is simple.

img_8505-1024x768

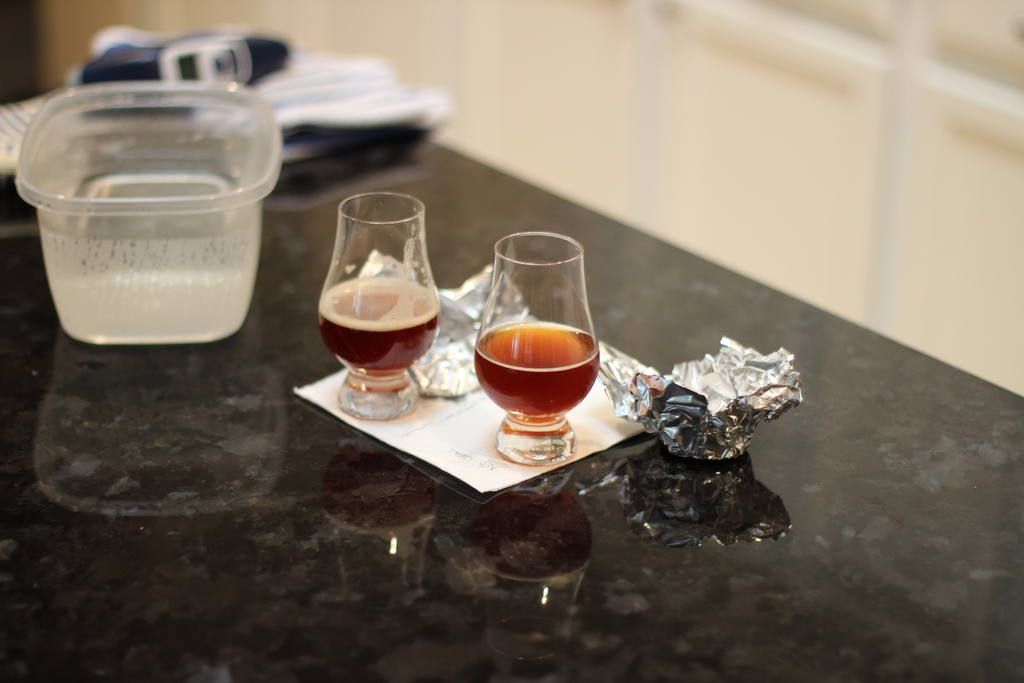
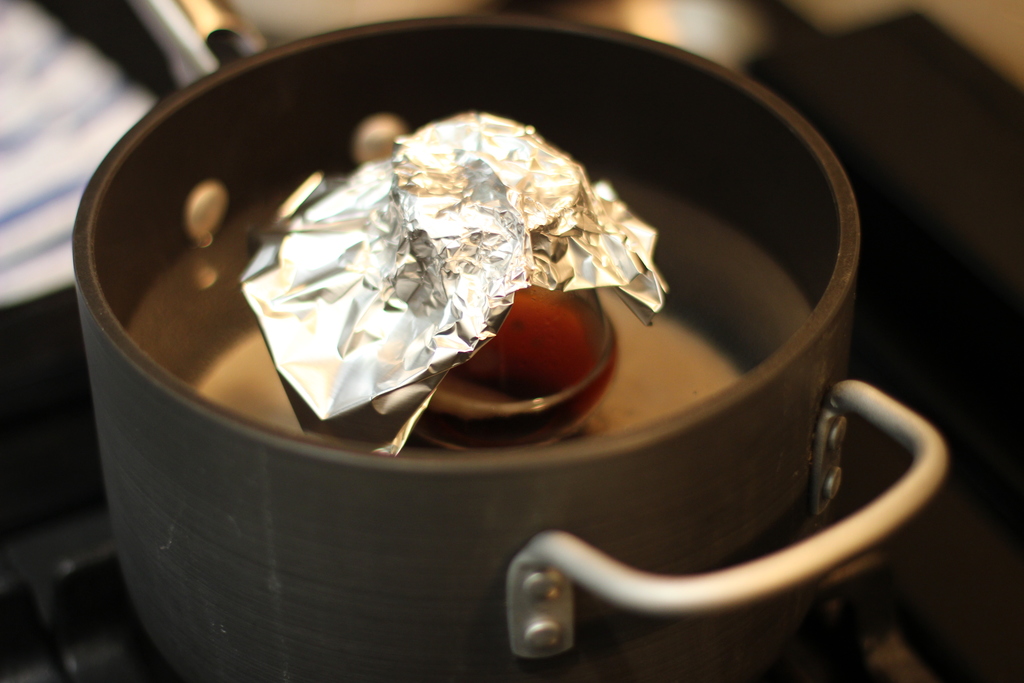
Pour two samples of the beer into glasses and cover (foil or plastic wrap).  Prepare a pot of water that one of the samples can sit in and heat up to 140F to 160F and hold for 10 to 20 minutes.  Then place the hot sample in a basin of ice water to chill it back down to the same temperature as the unheated sample.

img_8508-1024x768

After removing the cover of the two samples assess if either sample contains the dreaded butter aroma.  If the cold sample is affected, then trivially the hot sample will and the beer needs more time with the yeast.  If only the heated sample does, then the beer has diacetyl.

I never did detect anything in my beer… better luck next time I guess.

A beer for myself

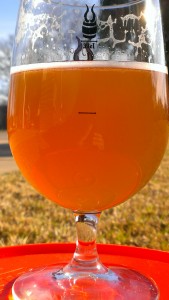
Fly Ralcon Sample, a Rye IPA with Calypso hops

Fly Ralcon Sample, a Rye IPA with Calypso hops

This year I’ve been brewing a lot of beer for specific reasons, new beers, beers for competitions and every now and then you just need to brew a beer for yourself. Such is this beer. The last IPA or two I have brewed I was trying out a new recipe, or new hop. This beer we brewed a week ago is a really straight forward IPA with lots of fruity hops: Citra and Amarillo.The brew session went without a hitch. Mashed in at 122F for a protein rest (though reading in Gordon Strong’s Brewing Better Beer, he mentions this being totally unnecessary due to highly modified malt that’s now available.  Gordon prefers a 131F instead to keep proteins for head-retention) and then a step-mash up to 150F for sach rest. Also, I was batch sparging this beer instead of my normal no-sparge method in which I include all the water needed in the mash.

ffk3_in_13g_fermentor-1024x768

No 6.5 gallon carboys left, so into the 13 gallon fermentor.

Collected about 8 gallons of wort and hit my O.G target, 1.054. 60 minute boil and then a trip through the platechiller and I had 6 gallons of 1.070 wort at about 65F. I pitched a 3 liter starter of Wyeast 1056 into the only container I had that was big enough for 6 gallons, my 13G plastic fermenter normally kept for 10 gallon batches.

I’m looking forward to the 12 day dry-hop schedule and getting this beer into a keg as soon as possible.

Here’s the recipe for ff3k, an American IPA hopped with Nugget, Citra and Amarillo.

Recipe Details

Batch Size Boil Time IBU SRM Est. OG Est. FG ABV
6 gal 60 min 68.9 IBUs 6.0 SRM 1.070 1.014 7.5 %
Actuals 1.046 1.01 4.7 %

Style Details

Name Cat. OG Range FG Range IBU SRM Carb ABV
Imperial IPA 14 C 1.07 - 1.09 1.01 - 1.02 60 - 120 8 - 15 2.2 - 2.7 7.5 - 10 %

Fermentables

Name Amount %
Brewer's Malt, 2-Row, Premium (Great Western) 14.41 lbs 87.94
Caramel/Crystal Malt - 10L 8.45 oz 3.22
Munich Malt 8.45 oz 3.22
Carapils (Briess) 5.28 oz 2.01
White Wheat Malt 5.25 oz 2
Honey Malt 4.19 oz 1.6

Hops

Name Amount Time Use Form Alpha %
Nugget 0.81 oz 60 min Boil Pellet 11
Citra 0.6 oz 30 min Boil Pellet 12
Citra 0.6 oz 15 min Boil Pellet 12
Citra 0.6 oz 10 min Boil Pellet 12
Citra 0.6 oz 5 min Boil Pellet 12
Citra 1.2 oz 12 days Dry Hop Pellet 12
Amarillo Gold (20120604) 1.2 oz 9 days Dry Hop Pellet 9.2
Citra 0.9 oz 6 days Dry Hop Pellet 12
Citra 1.2 oz 3 days Dry Hop Pellet 12
Amarillo Gold (20120604) 0.6 oz 3 days Dry Hop Pellet 9.2

Miscs

Name Amount Time Use Type
Gypsum (Calcium Sulfate) 6.30 g 60 min Mash Water Agent
Calcium Chloride 2.90 g 60 min Mash Water Agent
Picking Lime 2.10 g 60 min Mash Water Agent
Epsom Salt (MgSO4) 0.50 g 60 min Mash Water Agent

Yeast

Name Lab Attenuation Temperature
American Ale (1056) Wyeast Labs 75% 60°F - 72°F

Mash

Step Temperature Time
Protein Rest 122°F 30 min
Saccharification 150°F 60 min
Mash Out 168°F 10 min

Notes

Brun-water predicts 5.7 mash pH
Since we're using Great Western 2-row, mash ph has been lower by up to .3 ph, so this *should* dial in close to 5.4/5.5.

Update:

ffk3_measuring_citra_dryhop-v2-1024x768

Dry-hopping with Citra

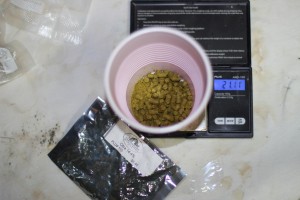
2013-05-04: Measured F.G, 1.010.  Nice and dry.  Added 21 grams of Citra to start with.