Hop Candy Time

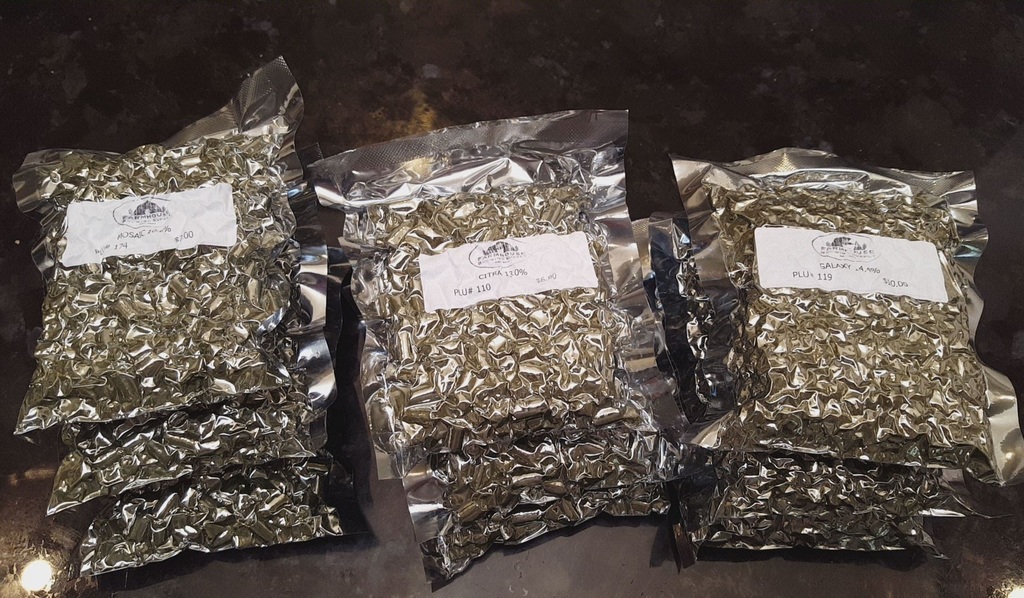
It was only a matter of time.  And now is the time.  The same good friend of mine who was looking for a witbier also wanted something hoppy.  I told him that it was time for me to brew a North Eastern Style IPA that’s all the rage on the intertubes.  My first thought was to take my Calma Muerta clone and change it up a bit.  I wasn’t so sure that the grain bill and hops would work with the yeast nor match the style.  Luckily there have been quite a few recipes going around and earlier this year The Electric Brewery released a recipe that included a greatly detailed break down of the techniques and recipe changes used to achieve what looks to be a fantastic beer.  I considered the large amount of hops and larger batch size that I’m brewing with and wanted a bit more assurance that things would turn out.  I’ve scaled up the Electric Hop Candy recipe, tweaked it for my water profile but it’s almost identical otherwise.

I wasn’t able to get the Wyeast London Ale III (1382) but many folks have said that White Labs Dry English Ale (WLP007) does a really great job as well.  I’m very familiar with WLP007, it’s been a favorite of mine.  It’s also a great flocculator so I’m interested in how cloudy the result will end up.  There still is a lot of discussion about whether the cloudy appearance is related to hops or yeast, or something else.

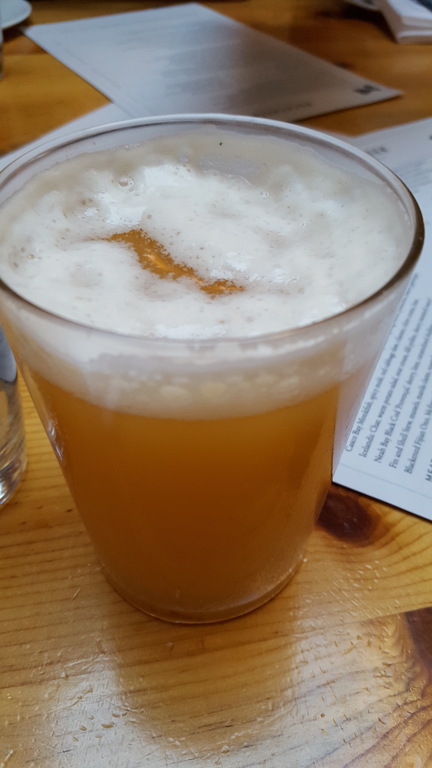
This batch will also be compared to an amazing local favorite IPA, Independence Stash IPA.  Stash is a traditional IPA; nothing NEIPA about it, but it’s a really high bar of excellence and my friend and I are interested in comparing, contrasting and seeing how other friends compare the beers.

Recipe Details

Batch Size Boil Time IBU SRM Est. OG Est. FG ABV
16 gal 60 min 103.9 IBUs 6.2 SRM 1.065 1.016 6.4 %
Actuals 1.046 1.01 4.7 %

Style Details

Name Cat. OG Range FG Range IBU SRM Carb ABV
American-Style India Pale Ale 56 1.06 - 1.075 1.012 - 1.018 50 - 70 6 - 15 2.2 - 2.8 6.3 - 7.6 %

Fermentables

Name Amount %
Brewer's Malt, 2-Row, Premium (Great Western) 12.5 lbs 32.47
Maris Otter (Thomas Fawcett) 12.5 lbs 32.47
Oats, Flaked 5.75 lbs 14.94
White Wheat Malt 5.75 lbs 14.94
Honey Malt 2 lbs 5.19

Hops

Name Amount Time Use Form Alpha %
Warrior 1.33 oz 60 min First Wort Pellet 15.7
Citra 2.66 oz 5 min Boil Pellet 14.4
Galaxy 2.66 oz 5 min Boil Pellet 14.8
Mosaic 2.66 oz 5 min Boil Pellet 11.6
Citra 2.66 oz 30 min Aroma Pellet 14.4
Galaxy 2.66 oz 30 min Aroma Pellet 14.8
Mosaic 2.66 oz 30 min Aroma Pellet 11.6
Citra 2.67 oz 3 days Dry Hop Pellet 14.4
Galaxy 2.67 oz 3 days Dry Hop Pellet 14.8
Mosaic 2.67 oz 3 days Dry Hop Pellet 11.6
Citra 2.67 oz 1 day Dry Hop Pellet 14.4
Galaxy 2.67 oz 1 day Dry Hop Pellet 14.8
Mosaic 2.67 oz 1 day Dry Hop Pellet 11.6

Miscs

Name Amount Time Use Type
Calcium Chloride 9.20 g 60 min Mash Water Agent
Epsom Salt (MgSO4) 2.50 g 60 min Mash Water Agent
Gypsum (Calcium Sulfate) 2.30 g 60 min Mash Water Agent
Phosphoric Acid 1.20 ml 60 min Mash Water Agent

Yeast

Name Lab Attenuation Temperature
London Ale III (1318) Wyeast Labs 73% 64°F - 74°F

Mash

Step Temperature Time
Saccharification 152°F 60 min
Mash Out 168°F 10 min

Witbier Challenge

Soft, pillowy clouds of bliss

Look at that rocky head on Holy Mountain Brewing’s The White Lodge Witbier

A good friend of mine who enjoys my homebrew recently has been pushing for some beers that he can share with more folks that enjoy more mainstream styles. I really like focusing on funky, sour, dry beers as well as hoppy, juicy and dry IPAs.

His suggestion was to put together a Witbier. I wasn’t quite sure if I wanted to do that but decided that it was worth the effort to see if I could build a recipe that I enjoyed coming from the styles I prefer. In Brewing Like a Monk there is a chapter discussing Witbiers in which they interview Ron Jeffries from Jolly Pumpkin Artisan Ales. He describes his process where by he imagines how the beer should taste and then works backwards to arrive at a recipe that should deliver the experience.

I’m attempting to do the same here. I recently had a really fantastic Witbier while I was in Settle, WA, The White Lodge from Holy Mountain Brewing Company. When the glass arrived there was this rocky mountain of imperfect off-white head that looked to include some bits of yeast. The nose had a nice spicy, bready, citrus character that begged for me to take a sip. It had a super soft mouthfeel that was a wash of malt and bready flavors with just a bit of banana, lots of orange, and; surprise, surprise; a bit tart.  Maybe that’s what captured my attention.

All of that together in a beer was just amazing.  I’m attempting to capture much of that in this recipe. This beer will be compared to a local Witbier (which doesn’t look or taste like The White Lodge), however I’m interested in how it fares.

Recipe Details

Batch Size Boil Time IBU SRM Est. OG Est. FG ABV
15 gal 60 min 17.1 IBUs 3.6 SRM 1.051 1.012 5.2 %
Actuals 0 1.01 -75.8 %

Style Details

Name Cat. OG Range FG Range IBU SRM Carb ABV
Witbier 17 1 1.044 - 1.052 1.008 - 1.012 10 - 20 2 - 4 2.2 - 2.8 4.5 - 5.5 %

Fermentables

Name Amount %
Pilsen (BestMälz) 14 lbs 47.11
Wheat, Flaked 7 lbs 23.55
Wheat (BestMälz) 6 lbs 20.19
Acid Malt 1.22 lbs 4.1
Oats, Flaked 1 lbs 3.36
Sugar, Table (Sucrose) 8 oz 1.68

Hops

Name Amount Time Use Form Alpha %
Saaz 3.7 oz 60 min Boil Pellet 2.9
Summer (Summer Saaz) 3 oz 7 days Dry Hop Pellet 5.5

Miscs

Name Amount Time Use Type
Phosphoric Acid 5.00 ml 60 min Mash Water Agent
Gypsum (Calcium Sulfate) 4.90 g 60 min Mash Water Agent
Calcium Chloride 4.00 g 60 min Mash Water Agent
Lemon Grass 15.00 g 5 min Boil Flavor
Coriander Seed 30.00 g 5 min Boil Spice
Orange Peel, Bitter 3.00 g 5 min Boil Spice

Yeast

Name Lab Attenuation Temperature
Belgian Witbier (3944) Wyeast Labs 74% 62°F - 75°F

Mash

Step Temperature Time
Mash In 152°F 60 min
Mash Out 168°F 10 min

Notes

21.47 gallons *.85 = 18.25 gallons
Mash is 14.85 gallons *.85 = 12.62 gallons + 2.23
Spage is 6.62 gallons *.85 = 5.63 gallons + 1.0

Bottling and Blending Woxbic

Have barrel, will age beer

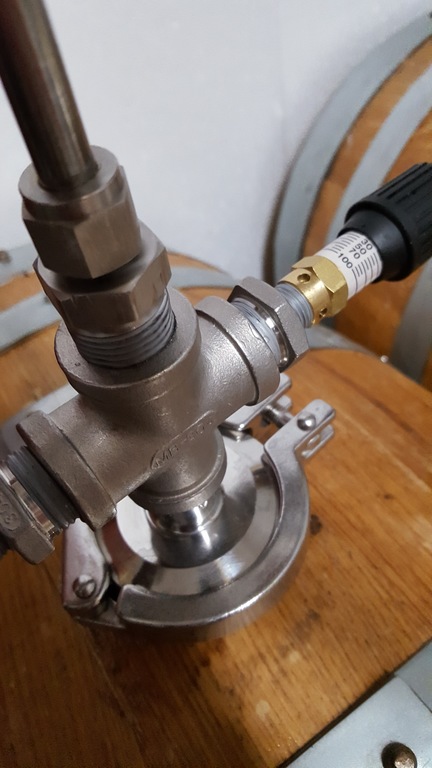
DIY Barrel Transfer tool from Milk the Funk Wiki

After four long years, it’s time to blend and package my first Woxbic beer.
I struggled quite a bit on the blending ratio. Too many variables to take
into account: the volume of beer I could produce to replace what goes into the
blend, the number and size of the barrels I already have, the volume to package,
and ultimately, how the blend would taste.
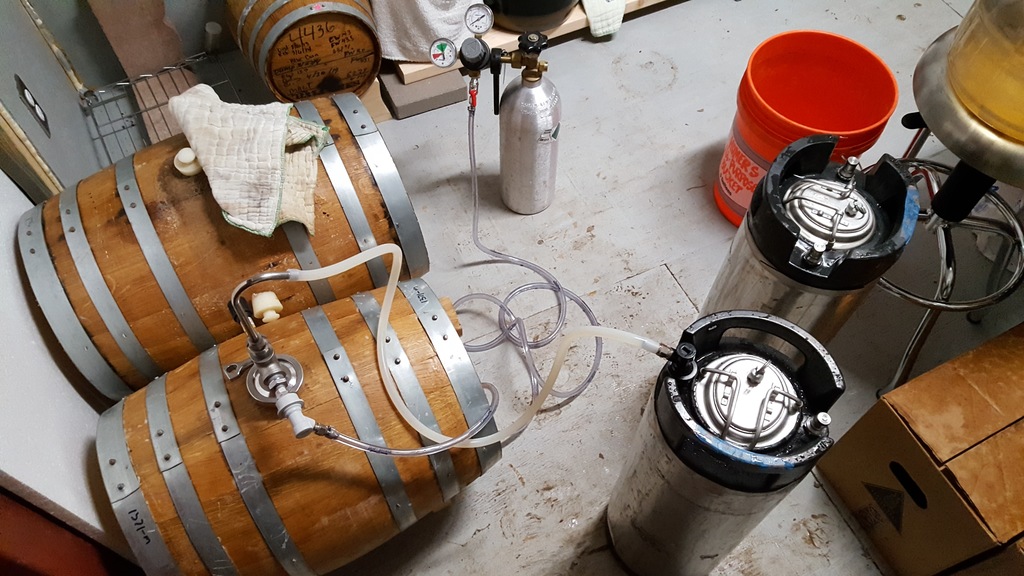
where did you get that shed? what have you got in your shed?

Transferring Year 1 Woxbic from barrel into a keg

In order to ensure I did have some of year 2 blend left, I needed to limit the
total volume I packaged. The result was that I was going to have quite a bit of
year 3 left over and that I’d need a new barrel to fill for going forward since
I was not also ready to package what would be left in year 3 barrel. Eventually
I settled on a 60/30/10 of Year1/Year2/Year3 ratio, similar to what Jester King
did with their recently released lambic-inspired, Méthode Gueuze beers. I
packaged approximately 10 gallons of blended beer. That works out direclty to 1
gallon of three year old, three gallons of two year and six gallons of one year.

Don't mind the fancy photos

Year 3 and Year 2 barrels transferring into keg for blending.

Year two and year one blends will remain in-barrel (without a top off) for next
year’s blend, and year 3 will have 9 gallons left to package separately. I’m
planning on blending that with some fruits for a cuvee style release as well.

For the actual transfer of the beer, I was excited to use a constructed barrel
transfer tool fashioned after the industry tools, like a Bulldog or
Rack-It-Teer, this was put together by some homebrewers on Milk-the-Funk
community.

The transfers from barrel to keg went flawlessly. A bit of CO2 to push and the
beer flowed quickly into the keg. After collecting all of the volumes, each was
pushed via CO2 into the Chronical where it was recirculated with some bottling
sugar.
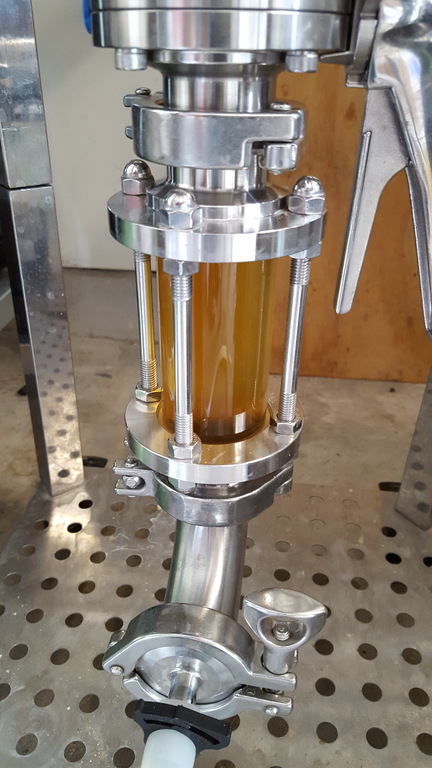
Shiny!

Recirculating the blend in the Chronical

Bottling with the Last Straw was nice. The ergonomics of holding the Last Straw
are very nice in comparision to the Blichmann Beergun. I do wish the Last Straw
had a larger diameter for beer. It was designed for already carbonated beer, so
I can understand why the line is small. But for uncarbonated beer, it would be
nice to fill faster.
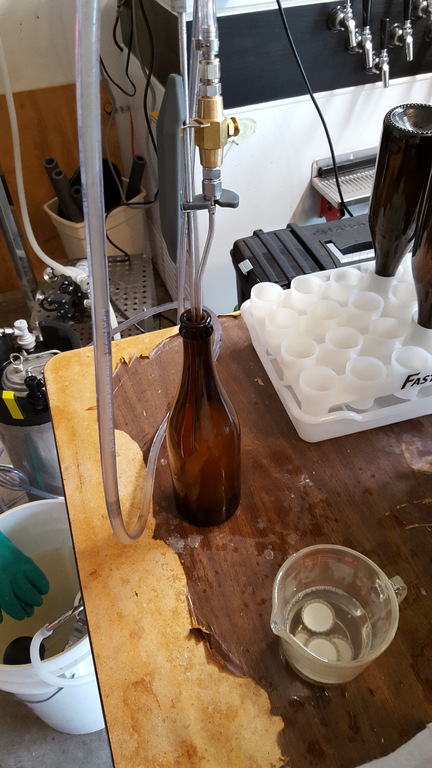
Gonna need a new table son!

The weight of the line let the bottle fit itself slowly; that was handy for a single person operation.

With the bottling complete, I now have 6 to 9 months to wait to see how the beer
changes in the bottle. I’ll post some pictures and tasting notes later this
year.

And some fantastic beer to celebrate the occasion.
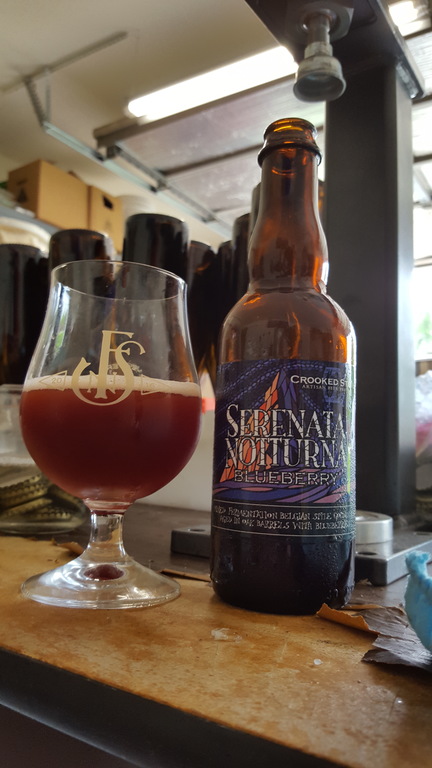
Blueberries!

Dat Crooked Stave!