Beer for bottling

Today’s holiday brew session is another round from the “light and hoppy” styles.  I’m pushing this recipe to pull in more farmhouse than North Eastern IPA.  I ran across a new-to-me hop, Jester, which is of UK origin but exhibiting some American Hop citrus and fruity characteristics.  That sounded really nice for a farmhouse hoppy beer.  Brewing NEIPAs though has definitely affected the hop process I used.  Normally I would include a bittering addition and something late, maybe a step but save most for dry-hopping but now I’m much more happy with using significantly more hops late and after flame-out.

I’ve also been a bit of a mix of bottling and kegging.  Kegging is *so* much easier.  So much so that it does tend to make me a bit lazy and skip the effort of bottling; much to my regret.  Many of the beers I’ve brewed in years past age extremely well so I’m planning on trying to keep more of it around longer.  I’m looking at simplifying my process of bottling with this batch.  I’ve got quite a few items that do help the process:  12 bottle rinsing system, drying racks that stack, a pneumatic bottle capper, and two different bottling wands.  The main effort is the standing and filling part.  I’ve had a Blichmann Beergun for quite some time.  I’ve had few issues with it.  I also picked up a Last Straw.  The Last Straw’s main improvement over the Beergun is how it is held; that helps remove the shoulder ache after filling 15 gallons worth of bottles.  The drawback (for me) is that I tend to bottle condition which means filling uncarbonated beer.  The diameter restrictions on both fillers slows the entire process down.  I recently picked up a wine auto-filler which I’m hoping will make things go a lot faster.  It utilizes a pressure switch to automatically stop the flow into a bottle.  This is quite effective.  My hope is that I’ll be able to hook up two or three of these to a manifold off of the fermentation vessel and then start each bottle which will then stop automatically allowing making it easier to grab the filled bottles, purge with co2 and cap while other bottles continue to fill.

Here’s the recipe for Hoats and Boes:

Recipe Details

Batch Size Boil Time IBU SRM Est. OG Est. FG ABV
16 gal 60 min 54.5 IBUs 3.2 SRM 1.030 1.006 3.2 %
Actuals 1.046 1.01 4.7 %

Style Details

Name Cat. OG Range FG Range IBU SRM Carb ABV
Session IPA 16 1.038 - 1.052 1.008 - 1.014 40 - 55 4 - 12 2.2 - 2.8 3.7 - 5 %

Fermentables

Name Amount %
Maris Otter (Thomas Fawcett) 16 lbs 88.89
Barley, Flaked 1 lbs 5.56
Oats, Flaked 1 lbs 5.56

Hops

Name Amount Time Use Form Alpha %
Centennial 2 oz 5 min Boil Leaf 10
Citra 2 oz 5 min Boil Pellet 25.2
Jester (UK) 2 oz 5 min Boil Pellet 6
Centennial 2 oz 20 min Aroma Leaf 10
Citra 2 oz 20 min Aroma Pellet 25.2
Jester (UK) 2 oz 20 min Aroma Pellet 6
Jester (UK) 4 oz 3 days Dry Hop Pellet 6

Miscs

Name Amount Time Use Type
Phosphoric Acid 85% 28.80 ml 60 min Mash Water Agent
Calcium Chloride 1.80 g 60 min Mash Water Agent
Epsom Salt (MgSO4) 1.80 g 60 min Mash Water Agent
Gypsum (Calcium Sulfate) 1.80 g 60 min Mash Water Agent

Yeast

Name Lab Attenuation Temperature
French Saison (3711) Wyeast Labs 80% 65°F - 77°F

Mash

Step Temperature Time
Saccharification 152°F 60 min
Mash Out 168°F 10 min

Notes

- Lupu

A Nor’easter blowin in

I recently spent two weeks in New York City for work. One of my co-workers was coming in from the Boston area via train. This afforded him a really special perk: BYOB! That’s right, you can bring your own beer along for the ride. My friend was nice enough to bring some of the finest NorthEast IPAs that he could get his hands on including Trillium, Baby Genius, Industrial Arts Wrench and quite a few others.
I’ve recently brewed a NEIPA beer which turned out much better than expected for a first-time recipe. It was very well received and the only correction for my palette was the maltier character that came from a 50% Marris Otter grain bill. After almost drowning in NEIPAs in New York I have been craving to update my Session IPA done with the techniques and hopping rate used in Hop Candy. Today is that day. Here’s the recipe and follow along brewday below.

Recipe Details

Batch Size Boil Time IBU SRM Est. OG Est. FG ABV
16 gal 60 min 65.9 IBUs 3.2 SRM 1.041 1.007 4.5 %
Actuals 1.041 1.01 4.1 %

Style Details

Name Cat. OG Range FG Range IBU SRM Carb ABV
American-Style Pale Ale 50 1.044 - 1.05 1.008 - 1.014 30 - 50 6 - 14 2.2 - 2.8 4.4 - 5.4 %

Fermentables

Name Amount %
Organic Brewers Malt 2-Row (Briess) 20 lbs 80.81
Barley, Flaked 3 lbs 12.12
Caramel/Crystal Malt - 10L 1 lbs 4.04
Cane (Beet) Sugar 12 oz 3.03

Hops

Name Amount Time Use Form Alpha %
Azacca 3 oz 5 min Boil Pellet 15
Cascade 3 oz 5 min Boil Pellet 5.9
Meridian 3 oz 5 min Boil Pellet 6.5
Herkules 0.81 oz 5 min Boil Pellet 18.5
Azacca 3 oz 30 min Aroma Pellet 15
Cascade 3 oz 30 min Aroma Pellet 5.9
Meridian 3 oz 30 min Aroma Pellet 6.5
Azacca 3 oz 3 days Dry Hop Pellet 15
Cascade 3 oz 3 days Dry Hop Pellet 5.9
Meridian 3 oz 3 days Dry Hop Pellet 6.5
Azacca 3 oz 1 day Dry Hop Pellet 15
Cascade 3 oz 1 day Dry Hop Pellet 5.9
Meridian 3 oz 1 day Dry Hop Pellet 6.5

Miscs

Name Amount Time Use Type
Phosphoric Acid 10% 61.90 ml 60 min Mash Water Agent
Calcium Chloride 5.80 g 60 min Mash Water Agent
Epsom Salt (MgSO4) 1.50 g 60 min Mash Water Agent
Gypsum (Calcium Sulfate) 1.50 g 60 min Mash Water Agent
Whirlfloc Tablet 3.00 Items 15 min Boil Fining
Yeast Nutrient 3.00 tsp 3 days Primary Other

Yeast

Name Lab Attenuation Temperature
French Saison (3711) Wyeast Labs 80% 65°F - 77°F

Mash

Step Temperature Time
Saccharification 152°F 60 min
Mash Out 168°F 10 min

Notes

Calma Muerta Attempt #1

WLP090 Recommendations:
"Make sure you make a proper sized starter, pitch cool at 65˚F then set your
regulator to 66˚F, let it rock for 3 days, then raise the temp to 70˚F for a
couple days to encourage complete attenuation and reabsorption of
fermentation byproducts. At this point, I usually crash the beer to 32˚F for
a couple days then keg per my typical method, pouring the first pint a
couple days later."
-- http://brulosophy.com/2014/10/06/is-san-diego-really-all-that-super-a-yeast-comparison/
Local grocery store as a new curbside pickup… hrm, I wonder if they fill 22 gallons of Reverse Osmosis water?  Guessing not.
You’re damn right that RO water is an Emergency Essential to my IPAs.
Crush em all!  Even the Flaked Barley and Flaked Oats!
Split the crushed grain into two buckets since I’m mashing in solo today.
Don’t forget to heat the sparge water… this time.
Transfer, sparge time.  Glad I remembered to heat the sparge water.
Look at that layer of sparge water over the grains.  I was surprised at how well the grain flowed without any rice hulls and all of the barley/oats which were pretty dang gooey.
Brew day requirement: special beer from the shed.  Today I pulled out a Jester King Biere de Miel Honey Sour Saison from 2014.  The story behind this beer is pretty neat. Garret of Jester King at the time related that this first batch was brewed in December here in Texas which has quite cool mornings but is nothing like fall or summer where at dawn it’s already 70F or 80F+.  The interesting part was that beer reached terminal gravity much faster than they expected despite the lower temperatures.  It turns out that the Jester King mixed-culture is somewhat unique in that at cooler temperatures the bacteria tends to take over if the sacchromyces isn’t warm enough and it resulted in a beer that’s pH was quite a bit lower than expected.  The result is this perfect balance of malt, honey sweetness and strong but soft lactic acidity.  Even after 3 years the beer holds up very well.
Oh right, *lots* of hops needed.  This is just the 5 minute addition and the steep. There are still two more rounds of this same size (~9oz) for two dry-hop additions. Also special Equinox Cyro-hop injection at steep time for shits and gigs.
That’s right, another massive does at steep time.  I decided to do a bit more hands on with the hops this time.  Normally I just leave the hops in the basket and  move along.  However this time I stirred the hops continuously to help distribute as much of the hop oils as possible.  When I added the hops for steeping I also stirred and then I lowered the hop basket to the bottom of the kettle and since the wort is not longer boiling it stays put exposing more wort to the hops.  Let’s see if that pays off.

Jackpot!

Bottling and Blending Woxbic

Have barrel, will age beer

DIY Barrel Transfer tool from Milk the Funk Wiki

After four long years, it’s time to blend and package my first Woxbic beer.
I struggled quite a bit on the blending ratio. Too many variables to take
into account: the volume of beer I could produce to replace what goes into the
blend, the number and size of the barrels I already have, the volume to package,
and ultimately, how the blend would taste.

where did you get that shed? what have you got in your shed?

Transferring Year 1 Woxbic from barrel into a keg

In order to ensure I did have some of year 2 blend left, I needed to limit the
total volume I packaged. The result was that I was going to have quite a bit of
year 3 left over and that I’d need a new barrel to fill for going forward since
I was not also ready to package what would be left in year 3 barrel. Eventually
I settled on a 60/30/10 of Year1/Year2/Year3 ratio, similar to what Jester King
did with their recently released lambic-inspired, Méthode Gueuze beers. I
packaged approximately 10 gallons of blended beer. That works out direclty to 1
gallon of three year old, three gallons of two year and six gallons of one year.

Don't mind the fancy photos

Year 3 and Year 2 barrels transferring into keg for blending.

Year two and year one blends will remain in-barrel (without a top off) for next
year’s blend, and year 3 will have 9 gallons left to package separately. I’m
planning on blending that with some fruits for a cuvee style release as well.

For the actual transfer of the beer, I was excited to use a constructed barrel
transfer tool fashioned after the industry tools, like a Bulldog or
Rack-It-Teer, this was put together by some homebrewers on Milk-the-Funk
community.

The transfers from barrel to keg went flawlessly. A bit of CO2 to push and the
beer flowed quickly into the keg. After collecting all of the volumes, each was
pushed via CO2 into the Chronical where it was recirculated with some bottling
sugar.

Shiny!

Recirculating the blend in the Chronical

Bottling with the Last Straw was nice. The ergonomics of holding the Last Straw
are very nice in comparision to the Blichmann Beergun. I do wish the Last Straw
had a larger diameter for beer. It was designed for already carbonated beer, so
I can understand why the line is small. But for uncarbonated beer, it would be
nice to fill faster.

Gonna need a new table son!

The weight of the line let the bottle fit itself slowly; that was handy for a single person operation.

With the bottling complete, I now have 6 to 9 months to wait to see how the beer
changes in the bottle. I’ll post some pictures and tasting notes later this
year.

And some fantastic beer to celebrate the occasion.

Blueberries!

Dat Crooked Stave!

Woxbic Time

20170115_141856

It’s Texas winter time again; well sort of.  Texas has the strangest winters;  it was 85F on December 25th, and then had a high of 28F for 3 days in early January.  Today is 72F. Despite these wild swings in temperatures, it’s time again to brew my annual Lambic-style, or Methode Gueuze, as the newly introduced mark for a process has been released alongside a huge accomplishment from Jester King when they released SPON late last year.  Note, I won’t be performing a turbid mash.  Yet.

20170115_103032

In preparation for my first year of blending, I’m doing my largest single batch.  22 Gallons of wort to be split between a 15 gallon Rye Whiskey barrel, and a 5 gallon Whiskey barrel.  The 15 gallon barrel will get a fresh pitch of ECY 20, my favorite blend for long barrel aging lambic-style beers.  The 5 gallon will get wild yeast I captured under a peach tree from my yard.  I brewed a 1L starter a year ago which produced Belgian-like characteristics by not  much in the way of sour.  After aging for nearly 9 months, the pH dropped from 4.2 to 2.8.  Slow bugs work magic.  I just refreshed this mixed culture to pitch into the 5 gallon barrel to see how that turns out.

20170115_121454

These two barrels are the newest in my collection and need to be parafin waxed.  Using Gulf wax in a glass bowl, heat gun set at 1000F and a thermal glove one can drip and blend hot wax on the whole barrel (outside and both heads) in about 20 to 30 minutes.  I’ve done this for all 3 of my Woxbic barrels and it’s done amazingly well at keeping any acetic character out of even the 3 year old beer which has been stored at approx 75F for the entire time.

After this brewday, the next big challenge is blending the 3, 2 and 1 year old blends, and then how to plan for next years’ blends.  I find it incredibly difficult to determine how to keep a consistent amount of 3, 2 and 1 year old lambic beer around considering the blending ratios may change.  One can always brew more each year but it becomes challenge to use up the remaining beer that’s beyond the 3 year mark.  I plan to take what I need out of the 3 year old barrel and anything that remains will get bottled as straight unblended lambic-style; sort of a Grand Cru or Cuvee.  Maybe I’ll blend with fruits as well.

Recipe Details

Batch Size Boil Time IBU SRM Est. OG Est. FG ABV
20 gal 60 min 8.7 IBUs 3.7 SRM 1.054 1.018 4.7 %
Actuals 1.046 1.01 4.7 %

Style Details

Name Cat. OG Range FG Range IBU SRM Carb ABV
Straight (Unblended) Lambic 17 D 1.04 - 1.054 1.001 - 1.01 0 - 10 3 - 7 1.8 - 2.6 5 - 6.5 %

Fermentables

Name Amount %
Pilsner (Weyermann) 24.306 lbs 60
Wheat (BestMälz) 14.583 lbs 36
Acidulated (Weyermann) 1.62 lbs 4

Hops

Name Amount Time Use Form Alpha %
Northern Brewer 2.46 oz 60 min Boil Leaf 3.2

Miscs

Name Amount Time Use Type
Phosphoric Acid 32.40 ml 60 min Mash Water Agent
Epsom Salt (MgSO4) 2.60 g 60 min Mash Water Agent
Calcium Chloride 1.30 g 60 min Mash Water Agent
Gypsum (Calcium Sulfate) 1.30 g 60 min Mash Water Agent
Wheat Flour 5.00 oz 5 min Boil Other

Yeast

Name Lab Attenuation Temperature
Bug Country (20) East Coast Yeast 70% 63°F - 75°F

Mash

Step Temperature Time
Protein Rest 122°F 30 min
Saccharification 156°F 30 min
Mash Out 168°F 10 min

Notes

After mash-out, drain all liquid into boil kettle, raise temp to 190, pump back to mash for second rinse through grain bed.

Pitching ECY20 Bugcountry in 15G barrel, 5G

Sparge acidification:
Gypsum: 1.9 Grams
Epsom Salt: 2.6 Grams
Calcium Chloride: 1.3 Grams
Phosphoric Acid: 61.9 mL

Bottling from the Chronical

15 gallons is a lot of bottles for one person

Bottling from the conical setup including rinsing and capping equipment.

I bottled for the first time using the Chronical last night.  It was quite a bit of work; roughly as long as a brew session including clean-up time. A lot of the extra time can be eliminated after applying the fixes I’ll list below. But for now, let’s walk through the process and I’ll describe The Good, The Bad and The Ugly.

Recirculating – The Good

The first step of the evening was to dump the existing yeast that had collected at the bottom of the conical during fermentation and aging.  I picked up two 48 oz Nalgene water bottles with graduated markings.   After sanitizing them, I connected a tri-clover 1.5″ to 3/8″ barb fitting, opened up the bottle, next the dump butterfly valve.  A slow stream of yeast soup pushed out and then much faster some amount of beer.  I quickly closed the valve and had about 40 oz of yeast sludge which has gone to the fridge.  I may or may not reuse it.  That ended up being really painless.  I like the bottom dump!

chronical-priming-sugar-yeast-recirc-1024x768

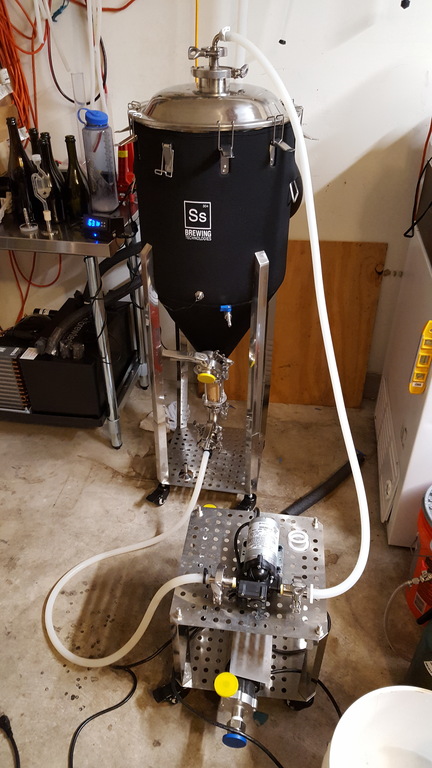
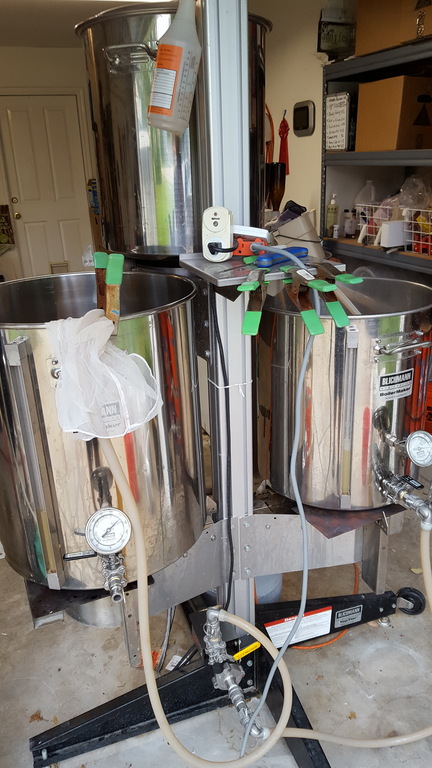
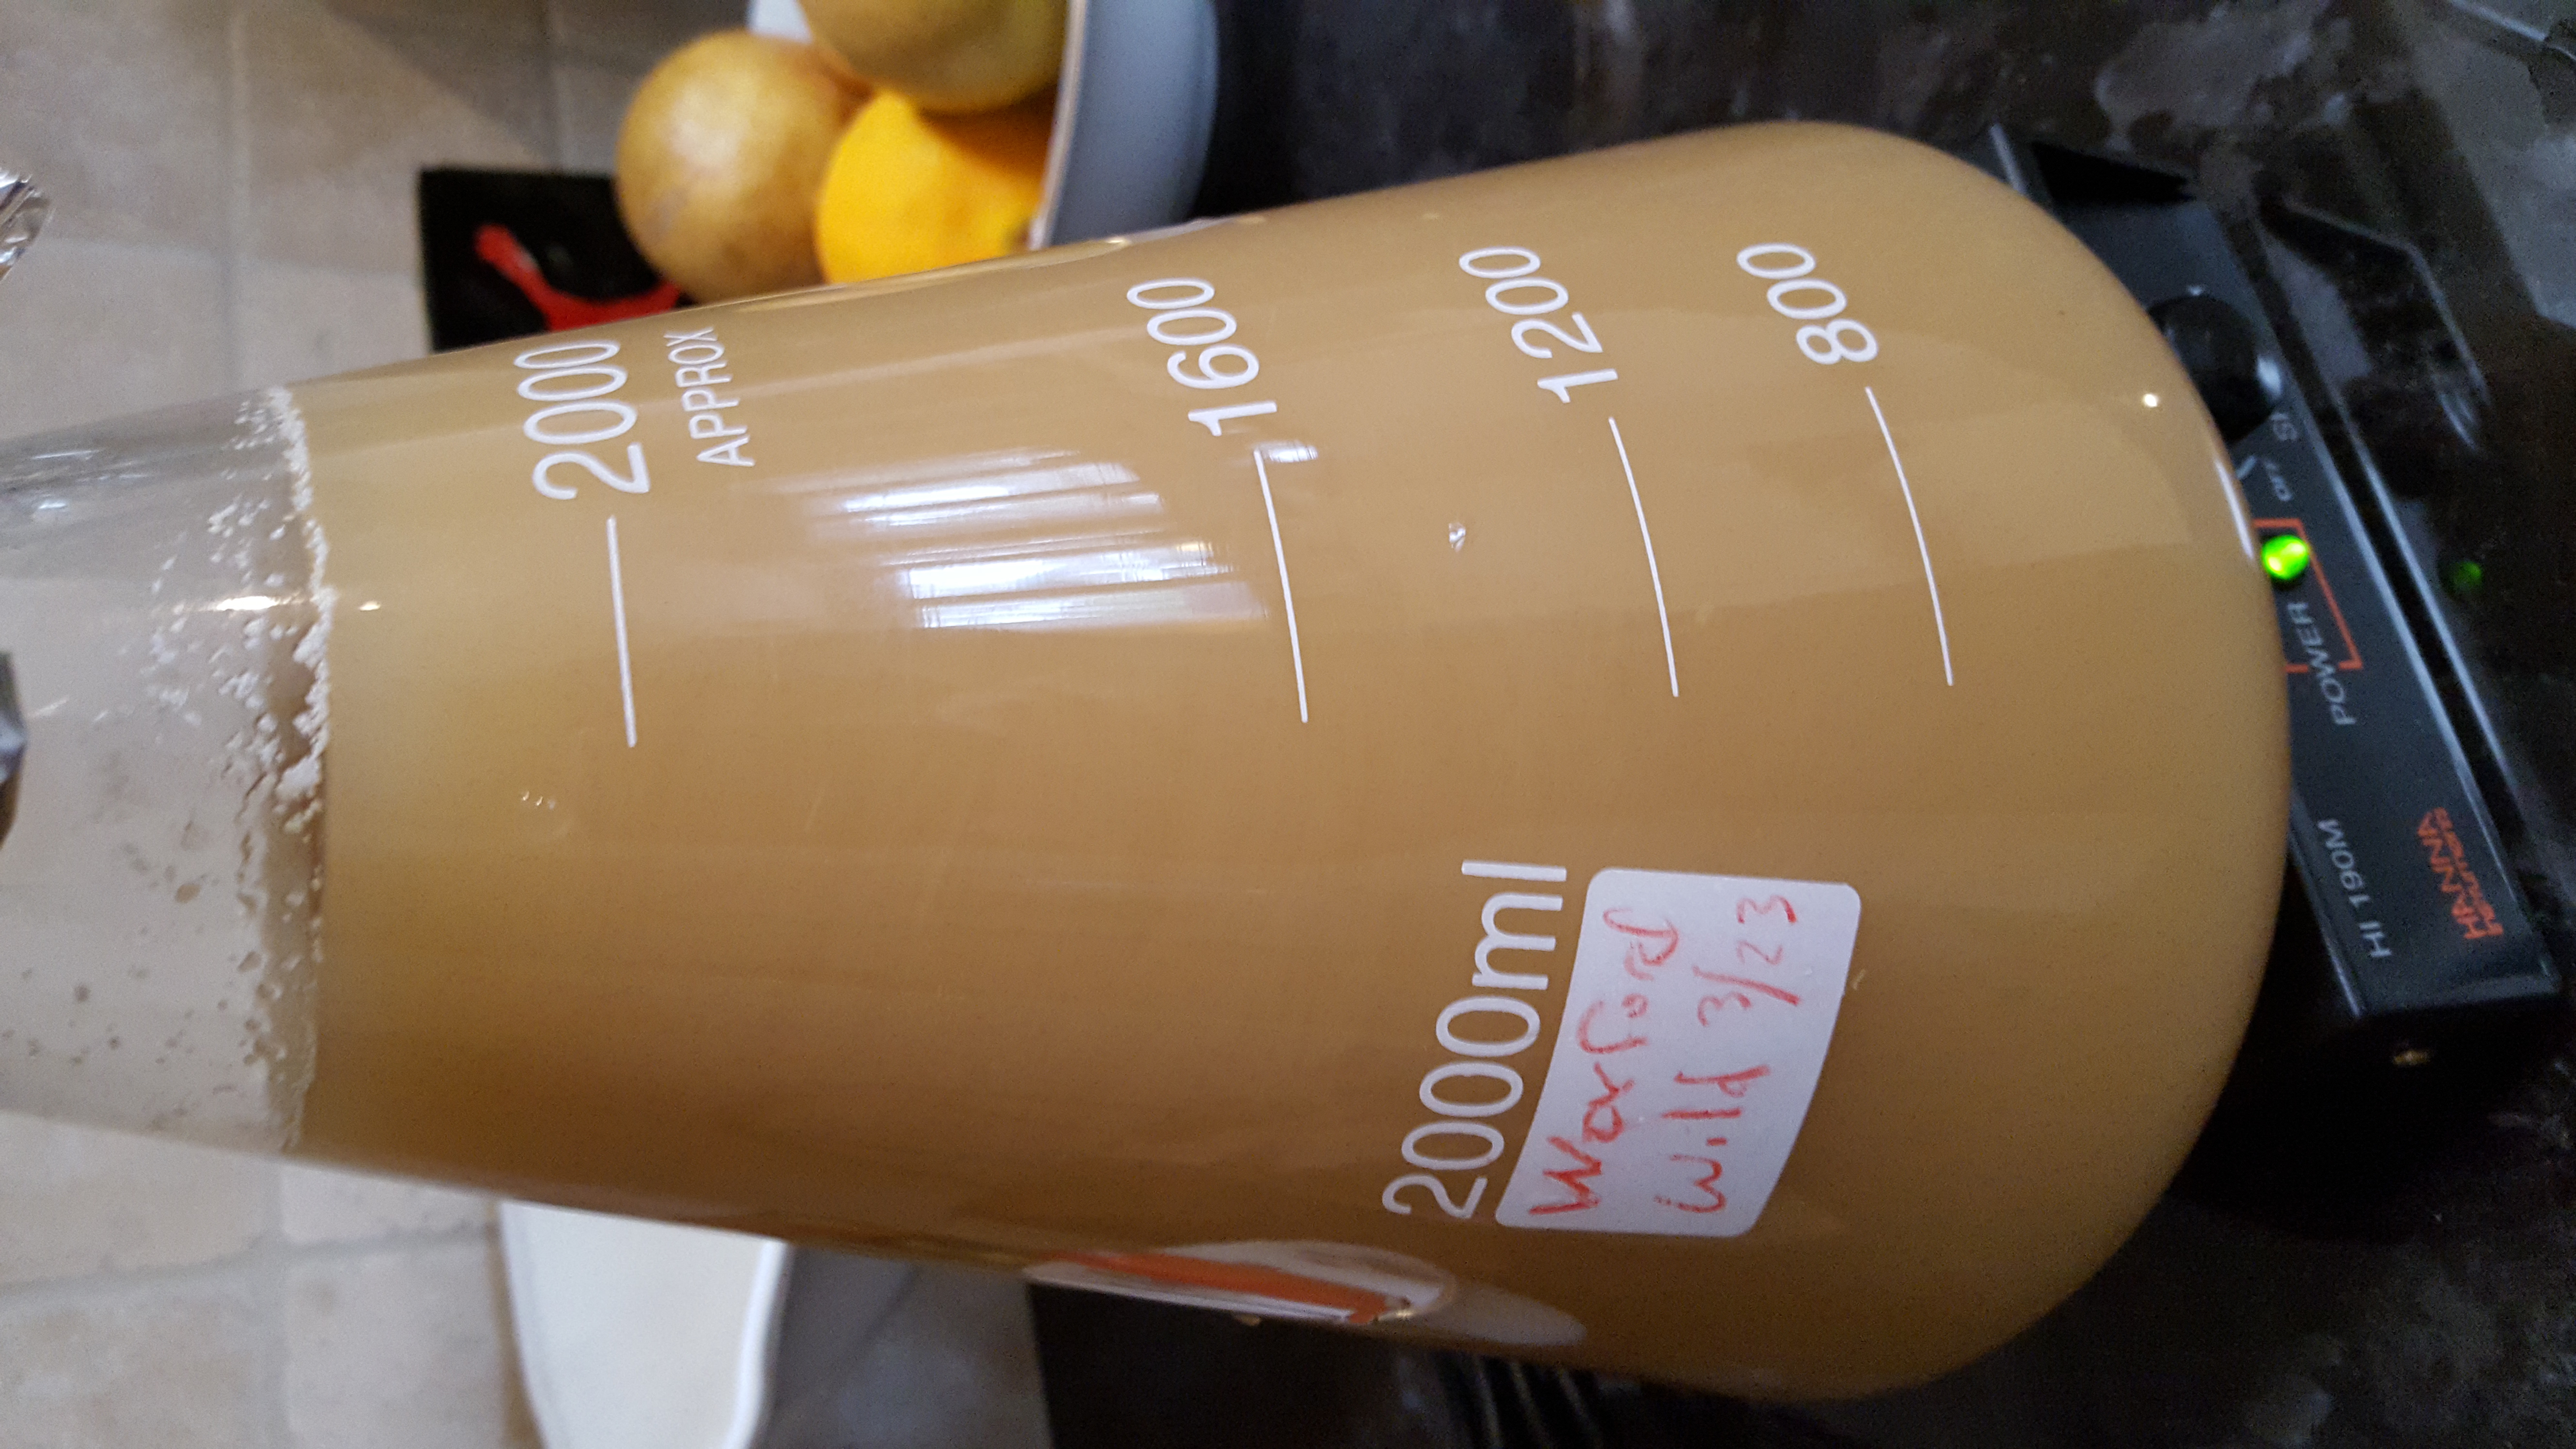
Next, I needed to mix in the priming sugar (approx 13 oz of table sugar) and yeast (.5 Liter starter stepped up).  I mixed the yeast into a second Nalgene bottle, opened the top port and dumped it in.  I replaced the bottom barb tri-clover fitting with a hose to connect the bottom port to the input-side of the diaphragm pump from Morebeer.  The output side of the pump has a host connecting it to a 90 degree 1.5″ tri-clover elbow into to top of the conical.  As a pre-caution around pressure build-up, I loosened all of the lid clamps; the were over the lip of the top but not locked down.  I then opened the bottom butterfly valve and then started the pump.  This ran flawlessly for about 15 minutes, then there was some foaming and the pump lost prime and stopped.  I’ll save the explanation for the Ugly section.

Recirculating – The Bad

I had planned to do both recirculation and pressurized transfer from the conical and had purchased additional fittings to make this easier.  However, none of the vendors have exactly what is needed.  The blow-off accessory includes a built-in pressure relief valve in the 3″ fitting and then an open 17mm hole which is filled with a 1/2″ NPT to 1/2″ Barb fitting to allow you to connect a blow-off tube.  The SSBrew Tech store will sell you a 3″ fitting with a 90 degree elbow barb, but if you want to use different connections, then you really want a 3″ fitting with 1.5″ tri-clover adapter *plus* the pressure relief valve.  I didn’t end up having any pressure issues, however, I do plan on creating my own by modifying the current fittings with a small change.  Instead if having the barb on the outside, I’ll reverse it and expose the 1/2″ threads through the top and connect that to a 1/2″ FPT to 1.5″ Tri-clover adapter.  This allows me to connect any other tri-clover fittings (like a 90 degree elbow barb), but I can also put something different on it since it ends in a tri-clover fitting.

Recirculating – The Ugly (my fault)

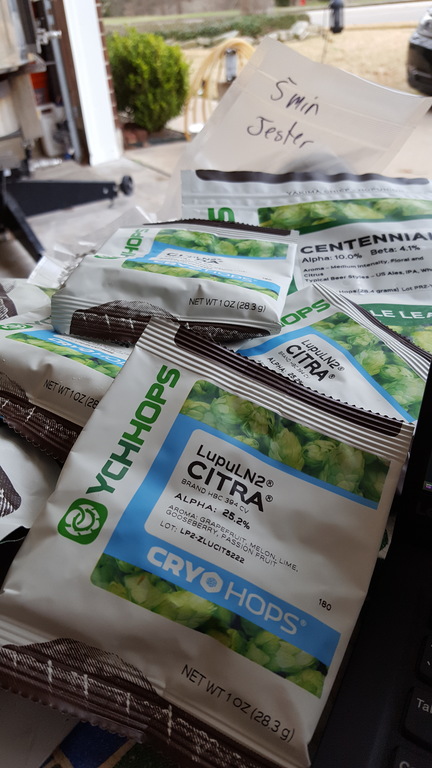
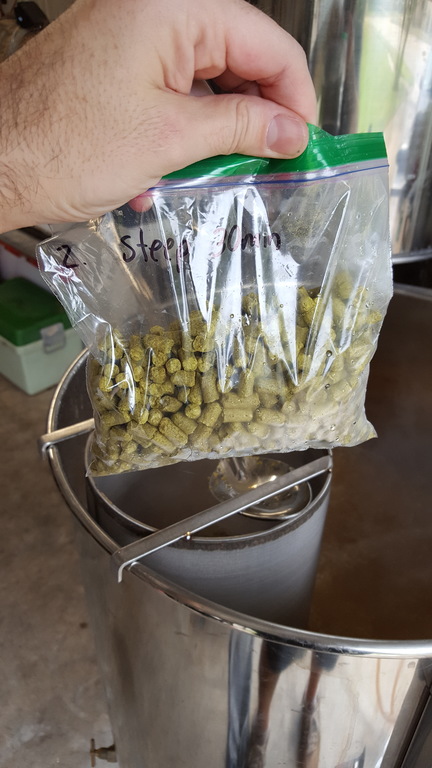
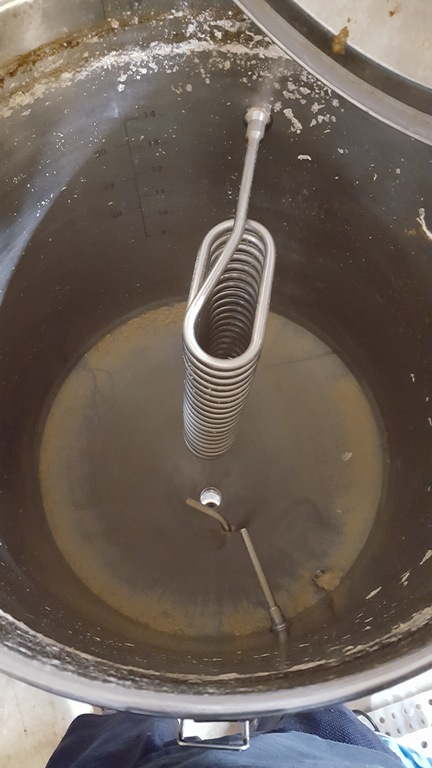
The recipe had been dry-hopped. I put the hops into a stainless steel mesh container and let it float in the conical for about two weeks. It was still floating when I started recirculating. After about 15 minutes, it started to appear foamy in the site-glass at the bottom of the conical. Then the pump struggled for prime and stopped. It slowly filled up and I restarted the pump. Same thing happened again; I thought something must be blocking it … oh NO! Yes, the mesh had been pulled down to the bottom of the conical and was blocking the flow. With some long sanitized gloves and a stainless spoon the hops were recovered with no issue. This did not help reduce oxygen exposure though. Note to self: Remove dry-hop container before recirculating.

Bottling from the Conical – The Good

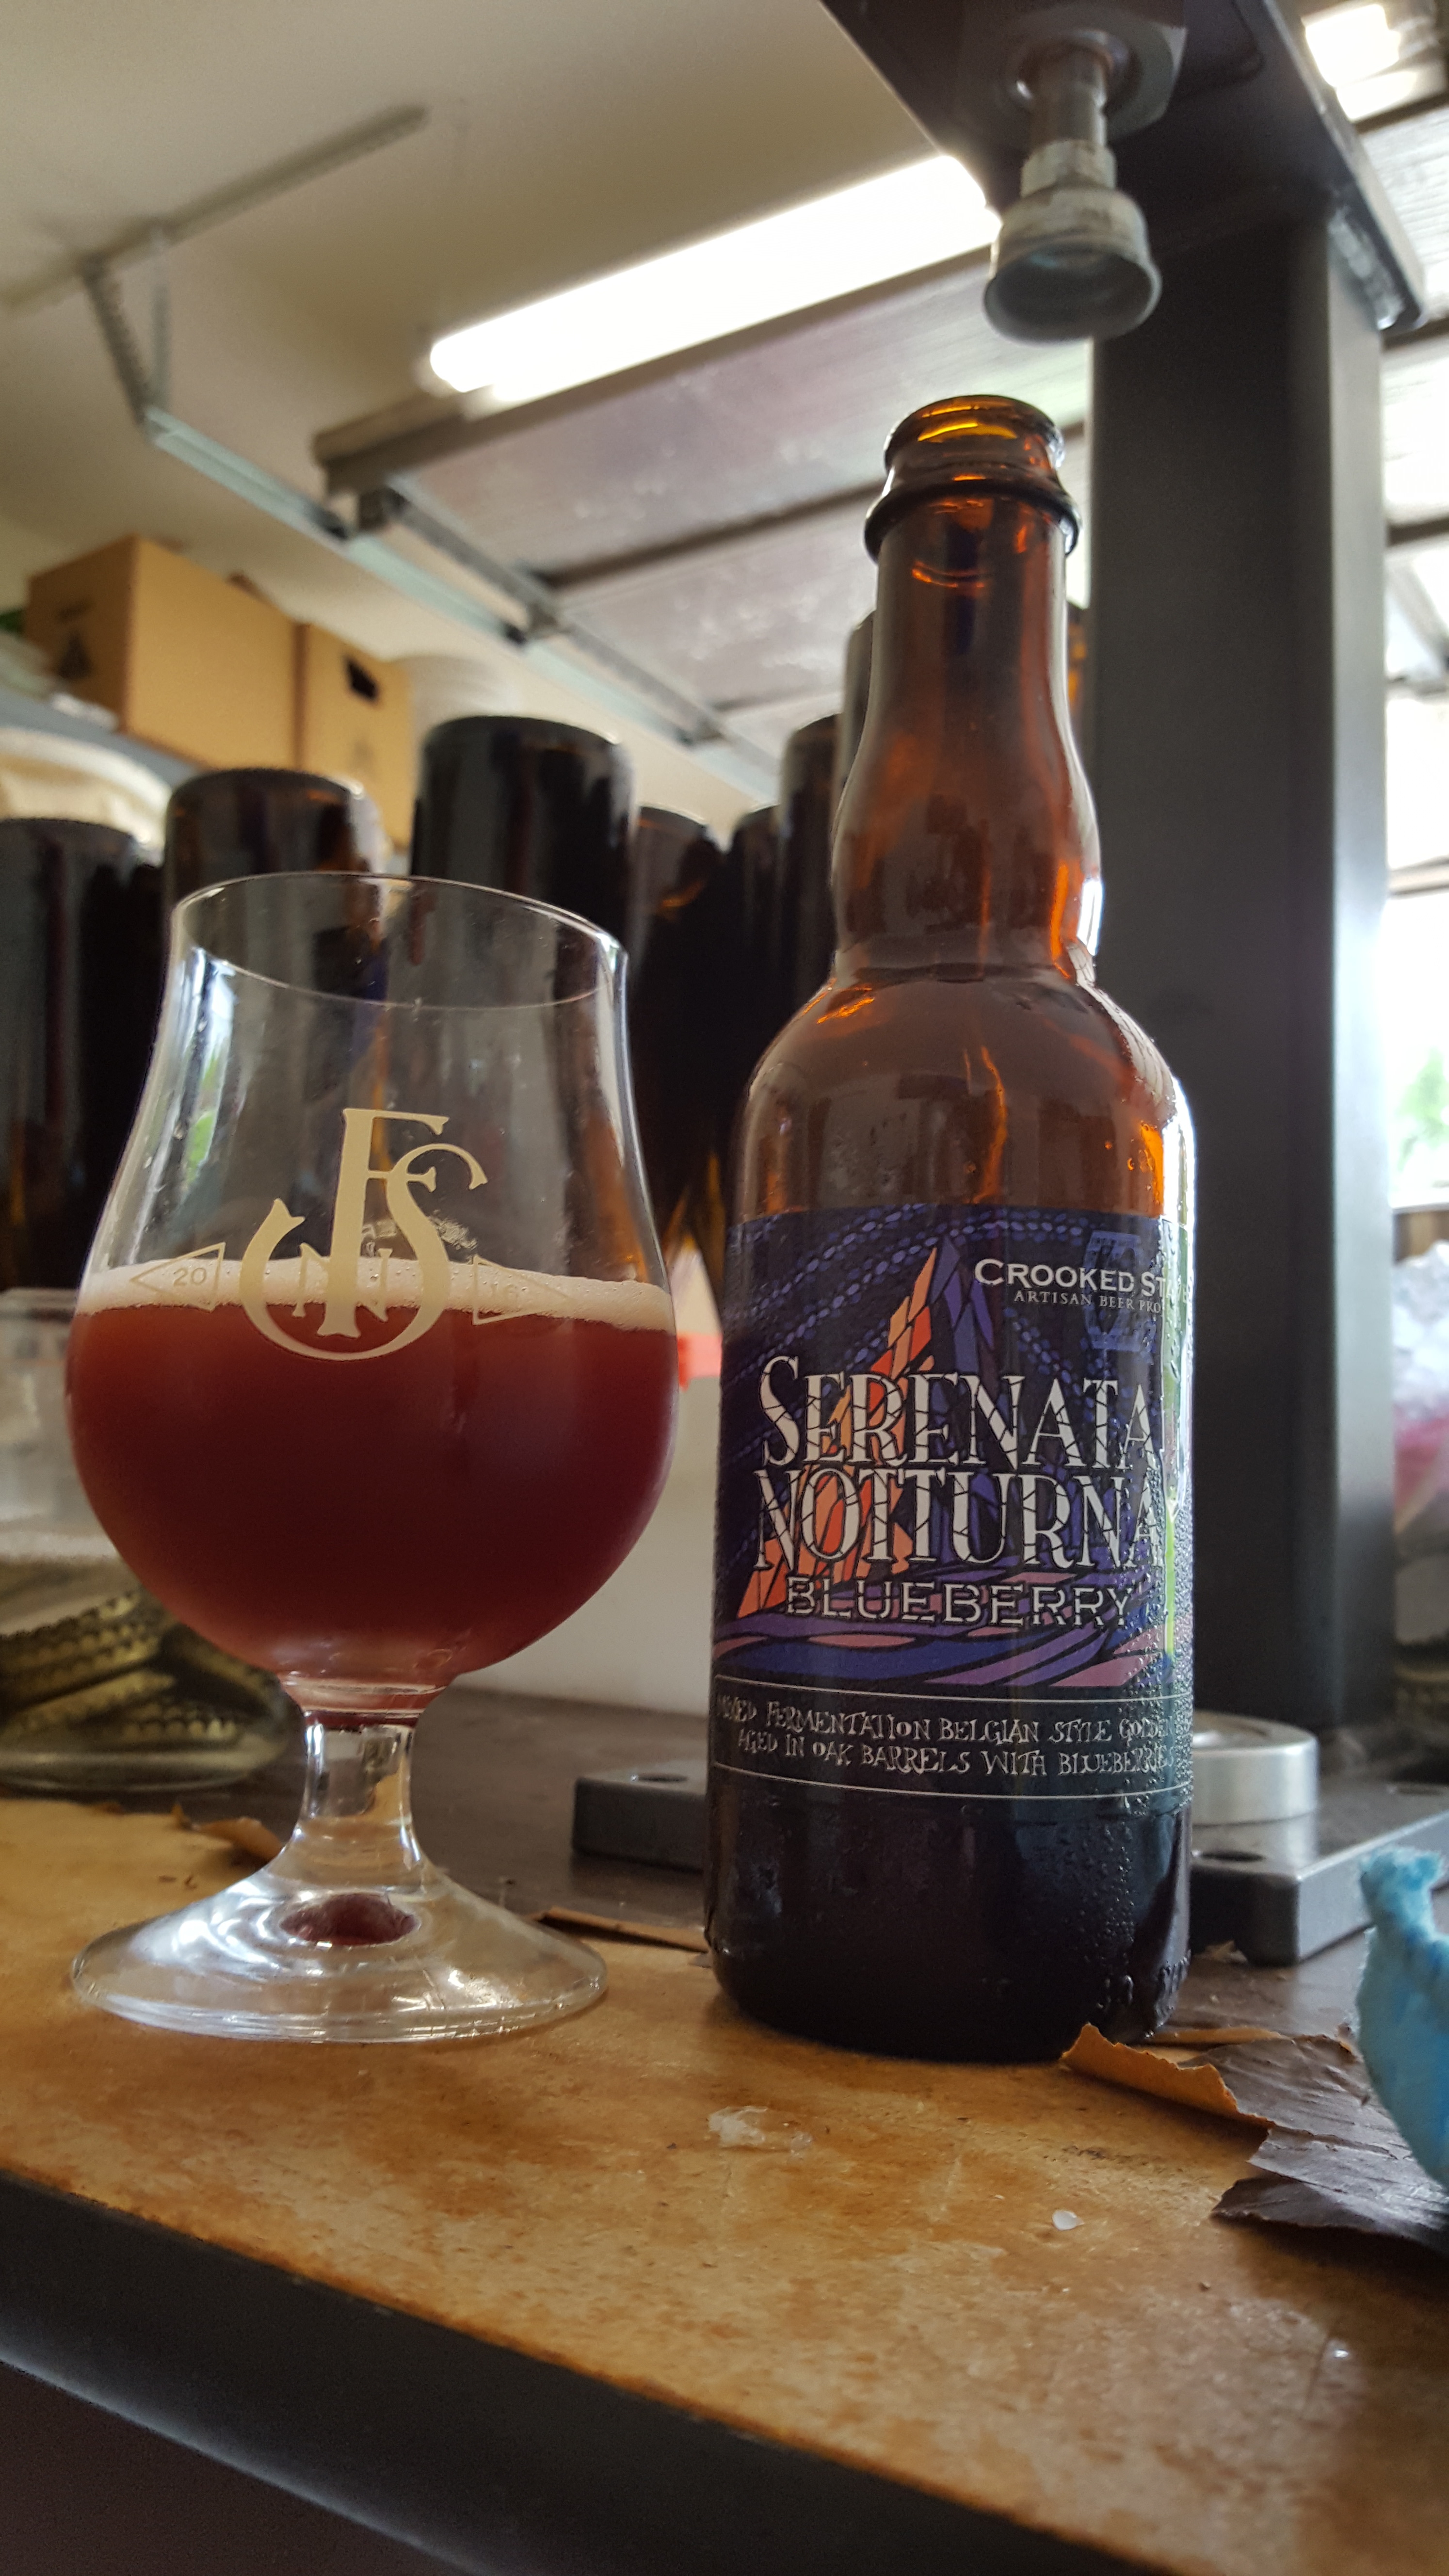
The good news is that I got things working and 5 gallons of beer ended up in 49 750mL bottles, 10 gallons into kegs. That’s about it.

chronical-dirty-1024x768

Bottling from the Conical – The Bad

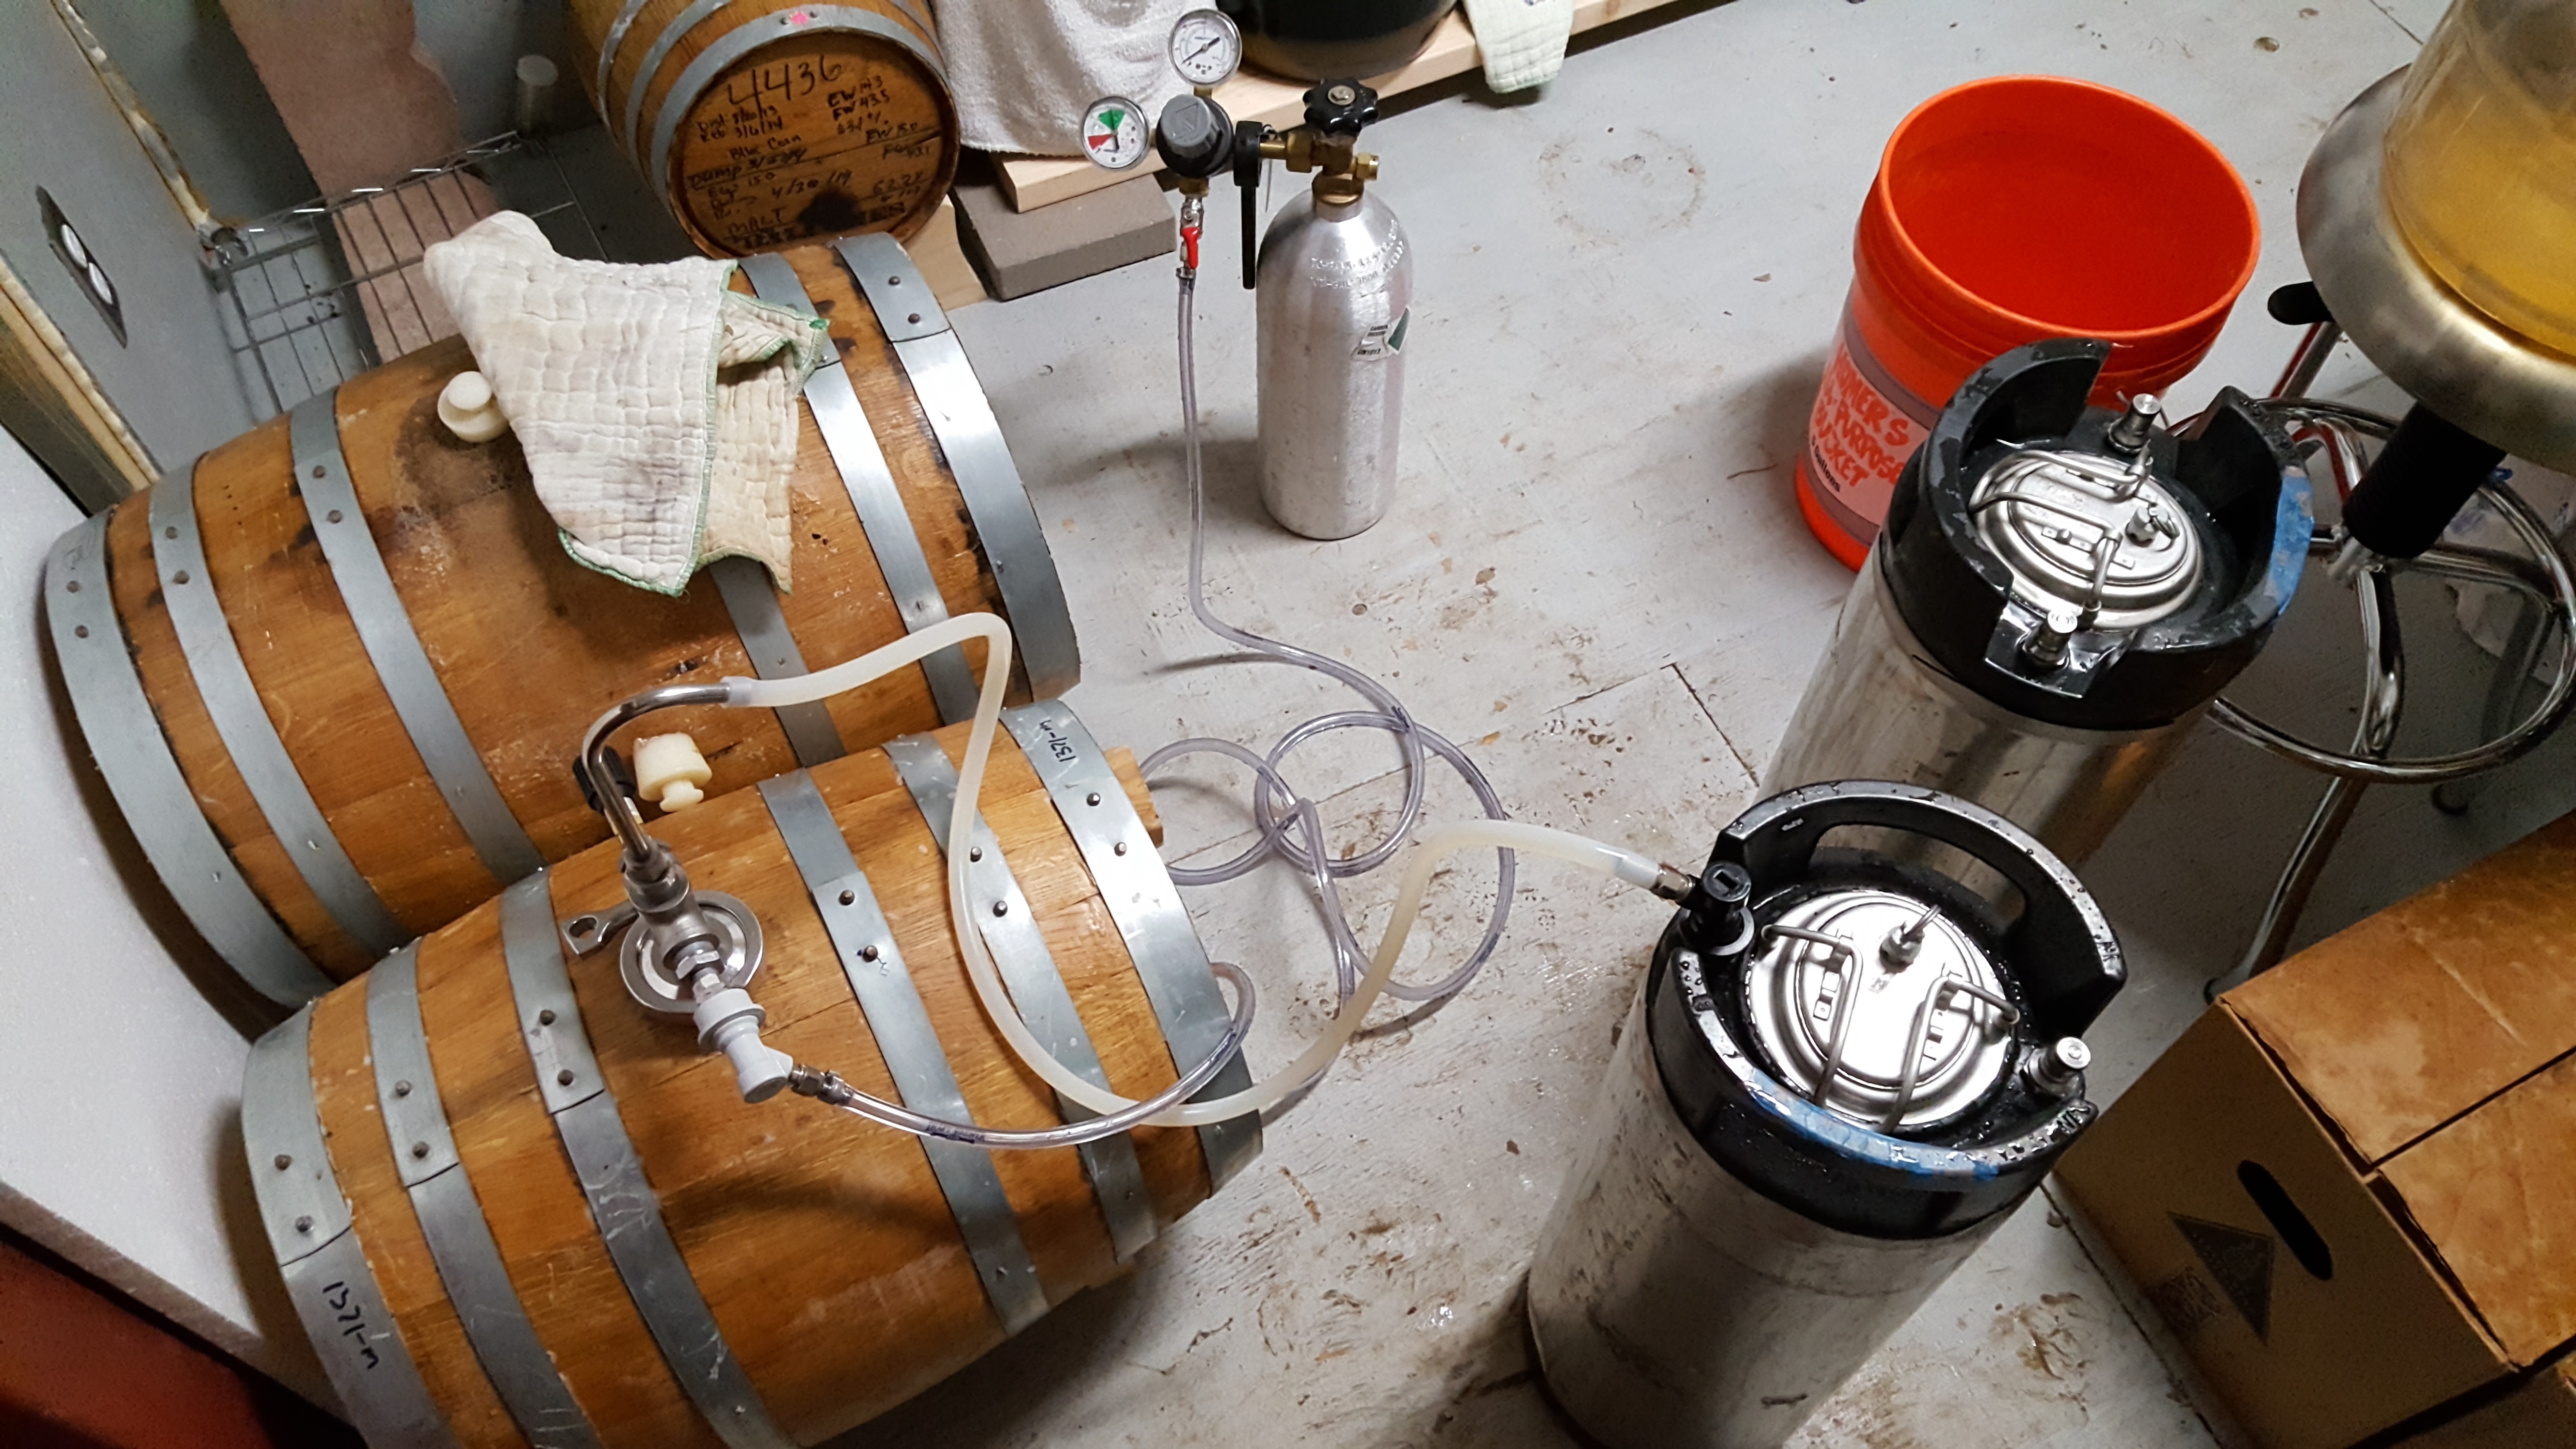
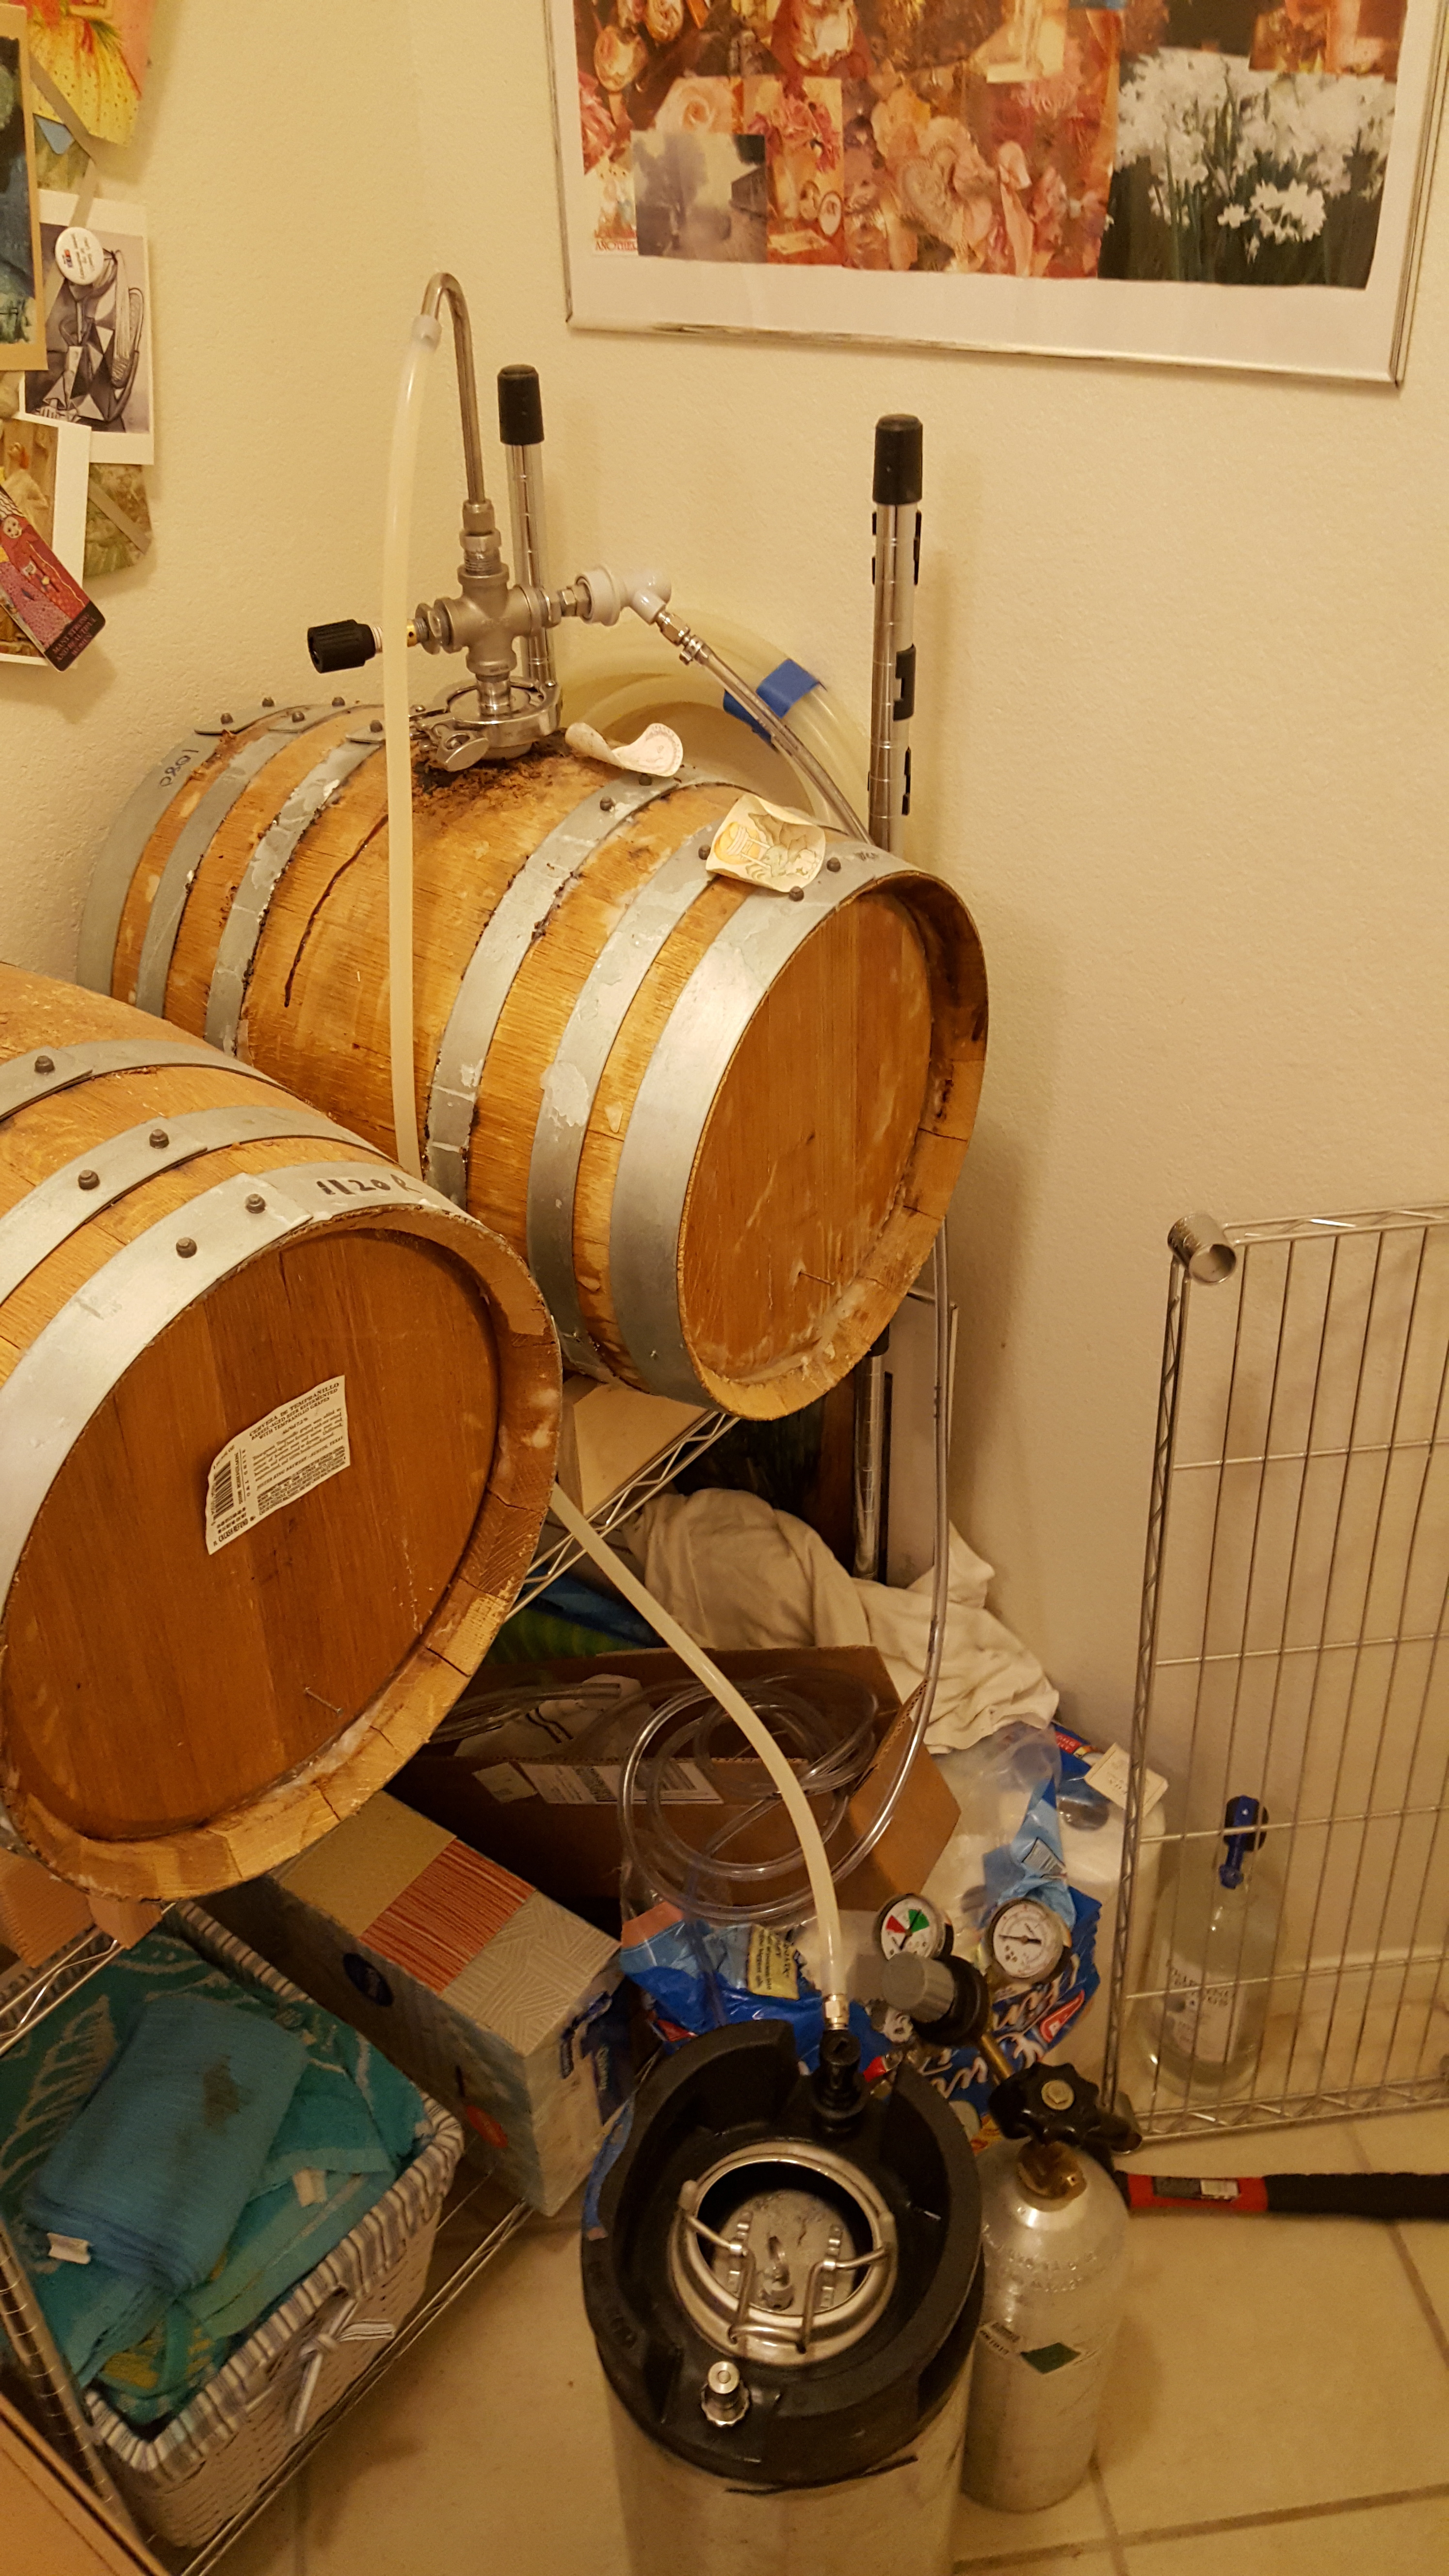
The biggest issue I faced was that the conical does not have any easy way to apply CO2 pressure. All of the connections are tri-clamp (save the sampling port) and the recommended way requires one to build an adapter. It would be very nice if the Chronical came with it, or SSBrewTech sold it as a kit. Most of my hair-pulling this evening was related to this as all of my gas lines have female Flare fittings for easy attachment to check-valves and ball-lock quick disconnects. The Last Straw bottling equipment I purchased to compare to my Blichmann Beergun did not come with a 3-way flare tee for splitting the CO2 gas between the filler and the source (though NB lists them as a required part). I had to build one which was rather leaky and quite a bit of CO2 was lost while in use. The liquid line from the Chronical to the where I was filling and capping was probably 12 feet. This extra length is useful for when your filling with already carbonated beer as it slows the flow down. For uncarbonated beer, this just slowed down each bottle fill. The Last Straw itself appears designed specifically for filling already carbonated beer as the diameter of the liquid tube is very small, certainly smaller than the Blichmann.

Bottling from the Conical – The Ugly (my fault)

I have a 3-way flare tee but I couldn’t find it.
I have a 1/2″ barb to ball-lock post adapter, but I couldn’t find it.

The Fix!

First, I’m building the 3″ pressure relief tri-clover adapter to 1.5″ tri-clover. From there, I can switch between elbows and other things. Second, the fancy folks at brewershardware make tri-clover to ball-lock posts, both gas and liquid which allows instant connection to any of my current kegging and bottling equipment. Third, reducing the length of line used to as short as possible since I want to maximize fill-speed for bottling uncarbonated beer. Last, I’ll likely switch to the Beergun as it has a faster flow. I’m really torn as the single-handed orientation of the Last Straw was much more comfortable than how you have to hold the BeerGun.

New parts I’m ordering (Updated 2016-10-07):