Waste not, Wort not

Mmm, hot break pre cursor

Sanitizing wort saved from squeezing the spent grain.

One of the things I’ve learned about working with Brettanomyces and other non-Saccromyces organisms is that they need to be cared for in a different way.  For Sacc, I don’t keep any extra or spare yeast around, besides the backup dry-yeast packets for stalled or failed fermentations.  However, since finding Brett and Brett blends that taste good is difficult, many times homebrewers are stepping up yeast from bottle dregs and want to hang on to them for a while.

My first reading on how to keep Brett and other bugs going was from The Mad Fermentationists.  I picked up four 1-gallon jugs and air locks.  I’m using unfiltered pure apple juice to feed the Lactobacillus, and then some simple Dry Malt Extract (DME) based starters for Brett and Pediococcus.

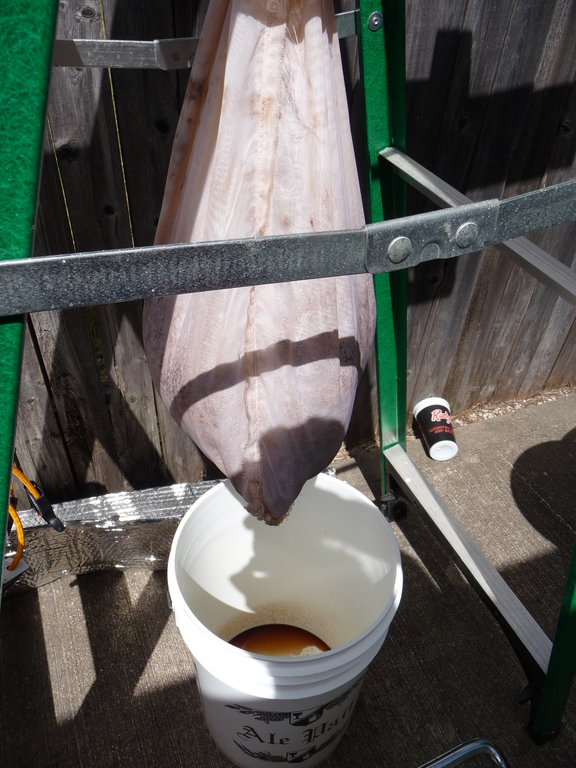
DME is fairly inexpensive, but it certainly takes time to prepare and cool a batch for keeping the organisms happy.  The Mad Fermentationist’s mentions to decant and feed the bugs every month or so.  It occurred to me that I’m already making a batch of wort that I could use.  I brew roughly every two weeks and part of my process involves moving the spent grain into a bucket lined with a nylon bag.  I used to do brew-in-the-bag method, but with the Blichmann false bottom, I no longer need to worry about having a bag big enough, nor a winch to lift such a bag.   The remaining benefit to the bag usages was to remove excess wort and moister from the grain to prevent one of the most potent and foul aspects of brewing from occurring:  rotten grain.

Mmm, extra wort

Grain bag holding spent wort, draining into a bucket for re-use.

It was a Friday night after one of my first brews on the new system and I had poured the spent grain into no less than three layers of garbage bags and tossed the old, wet, grain into the trash can.  Our garbage collection service stops by on Tuesday morning.   I spent quite a while in the garage on Sunday morning trying to find whatever dead animal that crawled in and died.  I soon discovered that the offensive odor was coming from the bag of rotten grain.  It took more than a few days to be rid of that awful smell.  Lesson learned.

Thus every brew night I let the grain in the bag cool down after squeezing a gallon or more of wort out of the bag.  Sometimes I use the extra wort to bring up my batch to the target volume, but at this point I’ve got my system dialed in.  That means I’m just throwing the wort onto the grass.  Well, no more my friend.

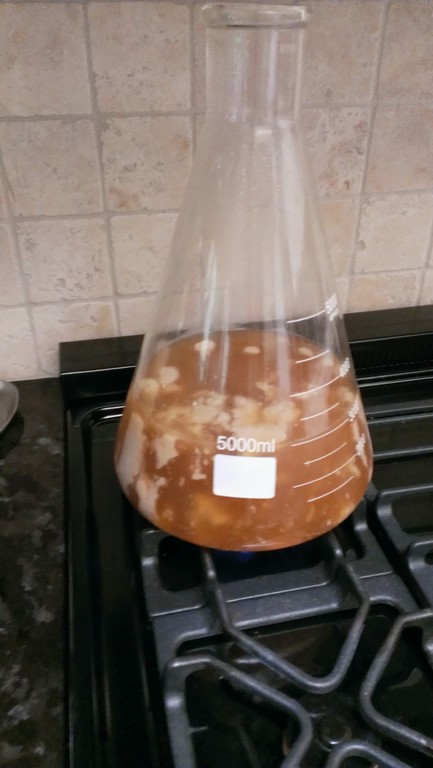
I saved off the extra wort in one of the gallon jars and I was just about to split it up to pitch the bugs into it when I realized that it hadn’t been boiled and was teeming with lots of bugs from the grain.  A quick boil on the stove and a chill in the sink and I was done.  I’m completely happy with this method for not wasting wort as well as keeping my new collection of yeast and bacteria well fed.

 

Brett to the rescue

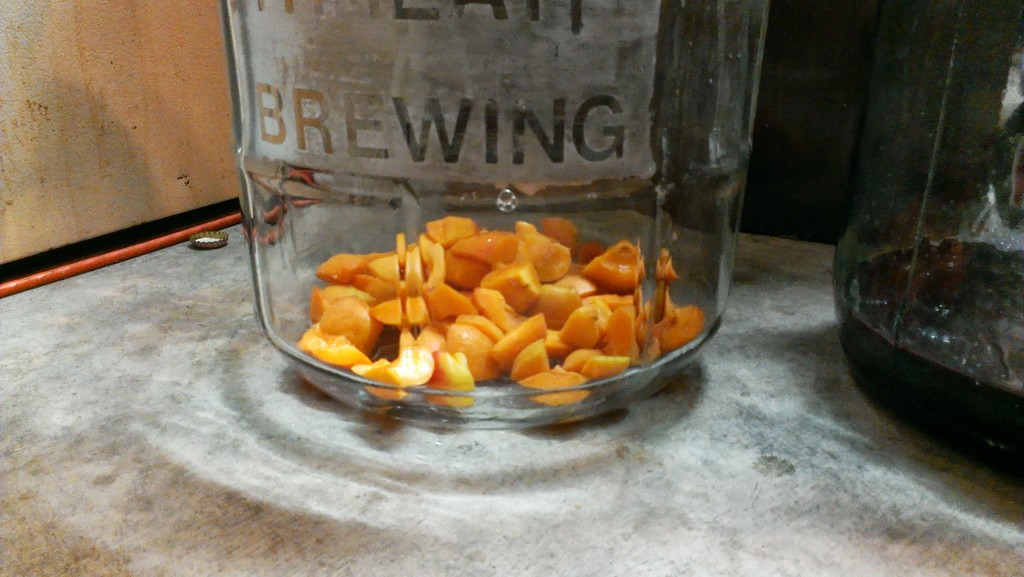
Fresh-cut Apricots

Fresh-cut Apricots waiting to age in Berliner Weisse

A few months ago, I brewed 10 gallons Berliner Weisse using the sour worting technique. That was my first time attempting to sour mash that much wort and I was testing out new equipment to hold the temperature steady for growth of Lactobacillus.  After 12 hours, the temperature had risen to 130F which was rather close to temp needed to kill off the lacto.

Mmm, Grain...

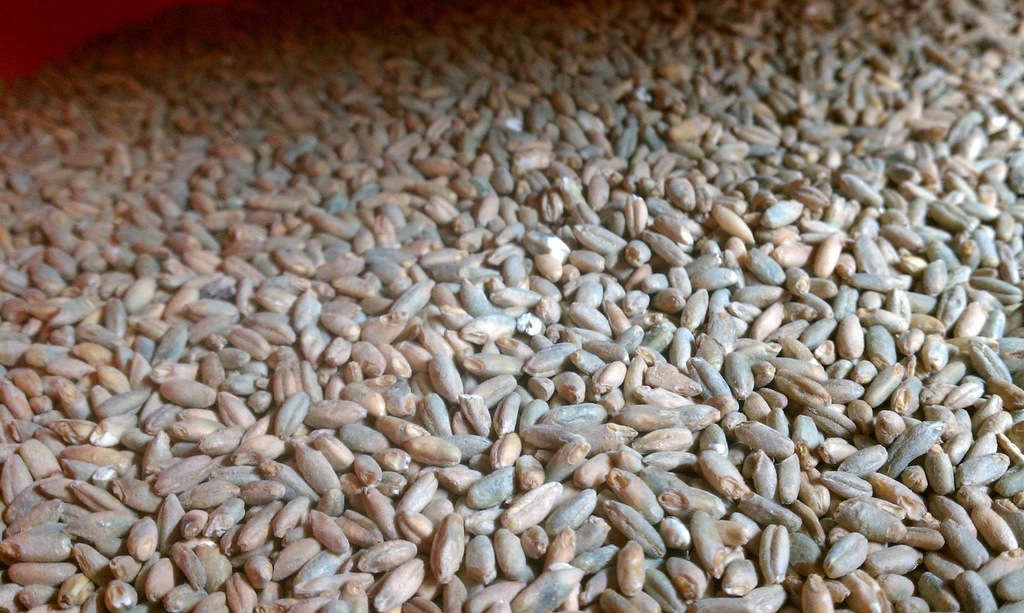
Uncrushed grain just teeming with souring bacteria among other things

I went to pick up a few more vials of pure lacto, but the homebrew store was out, so I had to go old-school and pitch multiple handfuls of uncrushed grain which contain Lactobacillus among many other bugs.  This was successful in generating an amazingly tart flavor.  However, the side-effect was that I also picked up some butyric acid as well which has the lovely aroma of gym feet and old cheese.

Mmm, Apricots and Blackberries

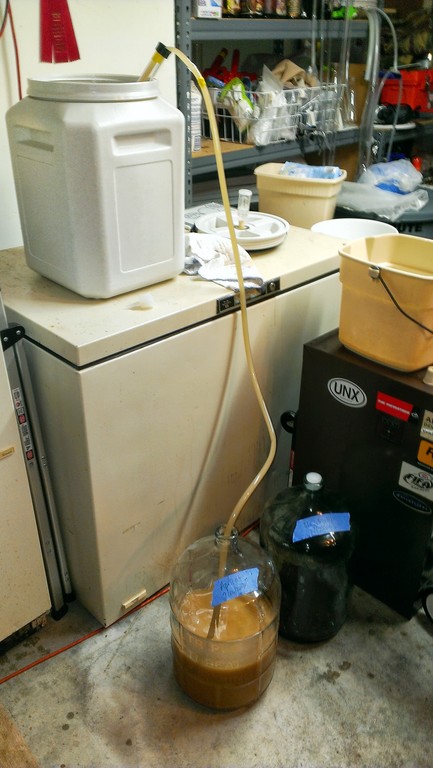
Racking into two 5 gallon carboys with fruit

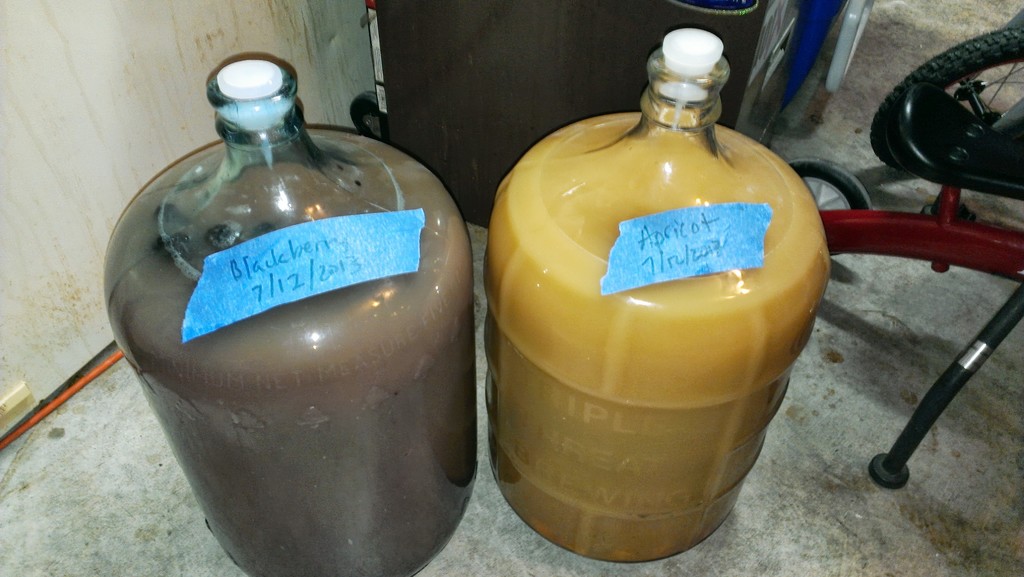
In the hopes that some extra age and fruit might help, I racked the beer into two containers with puree of Apricot and Blackberries, along with some fresh fruit of the same.

mmm, fruit

Blackberry on the left and Apricot on the right

Two weeks passed and the flavors were really taking shape, picking up lots of the fruit aroma and taste.  The foot oder, however, was still quite present.   My next thought was to do something I had just heard from a podcast on The Brewing Network.  Chad Yacobson of The Brettanomyces Project who know runs Crooked Stave brewery described the process around a no-boil berliner weisse. Chad ended up needing to innoculate the beer with brett and waited over two months to allow the brett to convert the buteyric acid into more lively pineapple and tropical fruit aromas.

Mmm, secondary fermentation...

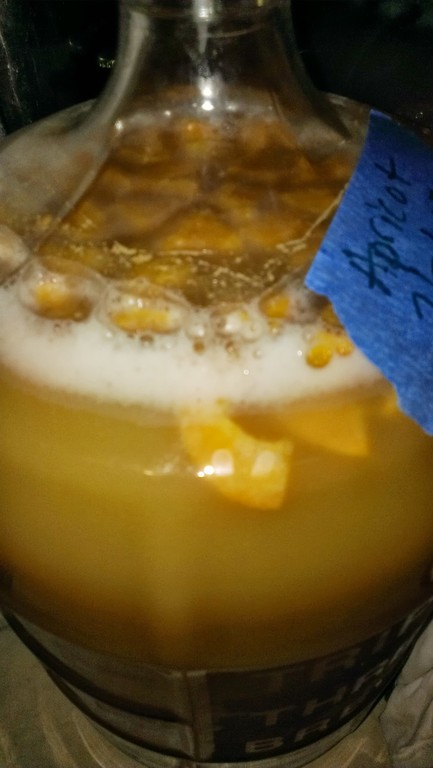
With the addition of fruit and sugars, the yeast get started again…

Before I had a chance to step up any pure strain I ended up pitching some bottling dregs from a non-sour Jester King beer, Noble King, as they use Brett Drie for bottling yeast.  Within two weeks of pitching, we now have a nice pelecile formed on top of the berliner weisse.

IMAG1235-1024x768 IMAG1234-1024x768

Have barrel, will fill

Mmm, whiskey...

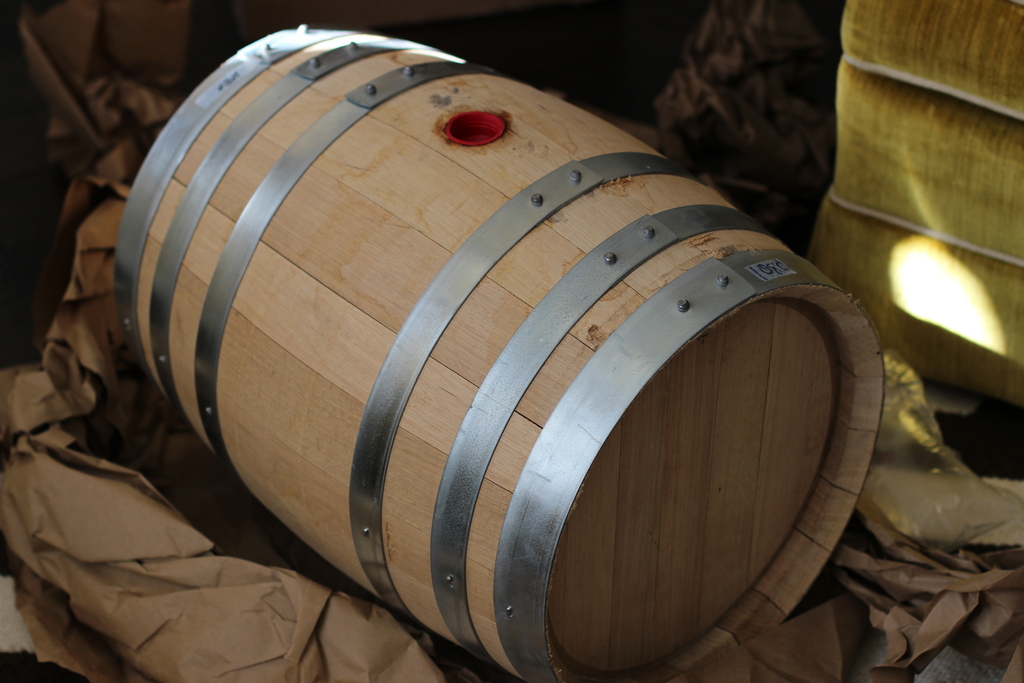
Used Whiskey Barrel from Farmhouse Brewing Supply

What to do when you have an empty whiskey barrel?  Recently I emptied my whiskey barrel that had a favorite Russian Imperial Stout recipe, Black Metal Stout, from my favorite local brewery, Jester King.   With the RIS out of the barrel I knew that I needed another beer to occupy the space fairly soon, lest my barrel turn sour or worse, start leaking.

To temporarily keep the barrel clean and leak-free, I’ve kept some vodka inside and rotate the barrel every few days.  But the real solution is to brew another beer.  In this case, I eventually decided that I should pursue another take on one of my favorite Strong Scotch Ales, Old Chub from Oscar Blues brewery.

Previously I had soaked oak spirals in Isle of Islay single malt scotch whiskey.  To continue that concept I decided that we’d age some Old Chub in the whiskey barrel.  This Friday I’ll be brewing up Old Chub, 11 gallons of it, and pitching a 4 Liter starter of White Labs Cali Ale (001) and then in about two weeks I’ll rack everything that fits into the whiskey barrel.

The first beer in the barrel stayed about three months and pulled a significant amount of whiskey flavor and aroma.  I decided that I wanted enough flavor and aroma to stick around for a while since I bottled half of the batch in 750ml containers for long term storage and natural carbonation.  It will be interesting to see how long it takes to get a nice whiskey aroma and flavor in the Old Chub; I’m guessing roughly the same time since Old Chub is less roasty than a RIS.

Recipe Details

Batch Size Boil Time IBU SRM Est. OG Est. FG ABV
11 gal 90 min 46.9 IBUs 23.1 SRM 1.079 1.017 8.2 %
Actuals 1.046 1.01 4.7 %

Style Details

Name Cat. OG Range FG Range IBU SRM Carb ABV
Strong Scotch Ale 9 E 1.07 - 1.13 1.018 - 1.03 17 - 35 14 - 25 1.6 - 2.4 6.5 - 10 %

Fermentables

Name Amount %
Brewer's Malt, 2-Row, Premium (Great Western) 28.224 lbs 83.11
Crystal Dark - 77L (Crisp) 2.344 lbs 6.9
Munich Malt 1.554 lbs 4.58
Special B Malt 12.73 oz 2.34
Smoked Malt (Weyermann) 9.28 oz 1.71
Chocolate Malt (Thomas Fawcett) 7.37 oz 1.36

Hops

Name Amount Time Use Form Alpha %
Nugget 1.8 oz 60 min Boil Pellet 13

Yeast

Name Lab Attenuation Temperature
American Ale (1056) Wyeast Labs 75% 60°F - 72°F

Mash

Step Temperature Time
Mash In 152°F 60 min

Saving a bad beer

IMAG1071

A while back I brewed 10 gallons of an English Mild.  The initial plan was to split the batch into two 5 gallons portions.  For the first half, pitch the wort onto the yeast from my first Flanders Red sour and for the second, use regular brewer’s yeast for a non-sour English Mild.  Along the way the non-sour portion ended up in my 5 gallon oak barrel to start the process of working the oak flavor out of the new barrel to eventually be used to hold more sour beers.

It was going to be a rough two weeks.  Hours after racking Fancy Lad into the new oak barrel, I realized that I hadn’t really worked hard enough to seal the barrel.  It was leaking beer pretty steadily.  After a few old cloth diapers and the use of a heavy fan, I had slowed the leak.  In a few days though I noticed that the outside of the keg was growing some mold or something.  I immediately wiped this off and wondered what was going to happen.

The second mistake with Fancy Lad in the barrel was leaving it in way too long.  Though with tasting, it was hard to tell since I used a beer that I’ve never tasted before.  I couldn’t quite tell where the beer ended and the oak began.  I also picked up a soap-like flavor.  Is that young beer, an infection, or too much oak?

IMAG1070

After reading around, the best advice I found was the 3-3-3 rule for new oak barrels.  The first beer gets 3 days in the barrel, that’s it.  Then 3 weeks for the second beer and then 3 months for the third.  After that, most or all of the oak flavors are gone and the barrel either needs to be re-charred, or used for long term aging.

Fancy lad spent two weeks in the barrel, not 3 days.  When I racked and carbed, the flavor didn’t improve at all.  Inspecting the barrel revealed a bunch of white floating spots.  I posted the photos to a few boards, but no one knew for sure what it was.  After a few weeks in the keg carbing, it was clearly turning more and more sour.

My initial thought was to drain-pour this terrible result.  But, the more I thought about it, the more interested I was in seeing if the beer can be rescued.  I decided that it should get *more* sour, not less.

I added sour beer bottle dregs, from Jester King’s Funk Metal and Logsdon Farmhouse Ales’ Seizoen Bretta.  I’ve pulled the keg from the chest freezer and I’ll condition this beer in the keg for months, adding additional sour dregs as I drink the bottles.  I’ll also mix in some malto-dextrins to beef up the mouthfeel.

Here’s hoping for a post in 6 months about how great Funky Lad has become.


Sampling from Barrels

whiskey_barrel_close_up_nail-rot
Now that I have two beers aged in oak barrels at Woxford Brewing Co, I’m ready to sample the beers to track how they are progressing.  In both cases, I’m looking to ensure that the beer picks up enough barrel flavors but preventing the beer from oxydizing or becoming dominated by the oak and other characteristics obtained from the wood.

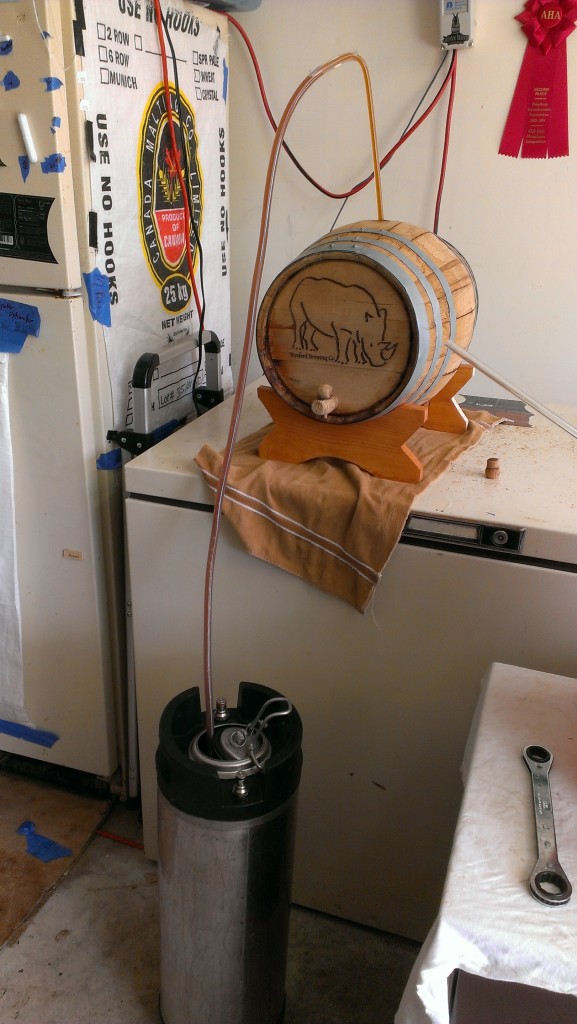
The new 5 gallon barrel comes with a handy spigot already configured for sampling.  A simple turn of the knob and opening of the bung will allow beer in the barrel to flow out.  For larger barrels, no such spigot is available so one must improvise.

The good news is that as with most beer brewing, someone has already figured out a really good way to do things.  In this case, a well known brewery in California, Russian River, home to master brewer and barrel user Vinnie Cilurzo, shared sometime ago on the ProBrewer forum his technique for installing sampling ports on his barrels.

I’ve seen this technique employed in many places, even right in our backyard at Jester King Brewery in Austin Texas.  With the technique well understood, the only matter left was to install the port.

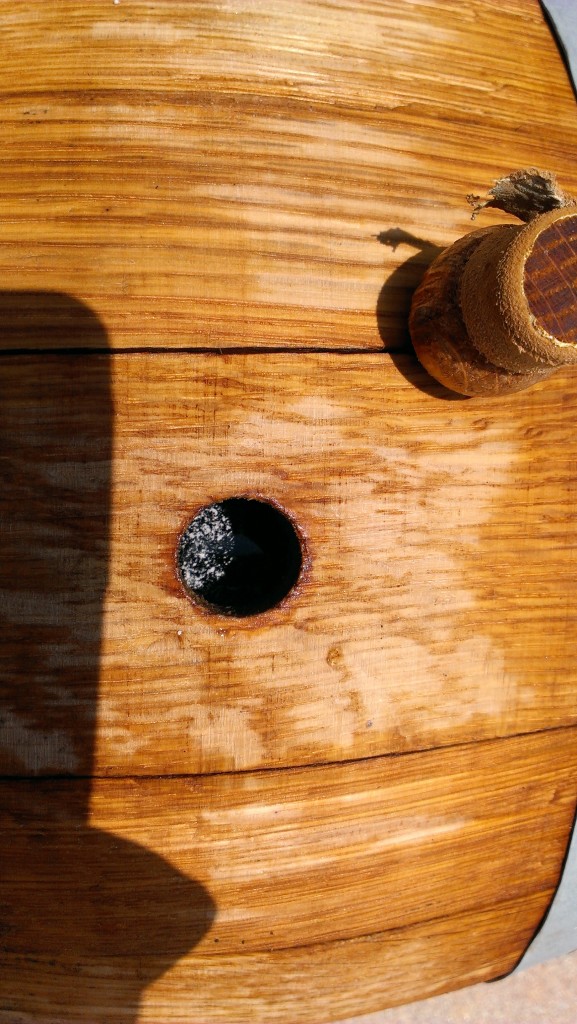
whiskey_barrel_drilled_hole-90-rot

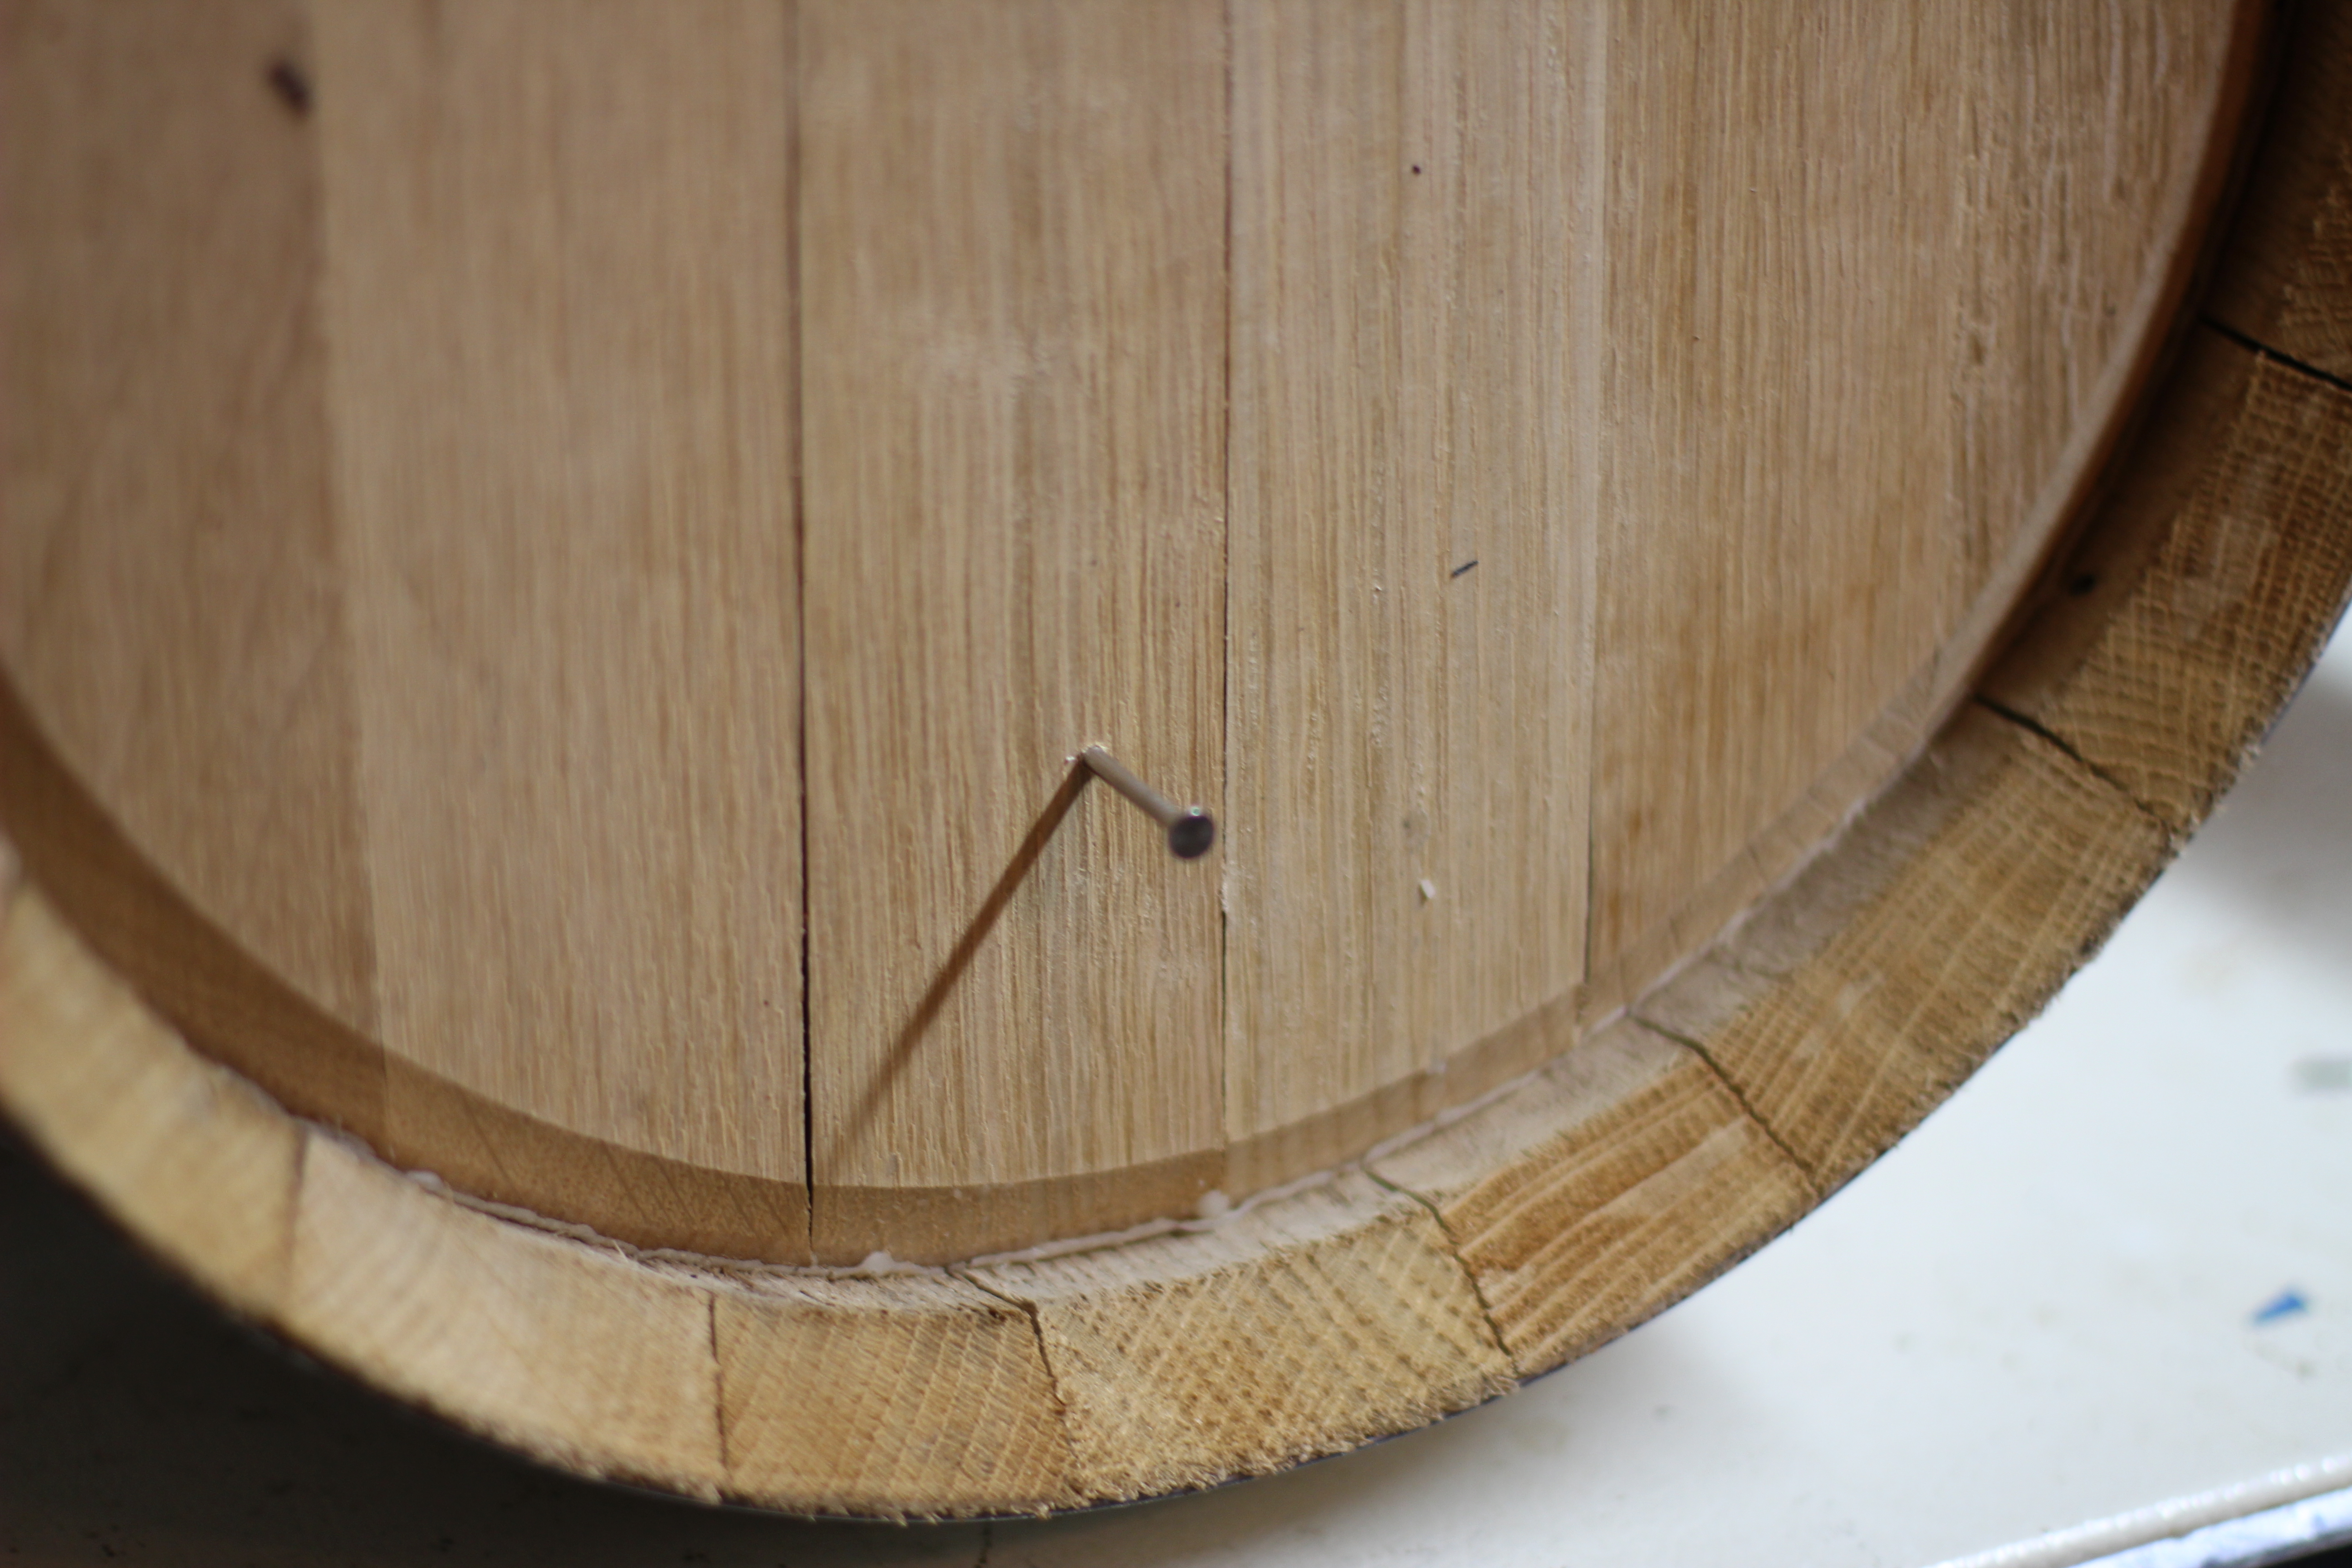
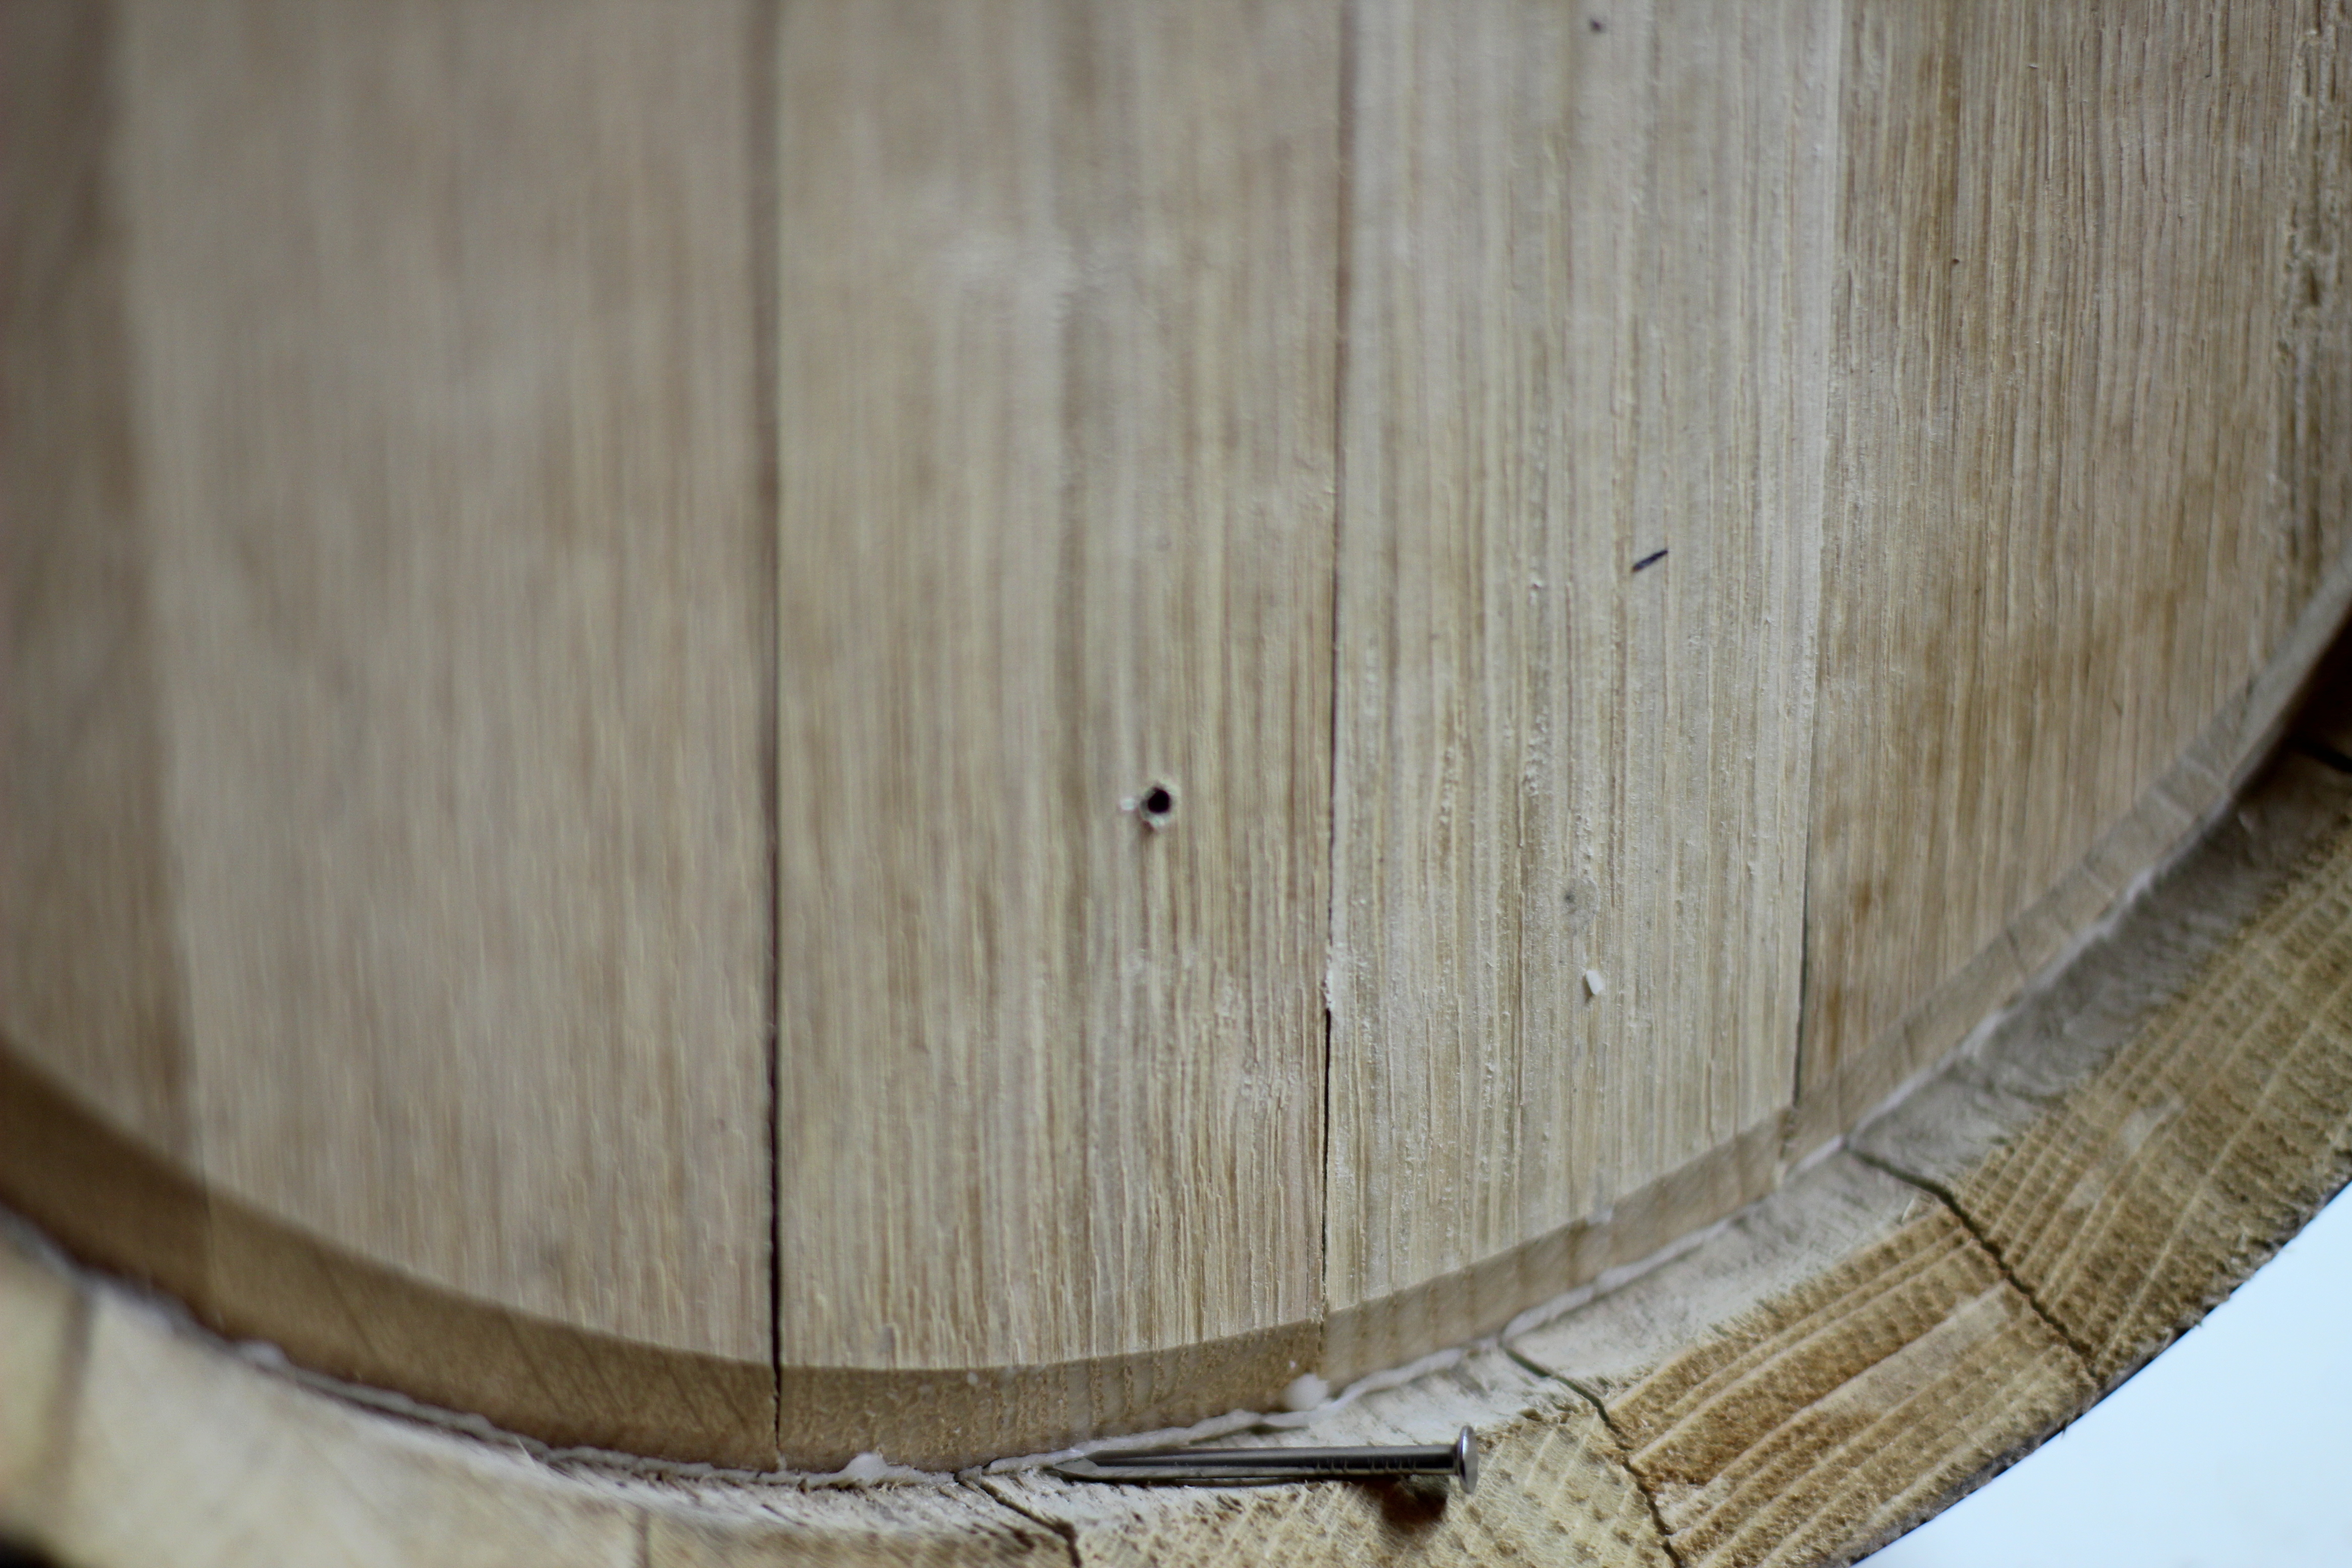
Using a power drill and 3/64″ wood cutting bit and about 5 seconds, a quick hole was made a few inches up from the bottom of the barrel, avoiding any trub or other material that may settle out (think fruit pulp).   The 4d 1.5″ 316 stainless steel nail fits like a glove and works perfectly as a sampling port.

The beer does flow pretty fast out of a small hole so you have to be prepared with a spare nail (in case you drop it) and a glass large enough to contain the flow.

Now, on to the samples.

whiskey_bms_sample-1024x768

I’ve taken about 3 samples of this beer.  At 2, 4 and 8 weeks.  I was initially thinking that 4 weeks would be about right, but after tasting it then, it didn’t quite have enough of the whiskey punch I wanted, so it was easy to just keep it in until it was tasting just right.  The rule-of-thumb I’ve been following is to have just a bit more barrel flavor than you really want as it will mellow out as the beer conditions in the bottle.

At 8 weeks, the sample is exactly where I want it.  I’m getting a great aroma, classic whiskey barrel flavors of oak, vanilla, toast, sweetness, alcohol, roast from the beer.  And the beer complements this flavor, dark stone fruit, plums.

The next step is to rack this beer into two 5 gallon corny kegs with bottling sugar.  I’ll then naturally carbonate one keg, and bottle fill 25 750ml bottles for easier aging in the bottle.
I’ll keep you posted on the racking and bottling of this beer.