Something old and Something New – Taa Dow

taa-dow-hops-1024x768

If you give me 10 hops then I use all 10!

Double IPAs are just fabulous. I just can’t get enough of them. I’m a huge fan of the Stone Enjoy-by series. As far as I’m concerned it’s a win-win-win situation. Stone makes an incredible hoppy, fresh beer that needs to be distributed, served and drunk in the span of months. I’ve never tasted a fresher IPA than one I’ve brewed myself.

On that path, even though I just brewed an Imperial IPA, ff3k, there’s nothing wrong with following up with another one.  This recipe caught my eye after appearing on a list of beers that *must* be tried passed to me by a friend.  The first beer, Heady Topper caught my eye as I didn’t know it was an Imperial IPA and I had seen a huge thread on homebrewtalk.com  where many homebrewers had been working to clone the beer.

One can never be completely sure if the recipe isn’t shared from the brewery; and even if it is, the differences in equipment and process can definitely affect the final beer.  That means it’s a bit of a gamble if you’ll actually clone the beer.

None of that concerns me though as I know a good IPA recipe when I see one.  Thanks to a dedicated group on homebrewtalk.com and Signpost Craft Brewing, we’ve got something close to Heady Topper.

Here’s my take, note I couldn’t find the Pearl malt in large enough quantities, so I’m using Marris Otter.

Recipe Details

Batch Size Boil Time IBU SRM Est. OG Est. FG ABV
6 gal 90 min 188.2 IBUs 7.3 SRM 1.077 1.013 8.5 %
Actuals 1.073 1.01 8.3 %

Style Details

Name Cat. OG Range FG Range IBU SRM Carb ABV
Imperial IPA 14 C 1.07 - 1.09 1.01 - 1.02 60 - 120 8 - 15 2.2 - 2.7 7.5 - 10 %

Fermentables

Name Amount %
Maris Otter (Thomas Fawcett) 15.022 lbs 88
White Wheat Malt 15.57 oz 5.7
CaraMalt 8.19 oz 3
Turbinado 9.01 oz 3.3

Hops

Name Amount Time Use Form Alpha %
Hopshot 12.02 oz 90 min Boil Pellet 3.5
Columbus (Tomahawk) 1.2 oz 5 min Boil Pellet 14.7
Apollo 0.6 oz 5 min Boil Pellet 18
Columbus (Tomahawk) 2.4 oz 0 min Boil Pellet 14
Columbus (Tomahawk) 1.2 oz 30 min Aroma Pellet 14
Simcoe 1.2 oz 0 min Boil Pellet 13
Simcoe 1.2 oz 30 min Aroma Pellet 13
Amarillo Gold 0.9 oz 30 min Aroma Pellet 8.5
Apollo 0.6 oz 30 min Aroma Pellet 12.5
Centennial 0.6 oz 30 min Aroma Pellet 10.5
Simcoe 2.4 oz 8 days Dry Hop Pellet 13
Columbus (Tomahawk) 1.8 oz 8 days Dry Hop Pellet 14
Amarillo Gold 1.2 oz 8 days Dry Hop Pellet 8.5
Centennial 1.2 oz 8 days Dry Hop Pellet 10.5
Apollo 0.6 oz 8 days Dry Hop Pellet 17

Yeast

Name Lab Attenuation Temperature
American Ale (1056) Wyeast Labs 75% 60°F - 72°F

Mash

Step Temperature Time
Mash In 150°F 60 min

The Sour Pipeline

la-folie-2009-1024x768

This past Friday, I brewed the next beer in the sour pipeline.  I’ve been alternating back to a Flanders Red this time, and one of my all-time favorite beers and sours.  New Belgium‘s La Folie.

I fell in love with La Folie in 2008 and in early 2009 the Texas market was flush with the newly introduced Lips of Faith series along with hand-bottled batches of La Folie.  I scavenged the Austin market and obtain nearly 2 cases of this amazing beer and I still have 4 or 5 of these sours aging.

Handbottled La Folie, number 491, bottled in January 2009.

Handbottled La Folie, number 491, bottled in January 2009.

This brewnight was also the 6 month date from the first sour beer I brewed with the Roeselares yeast with some help from some of my favorite local sour beers from Jester King and it was time to make room in the sour pipeline.

As I brewed the La Folie recipe found in an older BYO article, I transferred the original Flanders Red, in Rubicundiusque or Ruby as it’s now called, into a keg for serving.  The beer had matured wonderfully.  In the last month it had been resting on a couple ounces of Pinot Noir oak cubes providing some wine-barrel like flavors and aromas.

All of these great aromatics and tastes were present in the samples.  The sour aspect wasn’t nearly as potent as La Folie, but Ruby is definitively sour and strikes a great balance on the pallete for an unblended sour.

After moving Ruby out of the carboy with oak cubes it was time to transfer in the second sour in the pipe line: 5 gallons of Fancy Lad.  Early sampling of this beer showed great things happening but the lighter gravity left the mouthfeel a bit thin.  I decided that I would  bolster this with some malto-dextrin.  I settled on 4 ounces in the  5 gallons.  I mixed the malto-dextrin with 16 oz of water and boiled for 5 minutes before adding it to the bottom of the carboy to help mix it in when racking from the source carboy into the target.

Once the brew session was complete, the La Folie wort went into a carboy with the Roeselares/Jester King dregs yeast cake.

After primary fermentation is complete in a few weeks I plan to enjoy a very aged and tasty 2009 La Folie and pour the dregs of this great beer into my La Folie.  I can only hope this will impart at least some of La Folie’s greatness into my beer.

Here’s the recipe

Recipe Details

Batch Size Boil Time IBU SRM Est. OG Est. FG ABV
5 gal 60 min 20.3 IBUs 11.8 SRM 1.062 1.014 6.3 %
Actuals 1.046 1.01 4.7 %

Style Details

Name Cat. OG Range FG Range IBU SRM Carb ABV
Flanders Red Ale 17 B 1.048 - 1.057 1.002 - 1.012 10 - 25 10 - 16 2.2 - 2.7 4.6 - 6.5 %

Fermentables

Name Amount %
Brewer's Malt, 2-Row, Premium (Great Western) 9.75 lbs 75.03
Crystal, Medium (Simpsons) 1.31 lbs 10.08
Munich Malt 1.31 lbs 10.08
Wheat, Flaked 10 oz 4.81

Hops

Name Amount Time Use Form Alpha %
Liberty 1.06 oz 60 min Boil Pellet 3.9

Miscs

Name Amount Time Use Type
Calcium Chloride 5.00 g 60 min Mash Water Agent
Gypsum (Calcium Sulfate) 2.70 g 60 min Mash Water Agent
Epsom Salt (MgSO4) 0.50 g 60 min Mash Water Agent
Whirlfloc Tablet 1.00 Items 15 min Boil Fining
Yeast Nutrient 1.00 tsp 5 min Boil Other

Yeast

Name Lab Attenuation Temperature
American Ale (1056) Wyeast Labs 75% 60°F - 72°F
Belgian Lambic Blend (3278) Wyeast Labs 70% 63°F - 75°F

Mash

Step Temperature Time
Saccharification 152°F 75 min
Mash Out 168°F 10 min

Notes

Mash at 154 °F (68 °C). Boil for 60 minutes. Ferment with neutral ale yeast at 75 °F (24 °C), then rack to barrel and add sour blend. Aging time is totally up to the barrel. This is where years of tasting and blending come in handy. If you want to blend, try ~ 20% of a sweeter (younger) barrel, ~30% of a nice mild sour barrel and ~50% of a well established “tour gripper” with nice oak notes (cherries, horse blanket, etc). (Young usually means ~ 1 year, mid range ~2 years and grippers are 3+ years.) But there are no rules here. Do whatever works for you.

Don’t have the budget (or room) for a barrel? Try this “poor man’s” method of emulating some of the aspects of barrel aging. Conduct your primary fermentation in a bucket or ferment the beer with ale yeast, then rack it to a bucket — adding any “bugs” that may be called for. Buckets are more permeable to oxygen than barrels are, so let the beer condition in the bucket for only about 3 months, then rack it to a carboy for the remaining conditioning time. Two weeks before racking, take 3.0 oz. (85 g) of oak cubes (French oak, medium toast) and soak them in wine. Use Chardonnay for the Temptation clone, Pinot Noir for La Roja, Cabernet Sauvignon for Darth Porter and Burgundy or Meritage for Grand Cru and La Folie. Change wine every 3 days to lessen the intensity of the new oak. Add cubes when beer is racked to carboy.

Saving a bad beer

IMAG1071

A while back I brewed 10 gallons of an English Mild.  The initial plan was to split the batch into two 5 gallons portions.  For the first half, pitch the wort onto the yeast from my first Flanders Red sour and for the second, use regular brewer’s yeast for a non-sour English Mild.  Along the way the non-sour portion ended up in my 5 gallon oak barrel to start the process of working the oak flavor out of the new barrel to eventually be used to hold more sour beers.

It was going to be a rough two weeks.  Hours after racking Fancy Lad into the new oak barrel, I realized that I hadn’t really worked hard enough to seal the barrel.  It was leaking beer pretty steadily.  After a few old cloth diapers and the use of a heavy fan, I had slowed the leak.  In a few days though I noticed that the outside of the keg was growing some mold or something.  I immediately wiped this off and wondered what was going to happen.

The second mistake with Fancy Lad in the barrel was leaving it in way too long.  Though with tasting, it was hard to tell since I used a beer that I’ve never tasted before.  I couldn’t quite tell where the beer ended and the oak began.  I also picked up a soap-like flavor.  Is that young beer, an infection, or too much oak?

IMAG1070

After reading around, the best advice I found was the 3-3-3 rule for new oak barrels.  The first beer gets 3 days in the barrel, that’s it.  Then 3 weeks for the second beer and then 3 months for the third.  After that, most or all of the oak flavors are gone and the barrel either needs to be re-charred, or used for long term aging.

Fancy lad spent two weeks in the barrel, not 3 days.  When I racked and carbed, the flavor didn’t improve at all.  Inspecting the barrel revealed a bunch of white floating spots.  I posted the photos to a few boards, but no one knew for sure what it was.  After a few weeks in the keg carbing, it was clearly turning more and more sour.

My initial thought was to drain-pour this terrible result.  But, the more I thought about it, the more interested I was in seeing if the beer can be rescued.  I decided that it should get *more* sour, not less.

I added sour beer bottle dregs, from Jester King’s Funk Metal and Logsdon Farmhouse Ales’ Seizoen Bretta.  I’ve pulled the keg from the chest freezer and I’ll condition this beer in the keg for months, adding additional sour dregs as I drink the bottles.  I’ll also mix in some malto-dextrins to beef up the mouthfeel.

Here’s hoping for a post in 6 months about how great Funky Lad has become.


Sampling from Barrels

whiskey_barrel_close_up_nail-rot
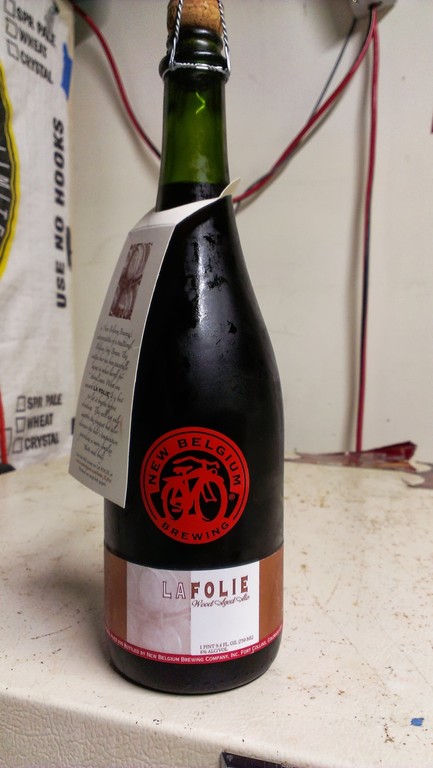
Now that I have two beers aged in oak barrels at Woxford Brewing Co, I’m ready to sample the beers to track how they are progressing.  In both cases, I’m looking to ensure that the beer picks up enough barrel flavors but preventing the beer from oxydizing or becoming dominated by the oak and other characteristics obtained from the wood.

The new 5 gallon barrel comes with a handy spigot already configured for sampling.  A simple turn of the knob and opening of the bung will allow beer in the barrel to flow out.  For larger barrels, no such spigot is available so one must improvise.

The good news is that as with most beer brewing, someone has already figured out a really good way to do things.  In this case, a well known brewery in California, Russian River, home to master brewer and barrel user Vinnie Cilurzo, shared sometime ago on the ProBrewer forum his technique for installing sampling ports on his barrels.

I’ve seen this technique employed in many places, even right in our backyard at Jester King Brewery in Austin Texas.  With the technique well understood, the only matter left was to install the port.

whiskey_barrel_drilled_hole-90-rot

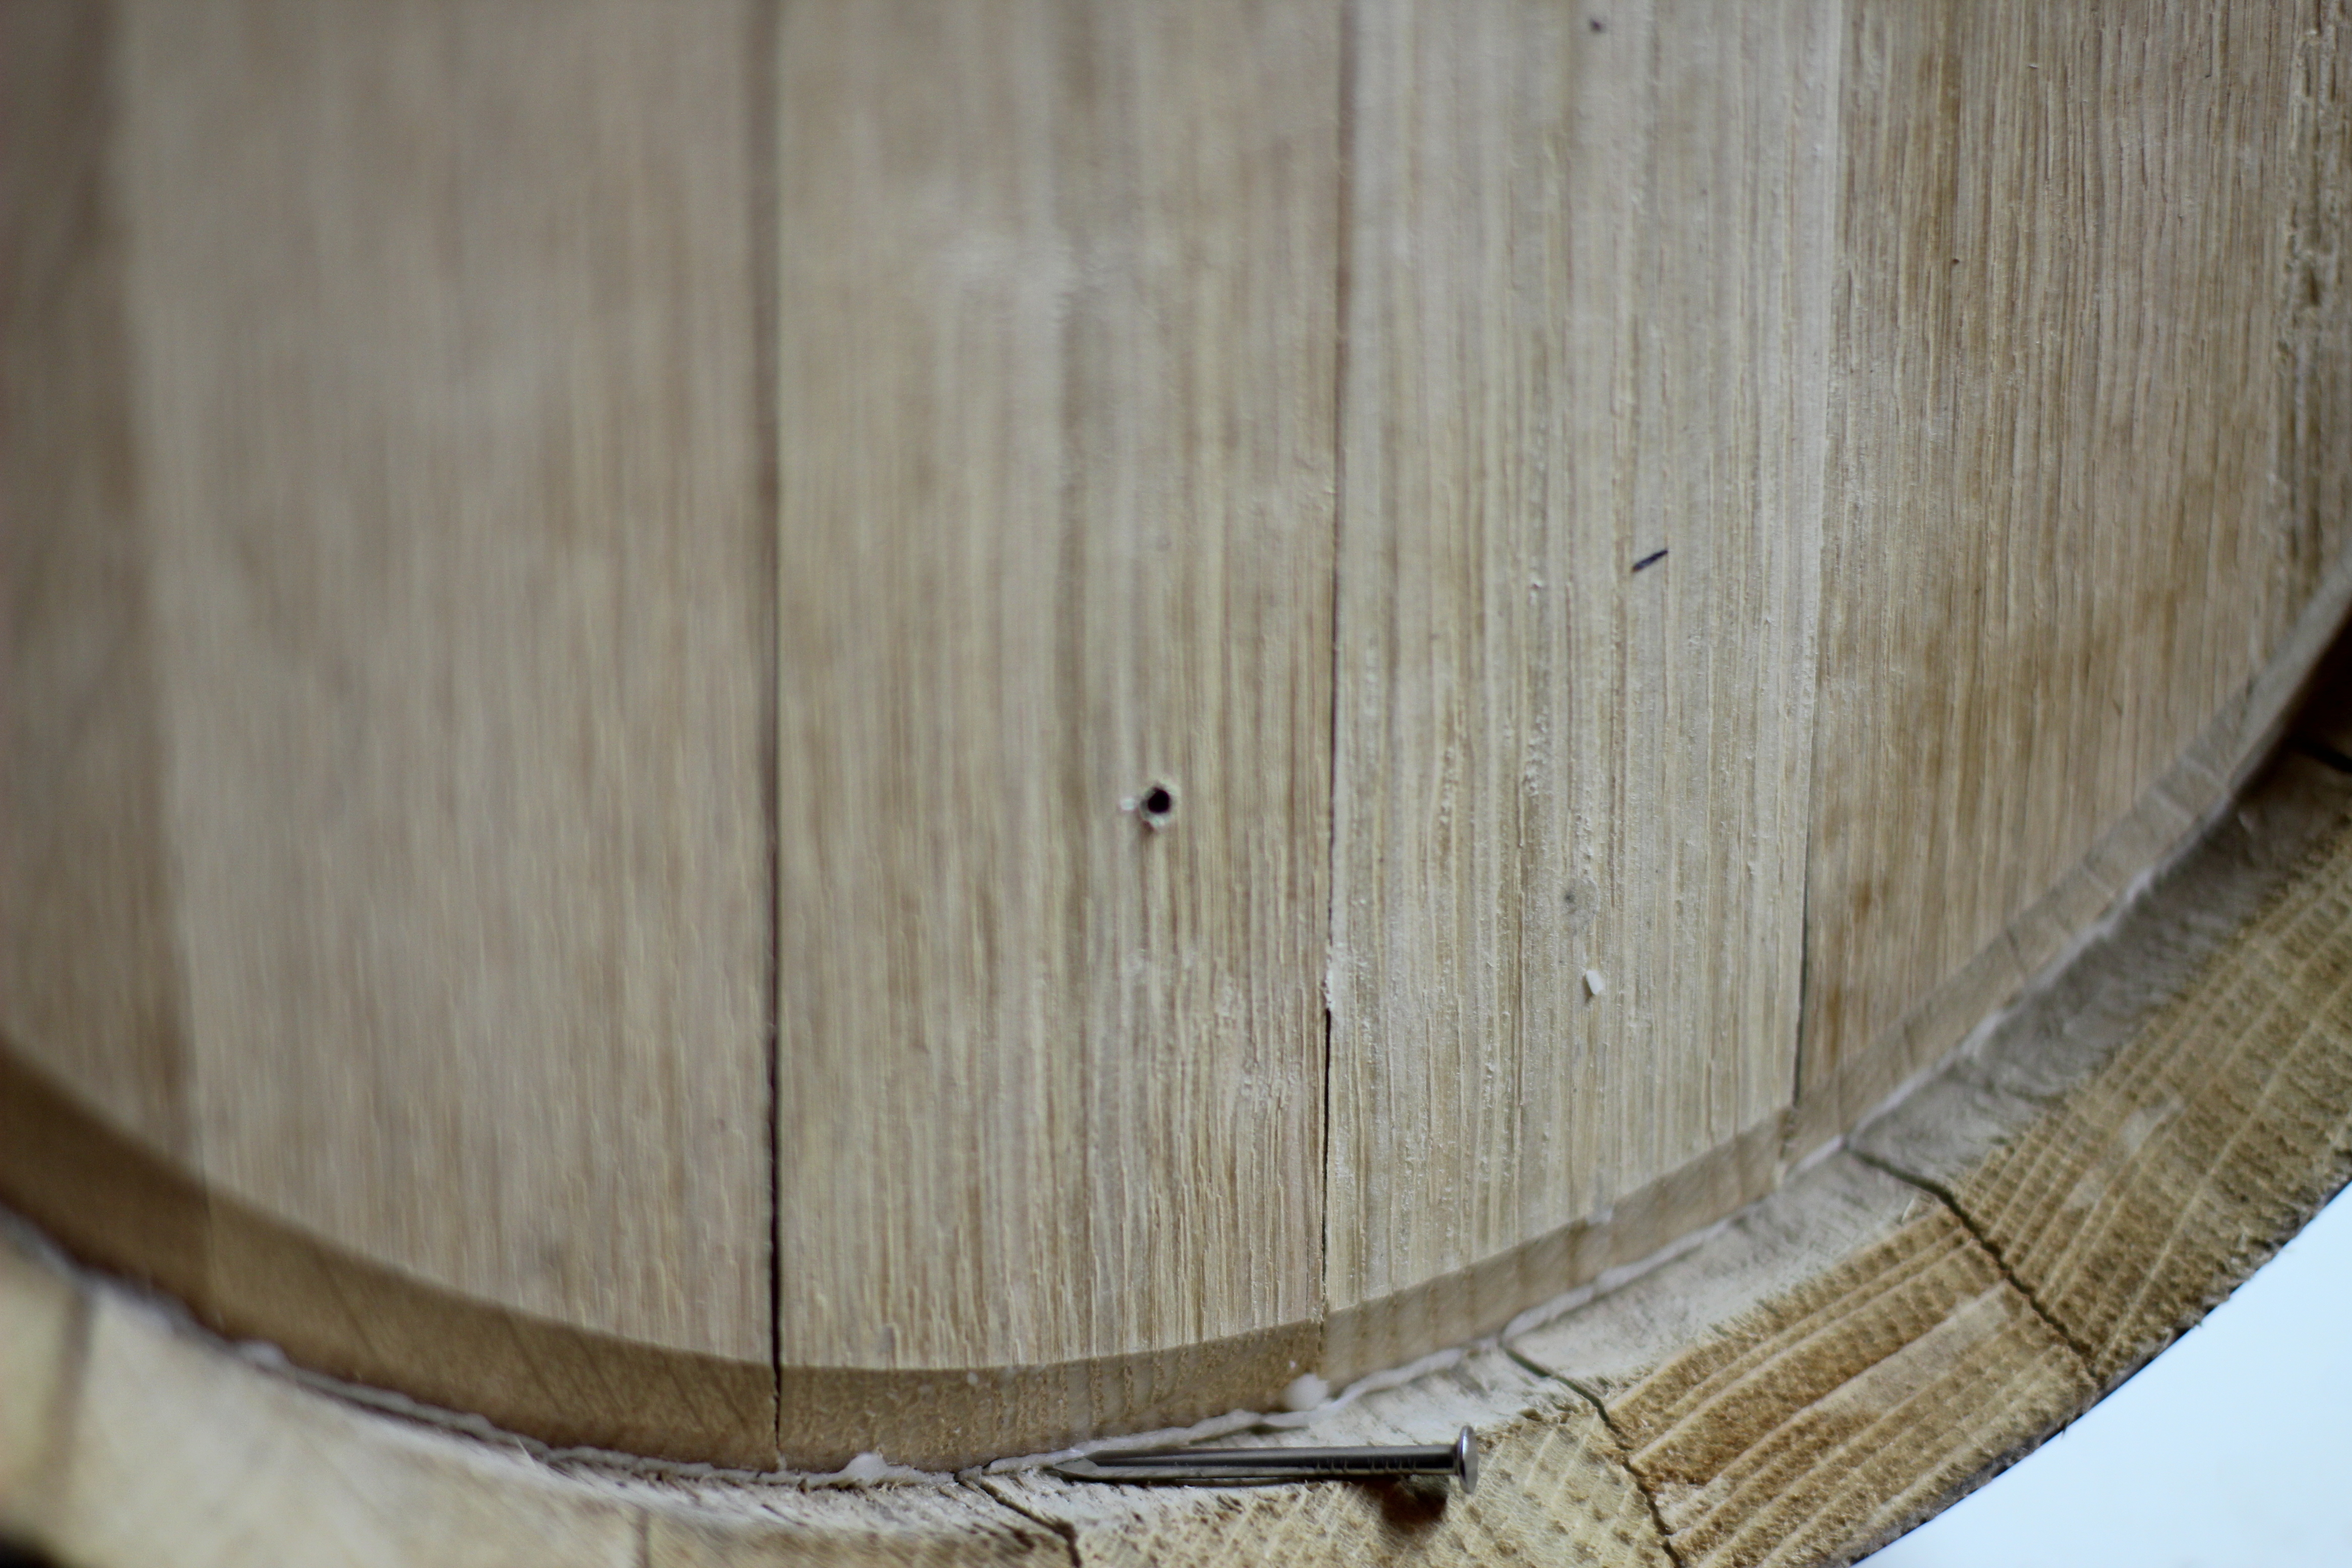
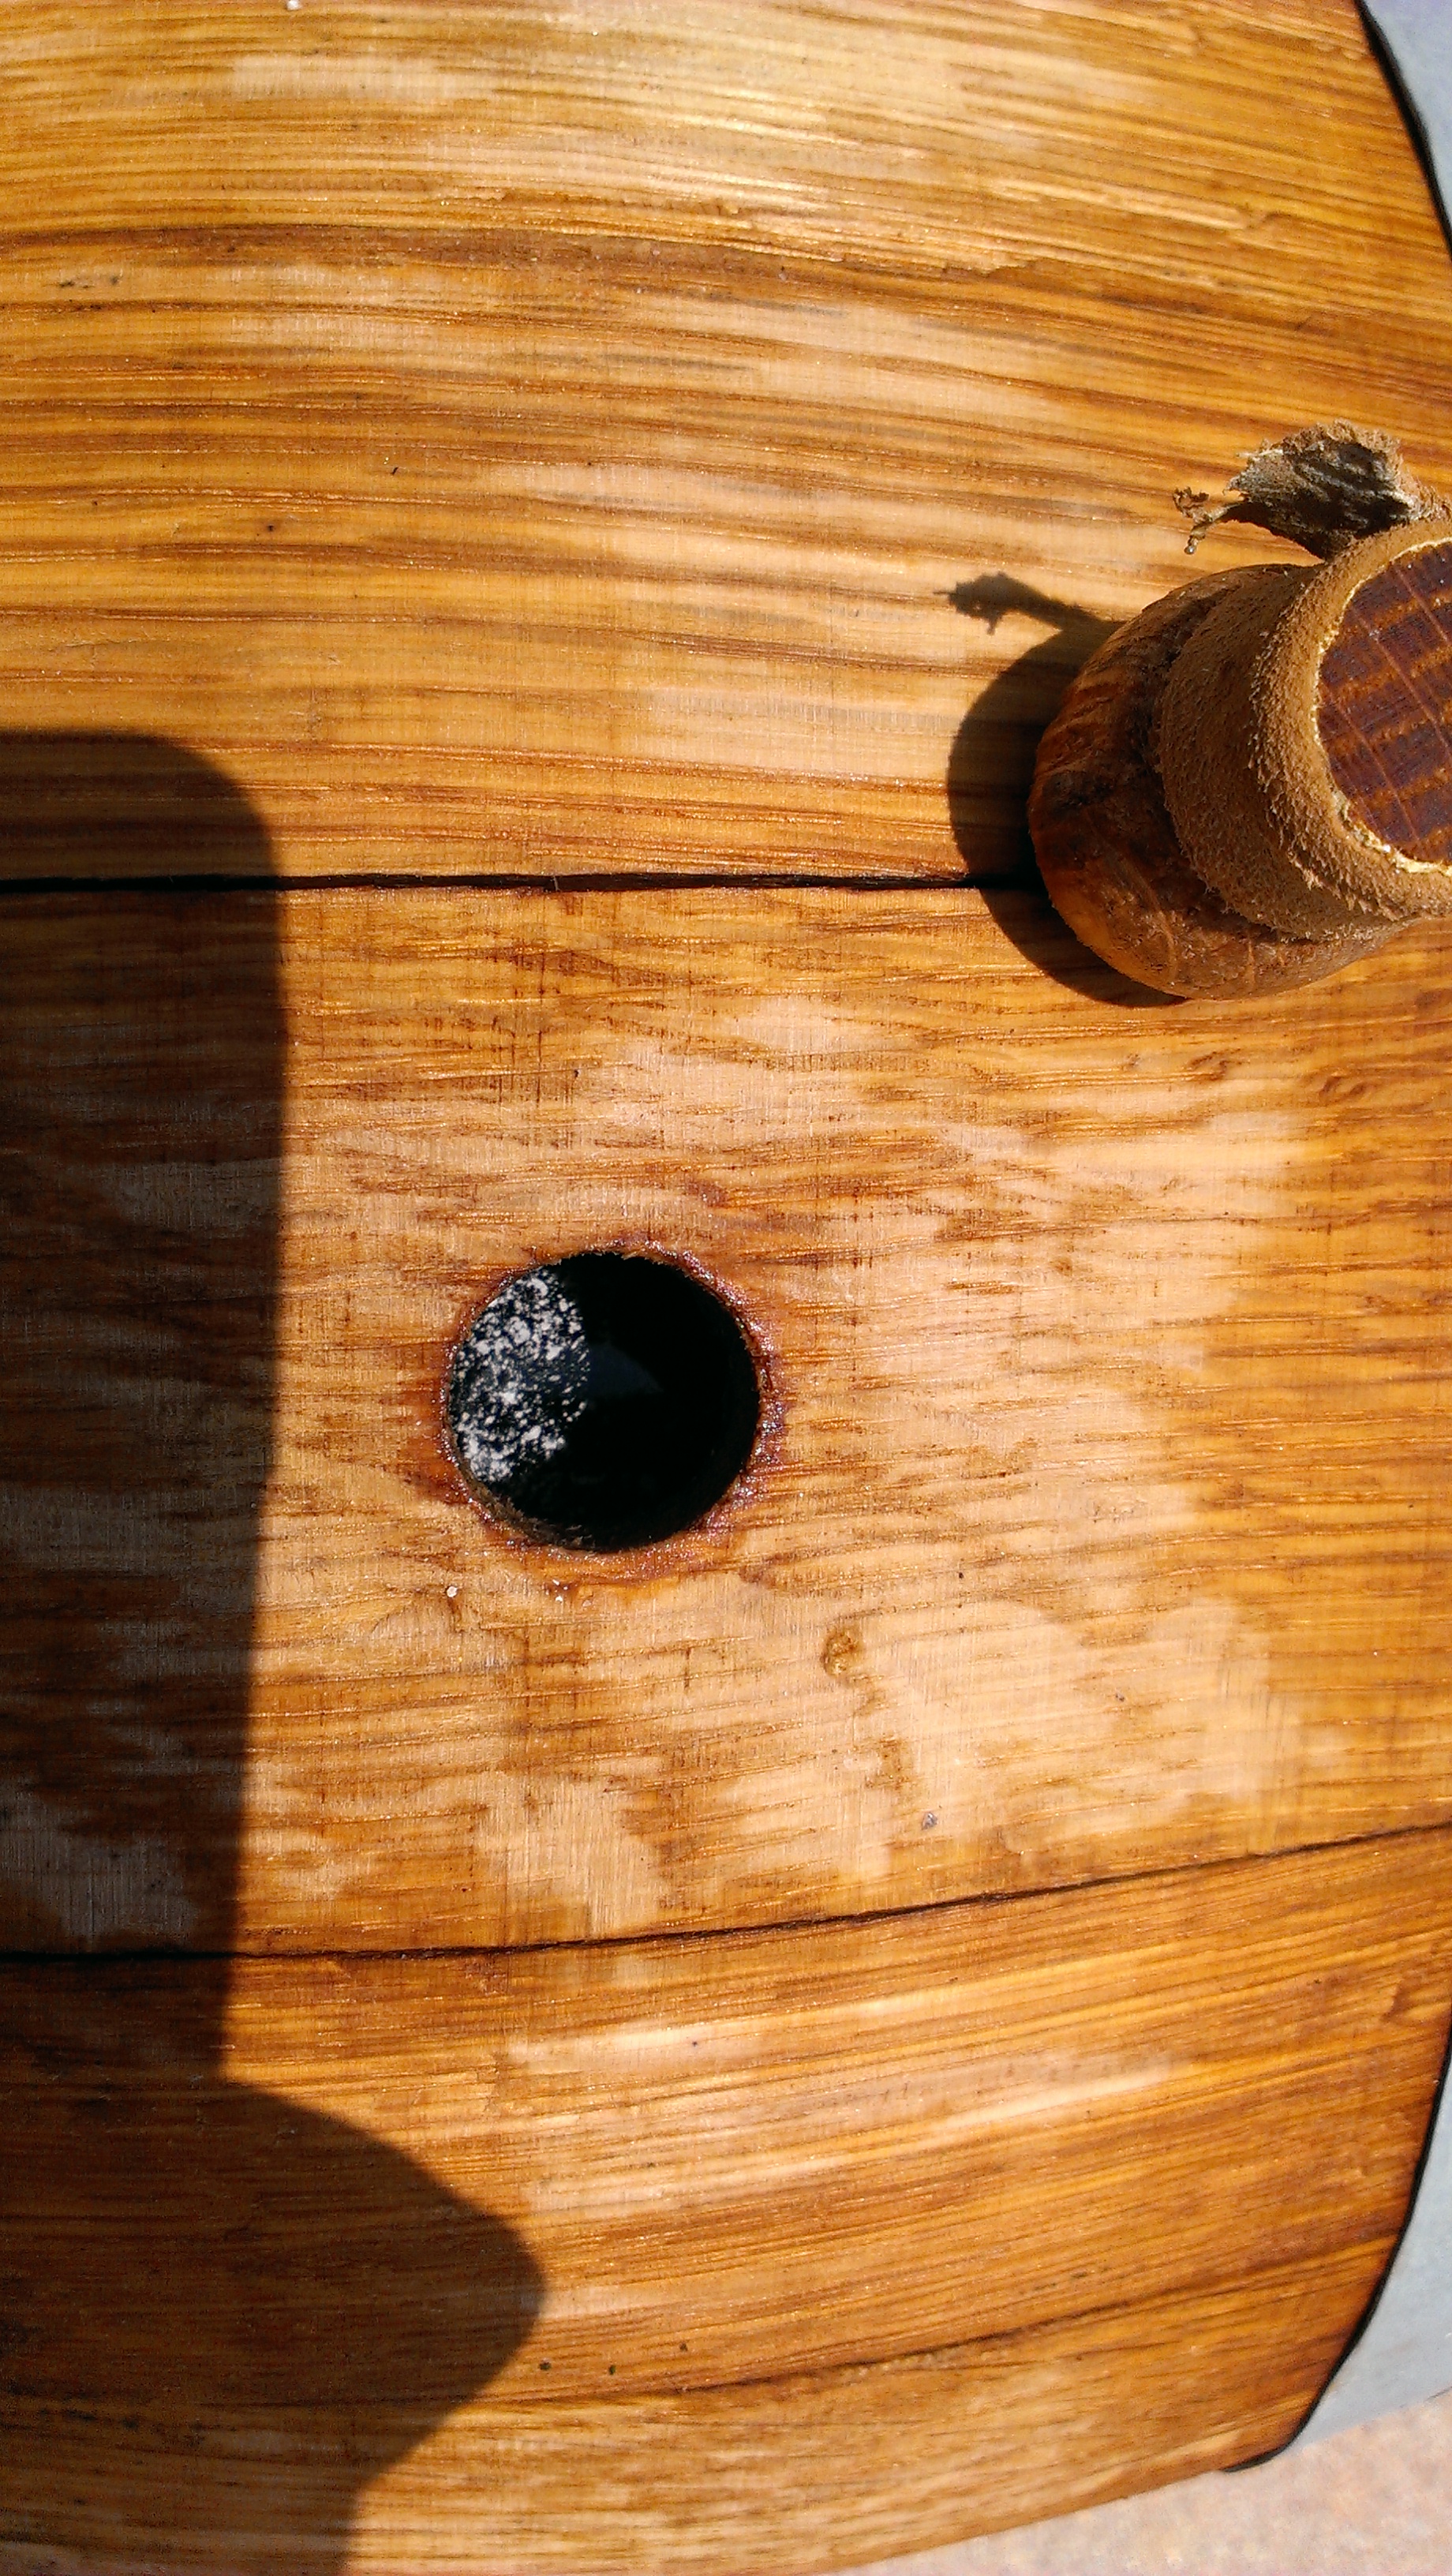
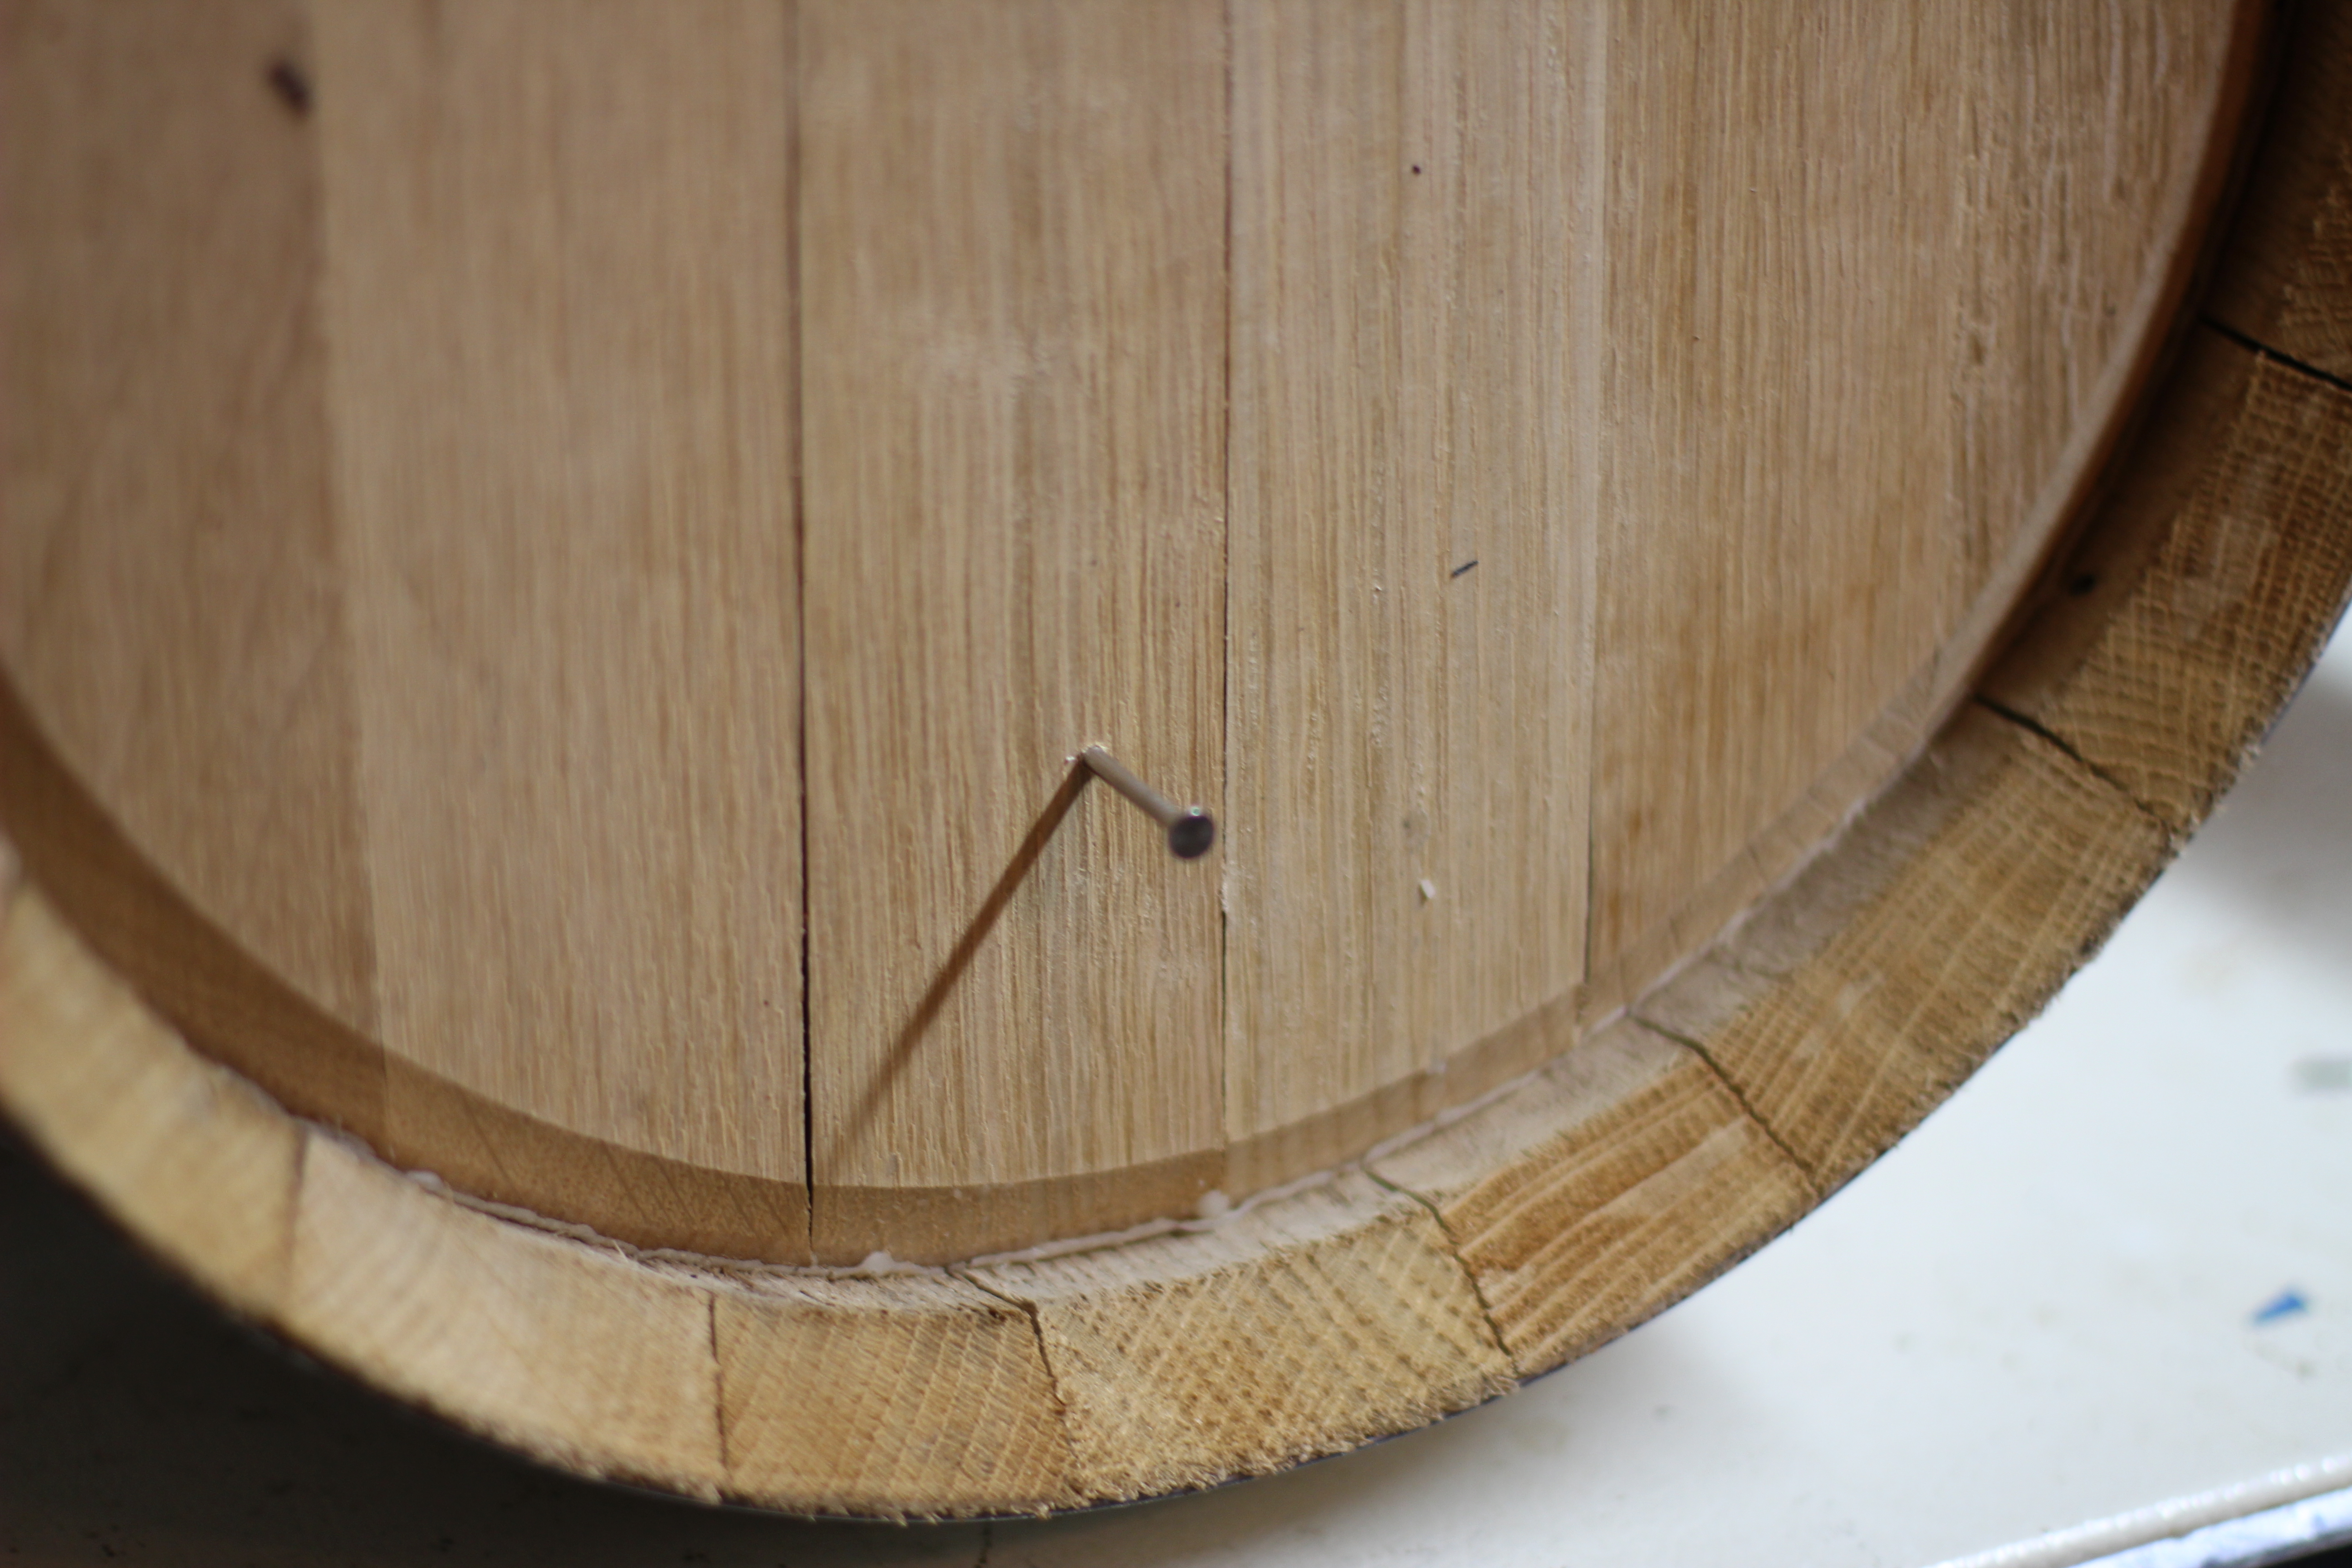
Using a power drill and 3/64″ wood cutting bit and about 5 seconds, a quick hole was made a few inches up from the bottom of the barrel, avoiding any trub or other material that may settle out (think fruit pulp).   The 4d 1.5″ 316 stainless steel nail fits like a glove and works perfectly as a sampling port.

The beer does flow pretty fast out of a small hole so you have to be prepared with a spare nail (in case you drop it) and a glass large enough to contain the flow.

Now, on to the samples.

whiskey_bms_sample-1024x768

I’ve taken about 3 samples of this beer.  At 2, 4 and 8 weeks.  I was initially thinking that 4 weeks would be about right, but after tasting it then, it didn’t quite have enough of the whiskey punch I wanted, so it was easy to just keep it in until it was tasting just right.  The rule-of-thumb I’ve been following is to have just a bit more barrel flavor than you really want as it will mellow out as the beer conditions in the bottle.

At 8 weeks, the sample is exactly where I want it.  I’m getting a great aroma, classic whiskey barrel flavors of oak, vanilla, toast, sweetness, alcohol, roast from the beer.  And the beer complements this flavor, dark stone fruit, plums.

The next step is to rack this beer into two 5 gallon corny kegs with bottling sugar.  I’ll then naturally carbonate one keg, and bottle fill 25 750ml bottles for easier aging in the bottle.
I’ll keep you posted on the racking and bottling of this beer.

PHA: Tighten your connections

Tighten me!

5 Gallon Corny Keg with 5′ 3/16″ ID Beverage line, using MFL connection to a Liquid Quick Disconnect.

Public Homebrew Announcement

When cleaning or replacing your beverage lines always make sure that you tighten the connection or this could be you:

my poor IPA....

All 5 gallons of ff3k IPA on the kegerator floor, leaked out a loose MFL in the span of 24 hours.

That is all…