Saving a bad beer

IMAG1071

A while back I brewed 10 gallons of an English Mild.  The initial plan was to split the batch into two 5 gallons portions.  For the first half, pitch the wort onto the yeast from my first Flanders Red sour and for the second, use regular brewer’s yeast for a non-sour English Mild.  Along the way the non-sour portion ended up in my 5 gallon oak barrel to start the process of working the oak flavor out of the new barrel to eventually be used to hold more sour beers.

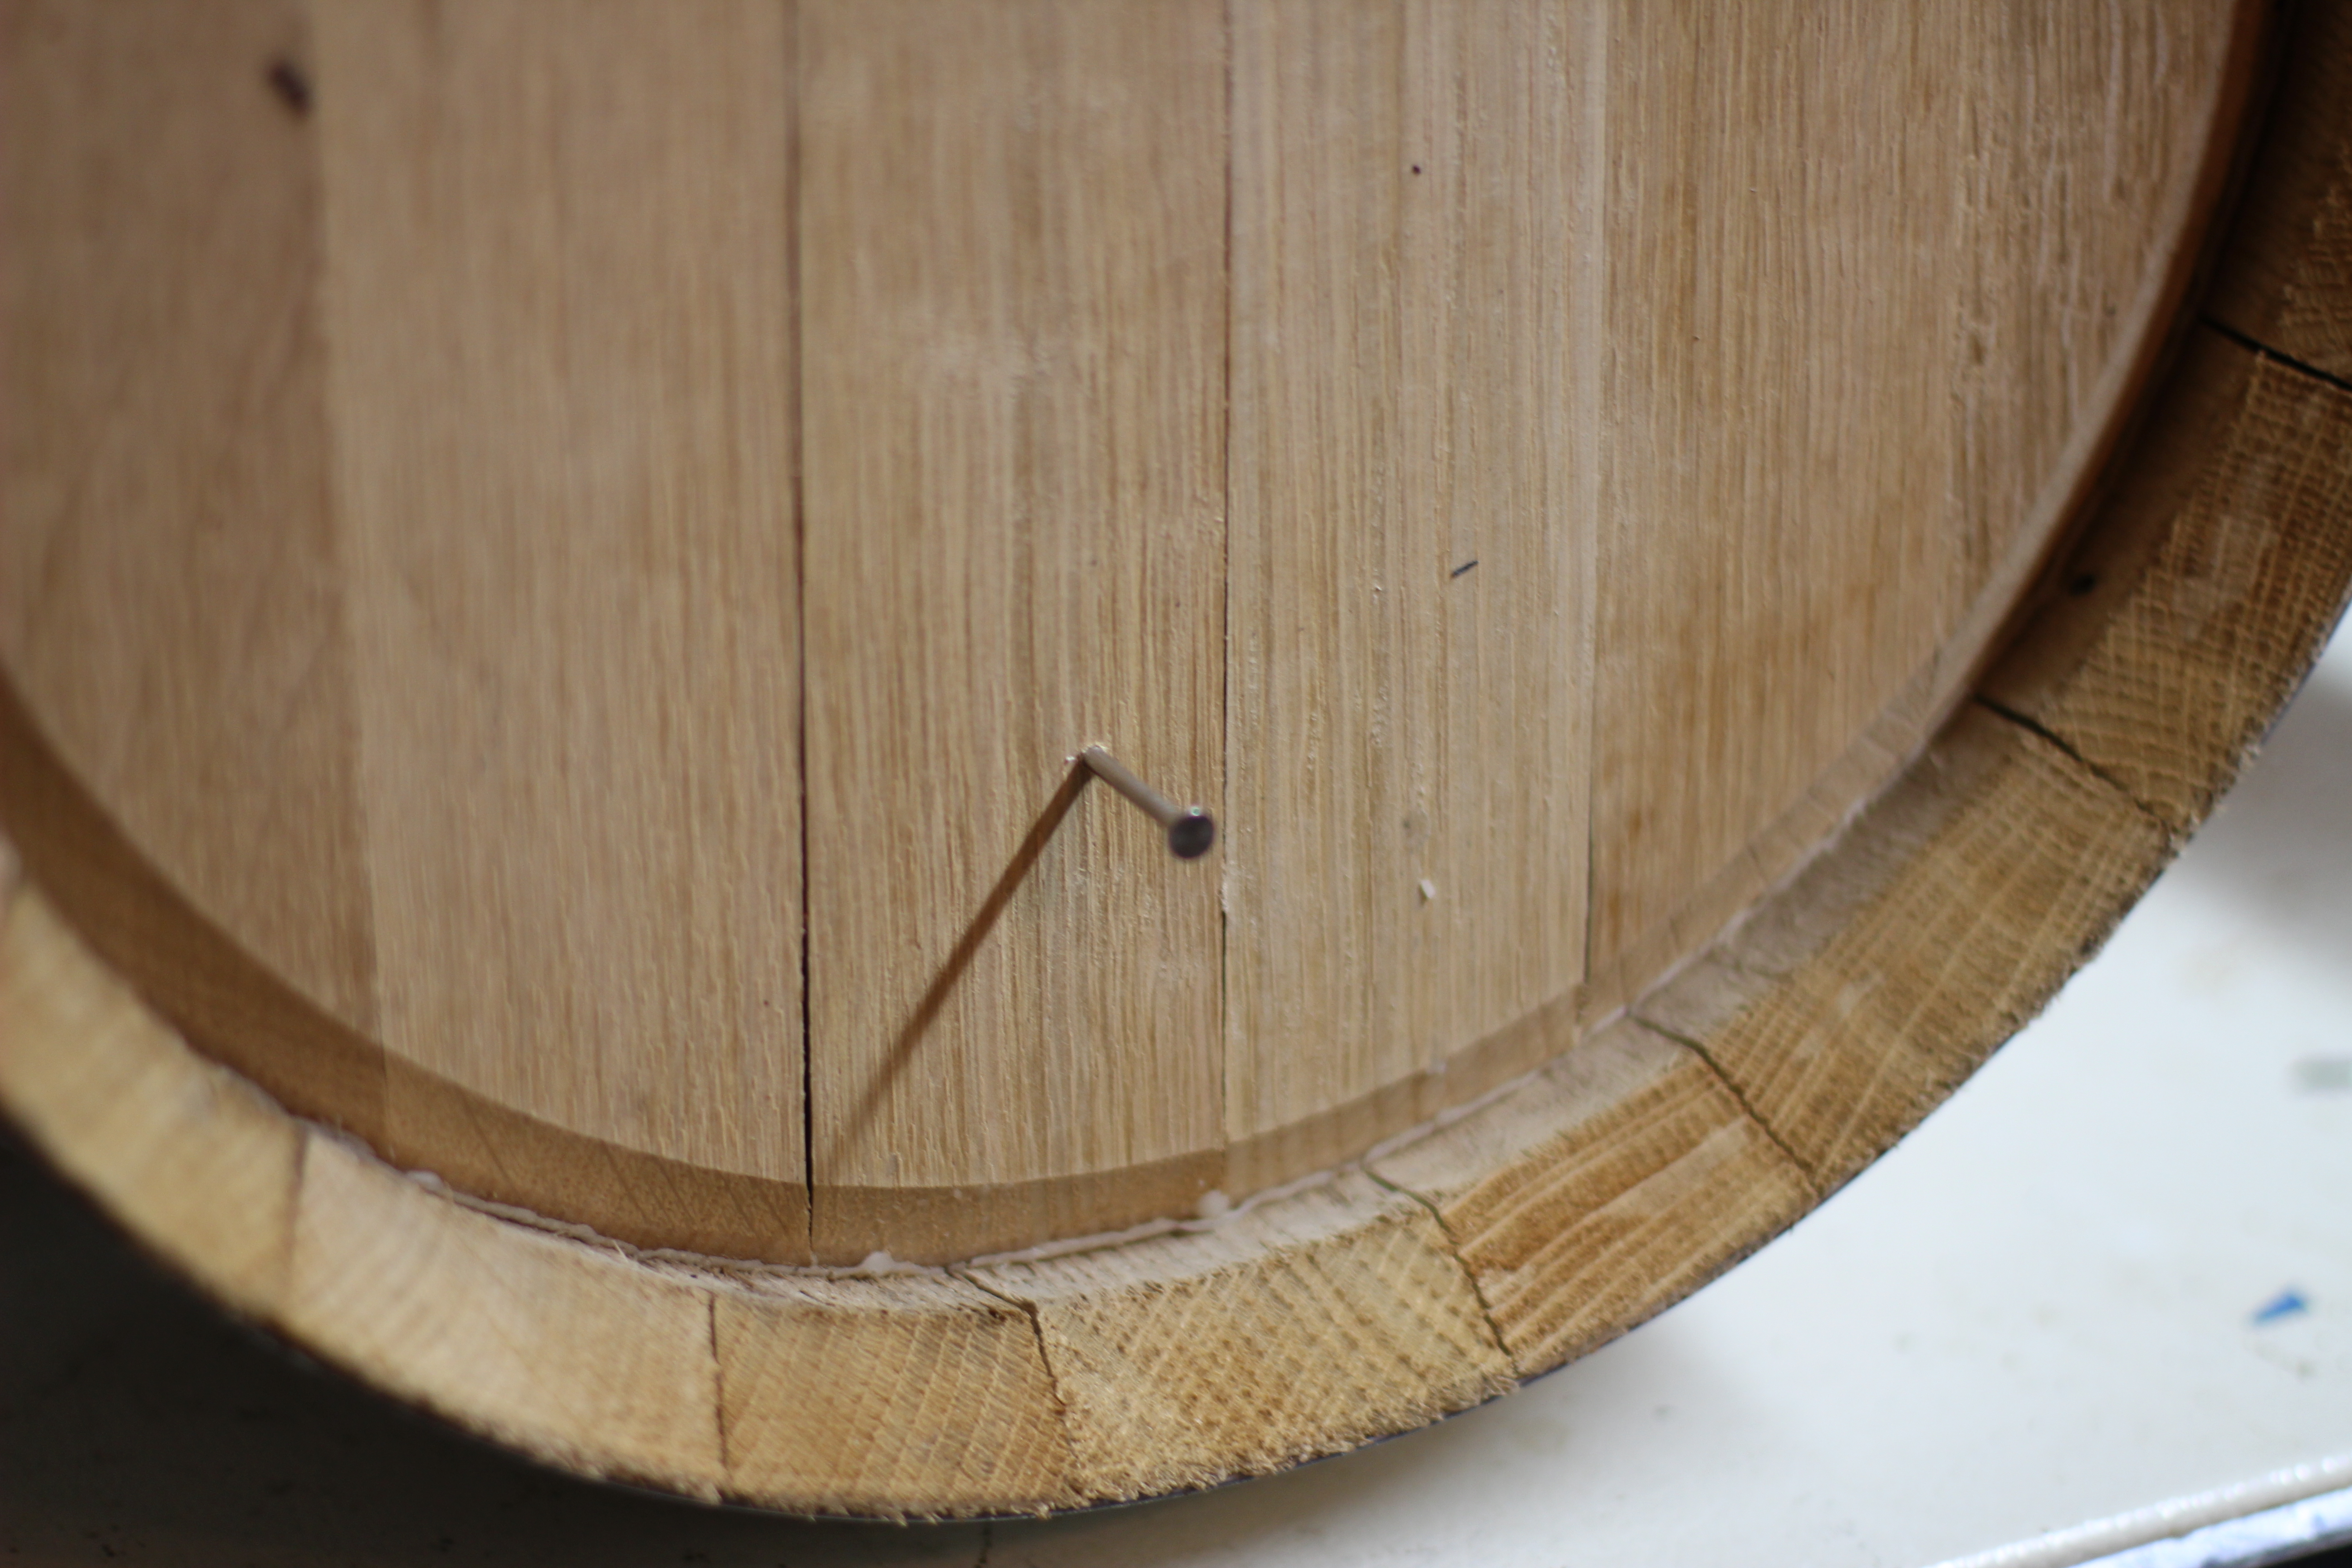
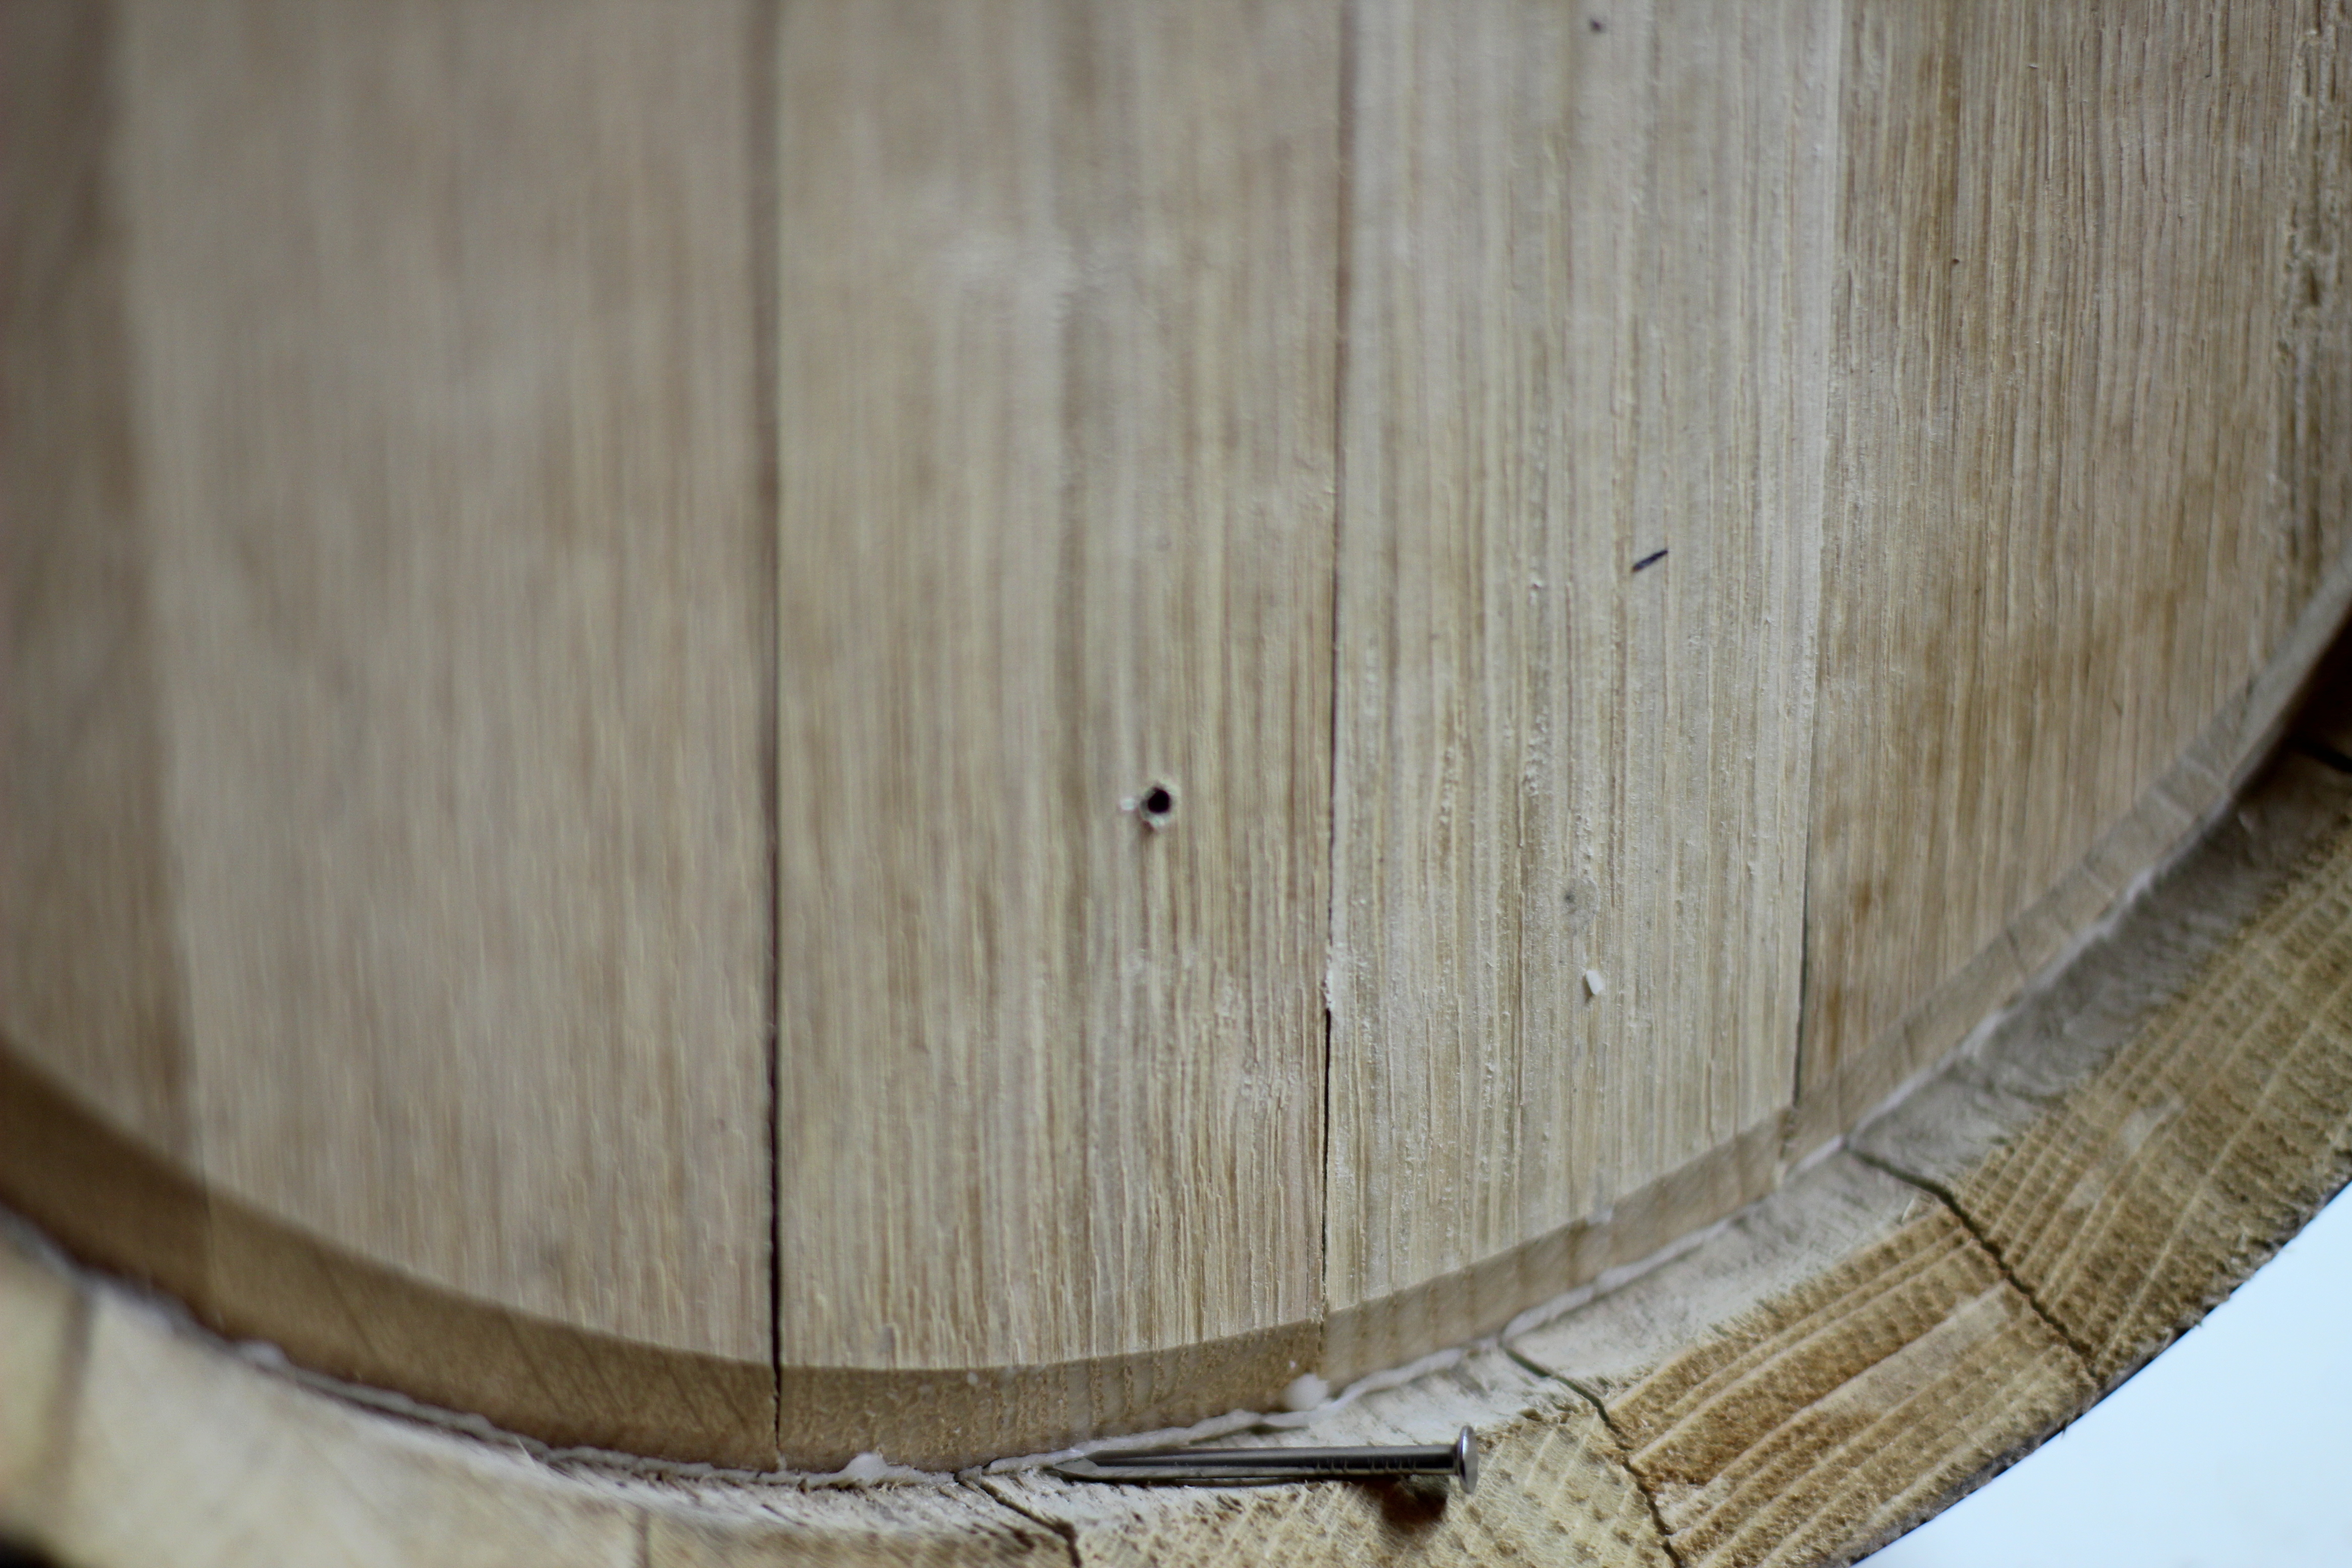
It was going to be a rough two weeks.  Hours after racking Fancy Lad into the new oak barrel, I realized that I hadn’t really worked hard enough to seal the barrel.  It was leaking beer pretty steadily.  After a few old cloth diapers and the use of a heavy fan, I had slowed the leak.  In a few days though I noticed that the outside of the keg was growing some mold or something.  I immediately wiped this off and wondered what was going to happen.

The second mistake with Fancy Lad in the barrel was leaving it in way too long.  Though with tasting, it was hard to tell since I used a beer that I’ve never tasted before.  I couldn’t quite tell where the beer ended and the oak began.  I also picked up a soap-like flavor.  Is that young beer, an infection, or too much oak?

IMAG1070

After reading around, the best advice I found was the 3-3-3 rule for new oak barrels.  The first beer gets 3 days in the barrel, that’s it.  Then 3 weeks for the second beer and then 3 months for the third.  After that, most or all of the oak flavors are gone and the barrel either needs to be re-charred, or used for long term aging.

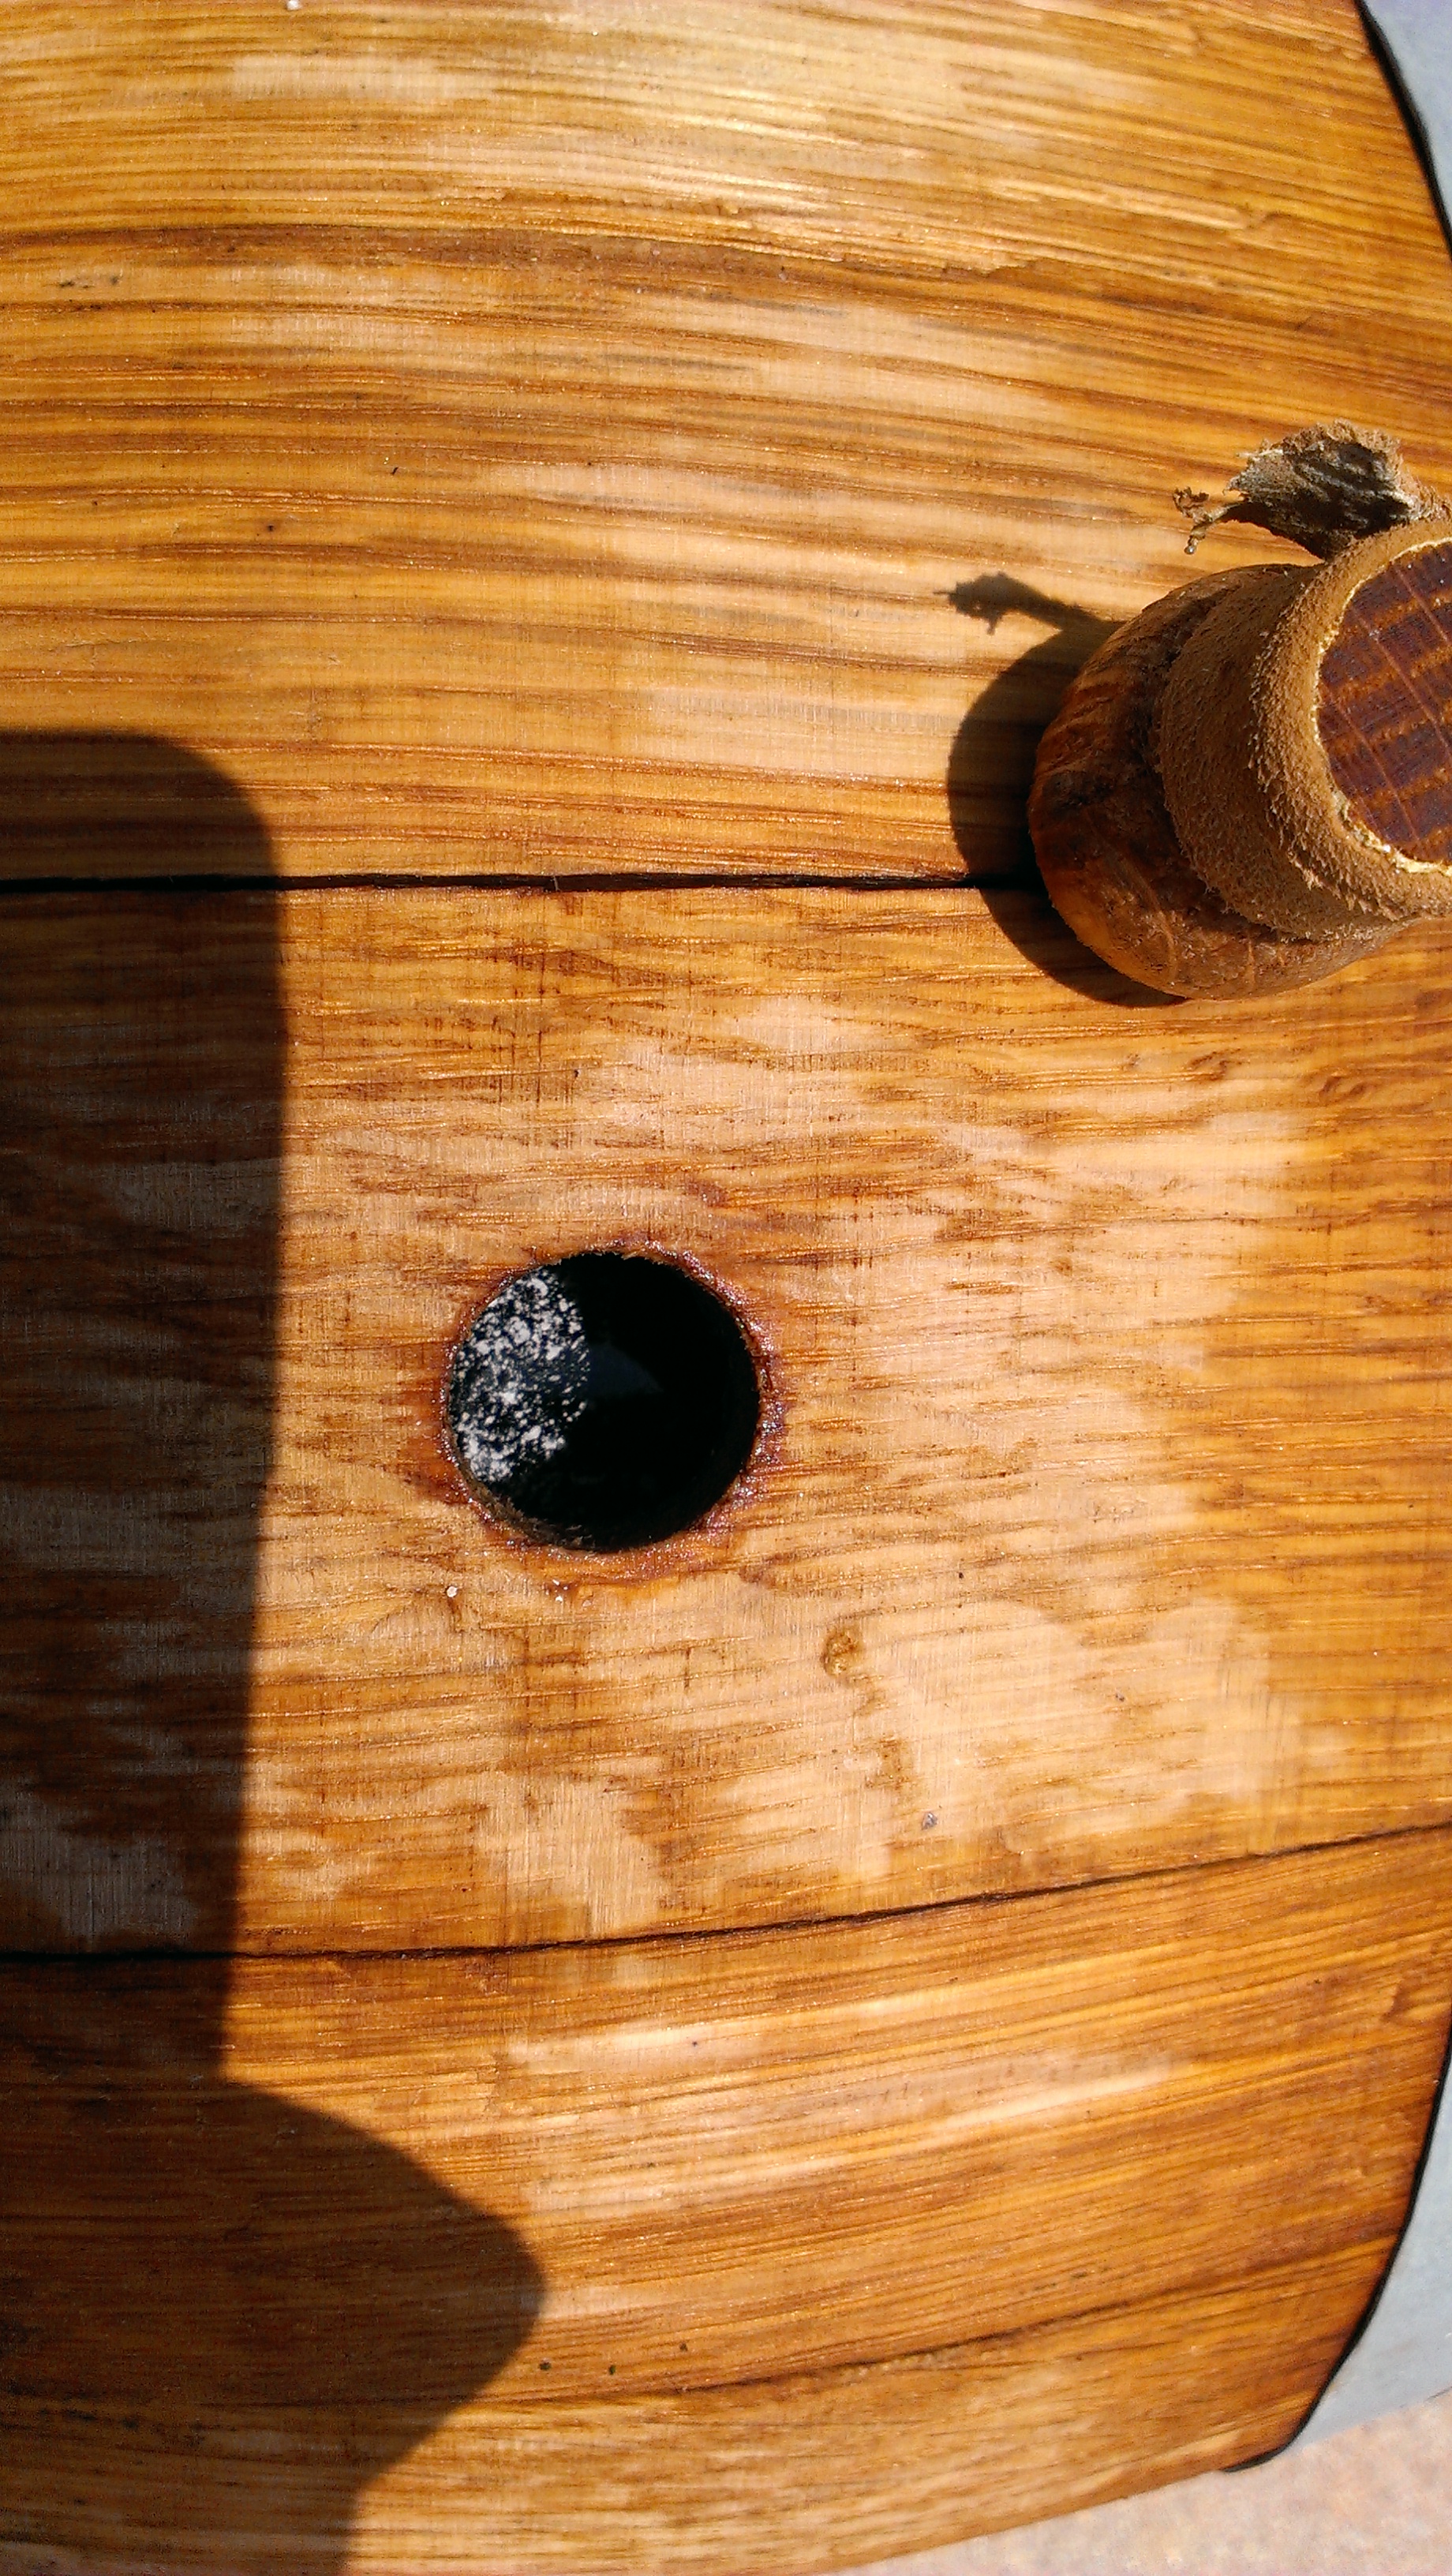
Fancy lad spent two weeks in the barrel, not 3 days.  When I racked and carbed, the flavor didn’t improve at all.  Inspecting the barrel revealed a bunch of white floating spots.  I posted the photos to a few boards, but no one knew for sure what it was.  After a few weeks in the keg carbing, it was clearly turning more and more sour.

My initial thought was to drain-pour this terrible result.  But, the more I thought about it, the more interested I was in seeing if the beer can be rescued.  I decided that it should get *more* sour, not less.

I added sour beer bottle dregs, from Jester King’s Funk Metal and Logsdon Farmhouse Ales’ Seizoen Bretta.  I’ve pulled the keg from the chest freezer and I’ll condition this beer in the keg for months, adding additional sour dregs as I drink the bottles.  I’ll also mix in some malto-dextrins to beef up the mouthfeel.

Here’s hoping for a post in 6 months about how great Funky Lad has become.


Sampling from Barrels

whiskey_barrel_close_up_nail-rot
Now that I have two beers aged in oak barrels at Woxford Brewing Co, I’m ready to sample the beers to track how they are progressing.  In both cases, I’m looking to ensure that the beer picks up enough barrel flavors but preventing the beer from oxydizing or becoming dominated by the oak and other characteristics obtained from the wood.

The new 5 gallon barrel comes with a handy spigot already configured for sampling.  A simple turn of the knob and opening of the bung will allow beer in the barrel to flow out.  For larger barrels, no such spigot is available so one must improvise.

The good news is that as with most beer brewing, someone has already figured out a really good way to do things.  In this case, a well known brewery in California, Russian River, home to master brewer and barrel user Vinnie Cilurzo, shared sometime ago on the ProBrewer forum his technique for installing sampling ports on his barrels.

I’ve seen this technique employed in many places, even right in our backyard at Jester King Brewery in Austin Texas.  With the technique well understood, the only matter left was to install the port.

whiskey_barrel_drilled_hole-90-rot

Using a power drill and 3/64″ wood cutting bit and about 5 seconds, a quick hole was made a few inches up from the bottom of the barrel, avoiding any trub or other material that may settle out (think fruit pulp).   The 4d 1.5″ 316 stainless steel nail fits like a glove and works perfectly as a sampling port.

The beer does flow pretty fast out of a small hole so you have to be prepared with a spare nail (in case you drop it) and a glass large enough to contain the flow.

Now, on to the samples.

whiskey_bms_sample-1024x768

I’ve taken about 3 samples of this beer.  At 2, 4 and 8 weeks.  I was initially thinking that 4 weeks would be about right, but after tasting it then, it didn’t quite have enough of the whiskey punch I wanted, so it was easy to just keep it in until it was tasting just right.  The rule-of-thumb I’ve been following is to have just a bit more barrel flavor than you really want as it will mellow out as the beer conditions in the bottle.

At 8 weeks, the sample is exactly where I want it.  I’m getting a great aroma, classic whiskey barrel flavors of oak, vanilla, toast, sweetness, alcohol, roast from the beer.  And the beer complements this flavor, dark stone fruit, plums.

The next step is to rack this beer into two 5 gallon corny kegs with bottling sugar.  I’ll then naturally carbonate one keg, and bottle fill 25 750ml bottles for easier aging in the bottle.
I’ll keep you posted on the racking and bottling of this beer.

PHA: Tighten your connections

Tighten me!

5 Gallon Corny Keg with 5′ 3/16″ ID Beverage line, using MFL connection to a Liquid Quick Disconnect.

Public Homebrew Announcement

When cleaning or replacing your beverage lines always make sure that you tighten the connection or this could be you:

my poor IPA....

All 5 gallons of ff3k IPA on the kegerator floor, leaked out a loose MFL in the span of 24 hours.

That is all…

Working with Dupont Yeast, 3724

Rekkae V3 Saison using 3724 yeast S.G measurement: 1.001

When brewing the previous incarnation of my house saison, I had used the more trusty and beastly Wyeast 3711 French Saison strain which will, in the words of the internet, “it could ferment out an old gym sock”. True to the claims a fast and furious fermentation ended in 7 days leaving me with nothing but 1.000 S.G tasty saison. While it tasted very good and went over quite well I was still looking for something with a bit more spice. To me this meant using Wyeast 3724, the Dupont yeast strain.

The Dupont yeast strain provides a classic saison beer flavor, taste and aroma, including that special spiciness that I so desired. It almost seems like a no-brainer to use 3724, so why wouldn’t I just use that. 3724 can deliver all of these great characteristics but the actual use of this yeast during fermentation can be nerve-racking. A simple search of homebrew forums will yield many pages of “stuck fermentation” and hitting the 3724 “bump” at 1.030 S.G. I was well aware of these posts. I’ve read Farmhouse Ales from cover to cover twice, paying particular attention to the Dupont section that specifically discusses how best to handle fermenting with the strain. I felt well equipped to finally tackle this yeast.

I started fermentation on the cool side, around 70F… Slowly ramped the temp up into the high 70s, around 78F. I held this temp for about 2 weeks. Vigorous fermentation and the yeast eventually dropped out. I wasn’t worried; the schedule in Farmhouse Ales showed that most times, 3724 was fully attenuated in just 2 weeks. I pulled the first sample and before I even put in the hydrometer, I knew it wasn’t done. The beer poured thick and was very opaque, smelling way too sweet to be a dry, 1.004 S.G beer yet. I was crushed when I read 1.045 on the hydrometer, down from 1.066.

Beaten, but not broken, I pulled my first trick out of my sleeve. My fermwrap, temp controller was applied and I cranked the temp up into the mid 80s, around 85F. Two weeks past and progress was made; though only down to 1.030 S.G. I didn’t hesitate, and pushed the temp up to 90F, the upper limits of this yeast. At 5 weeks, I had dropped to 1.029 S.G. I was sure the temp would get things going again, but it hadn’t moved at all.

During this time, I had been swirling the carboy to help suspend the yeast, but that’s just not that effective. So I put together a simple device to rouse the yeast more effectively. I actually had thought of this when doing dry-hopping. Listening to one of the Brewing Network shows on cloning Avery’s Maharajah, Adam Avery was stressing the importance of hop contact time with the wort and he disclosed that at Avery they inject CO2 into the bottom of the fermenter to push up any dropped hops to ensure a good mix and contact between the hop and the beer. My guess was that this would also be a good technique for re-suspending yeast.

I used my 1/4″ air line from my CO2 tank and loosely fitted it over a plastic racking cane that had been sanitized. After starting the CO2 flow, I then lower the rod into the carboy. Pushing the rod to the bottom, I scrapped and turned until the entire wort was cloudy once again with yeast. At week 6, the S.G dropped to 1.018. Success! Another week and rousing to reach 1.009.

Finally, at 8 weeks, we’ve hit terminal gravity. 1.001 S.G at 90F adjusts to 1.004. Not bad. And it was completely worth the wait. The amount of complexity in the flavor this time is just amazing. The dry finish has just the amount of spice I like and the honey aroma is still present. I’m very much looking forward to this 3rd version.

For v4, I plan to keep the same fermentation schedule, but this time, I’ll start re-suspending the yeast as soon as I notice it drop out.

Texas Craft Beer laws move forward

Texas Craft Beer — PHP Man-o-War IPA

Things are looking good for Texas Craft Beer laws. The house voted to pass the set of 5 bills that will change the way beer is sold in Texas. The laws remove restrictions on breweries selling their beer on-premises and allowing brewpubs to package and distribute beer at retail outlets among other items. As with most laws, not everyone is perfectly happy, but these laws represent a huge step forward for Craft Beer in Texas.   Here’s to you Texas!