A lot of time has passed since I last posted and instead of brewing beer, I’ve been brewing up a shed. I’ve wanted to transition to using a conical for some time, but I didn’t want to purchase an upright freezer for each one one, which is the typical way to ensure that you can control the temperate at the homebrew level. One could go get a jacketed conical, or use some of the new immersion coil setups, but finding something that works well at a reasonable price at the homebrew size is quite a challenge.
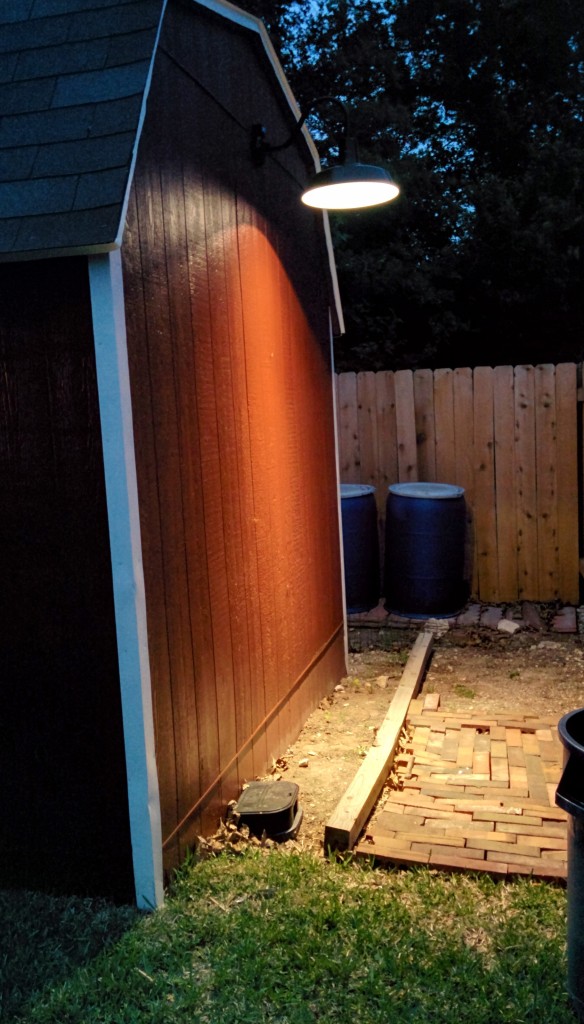
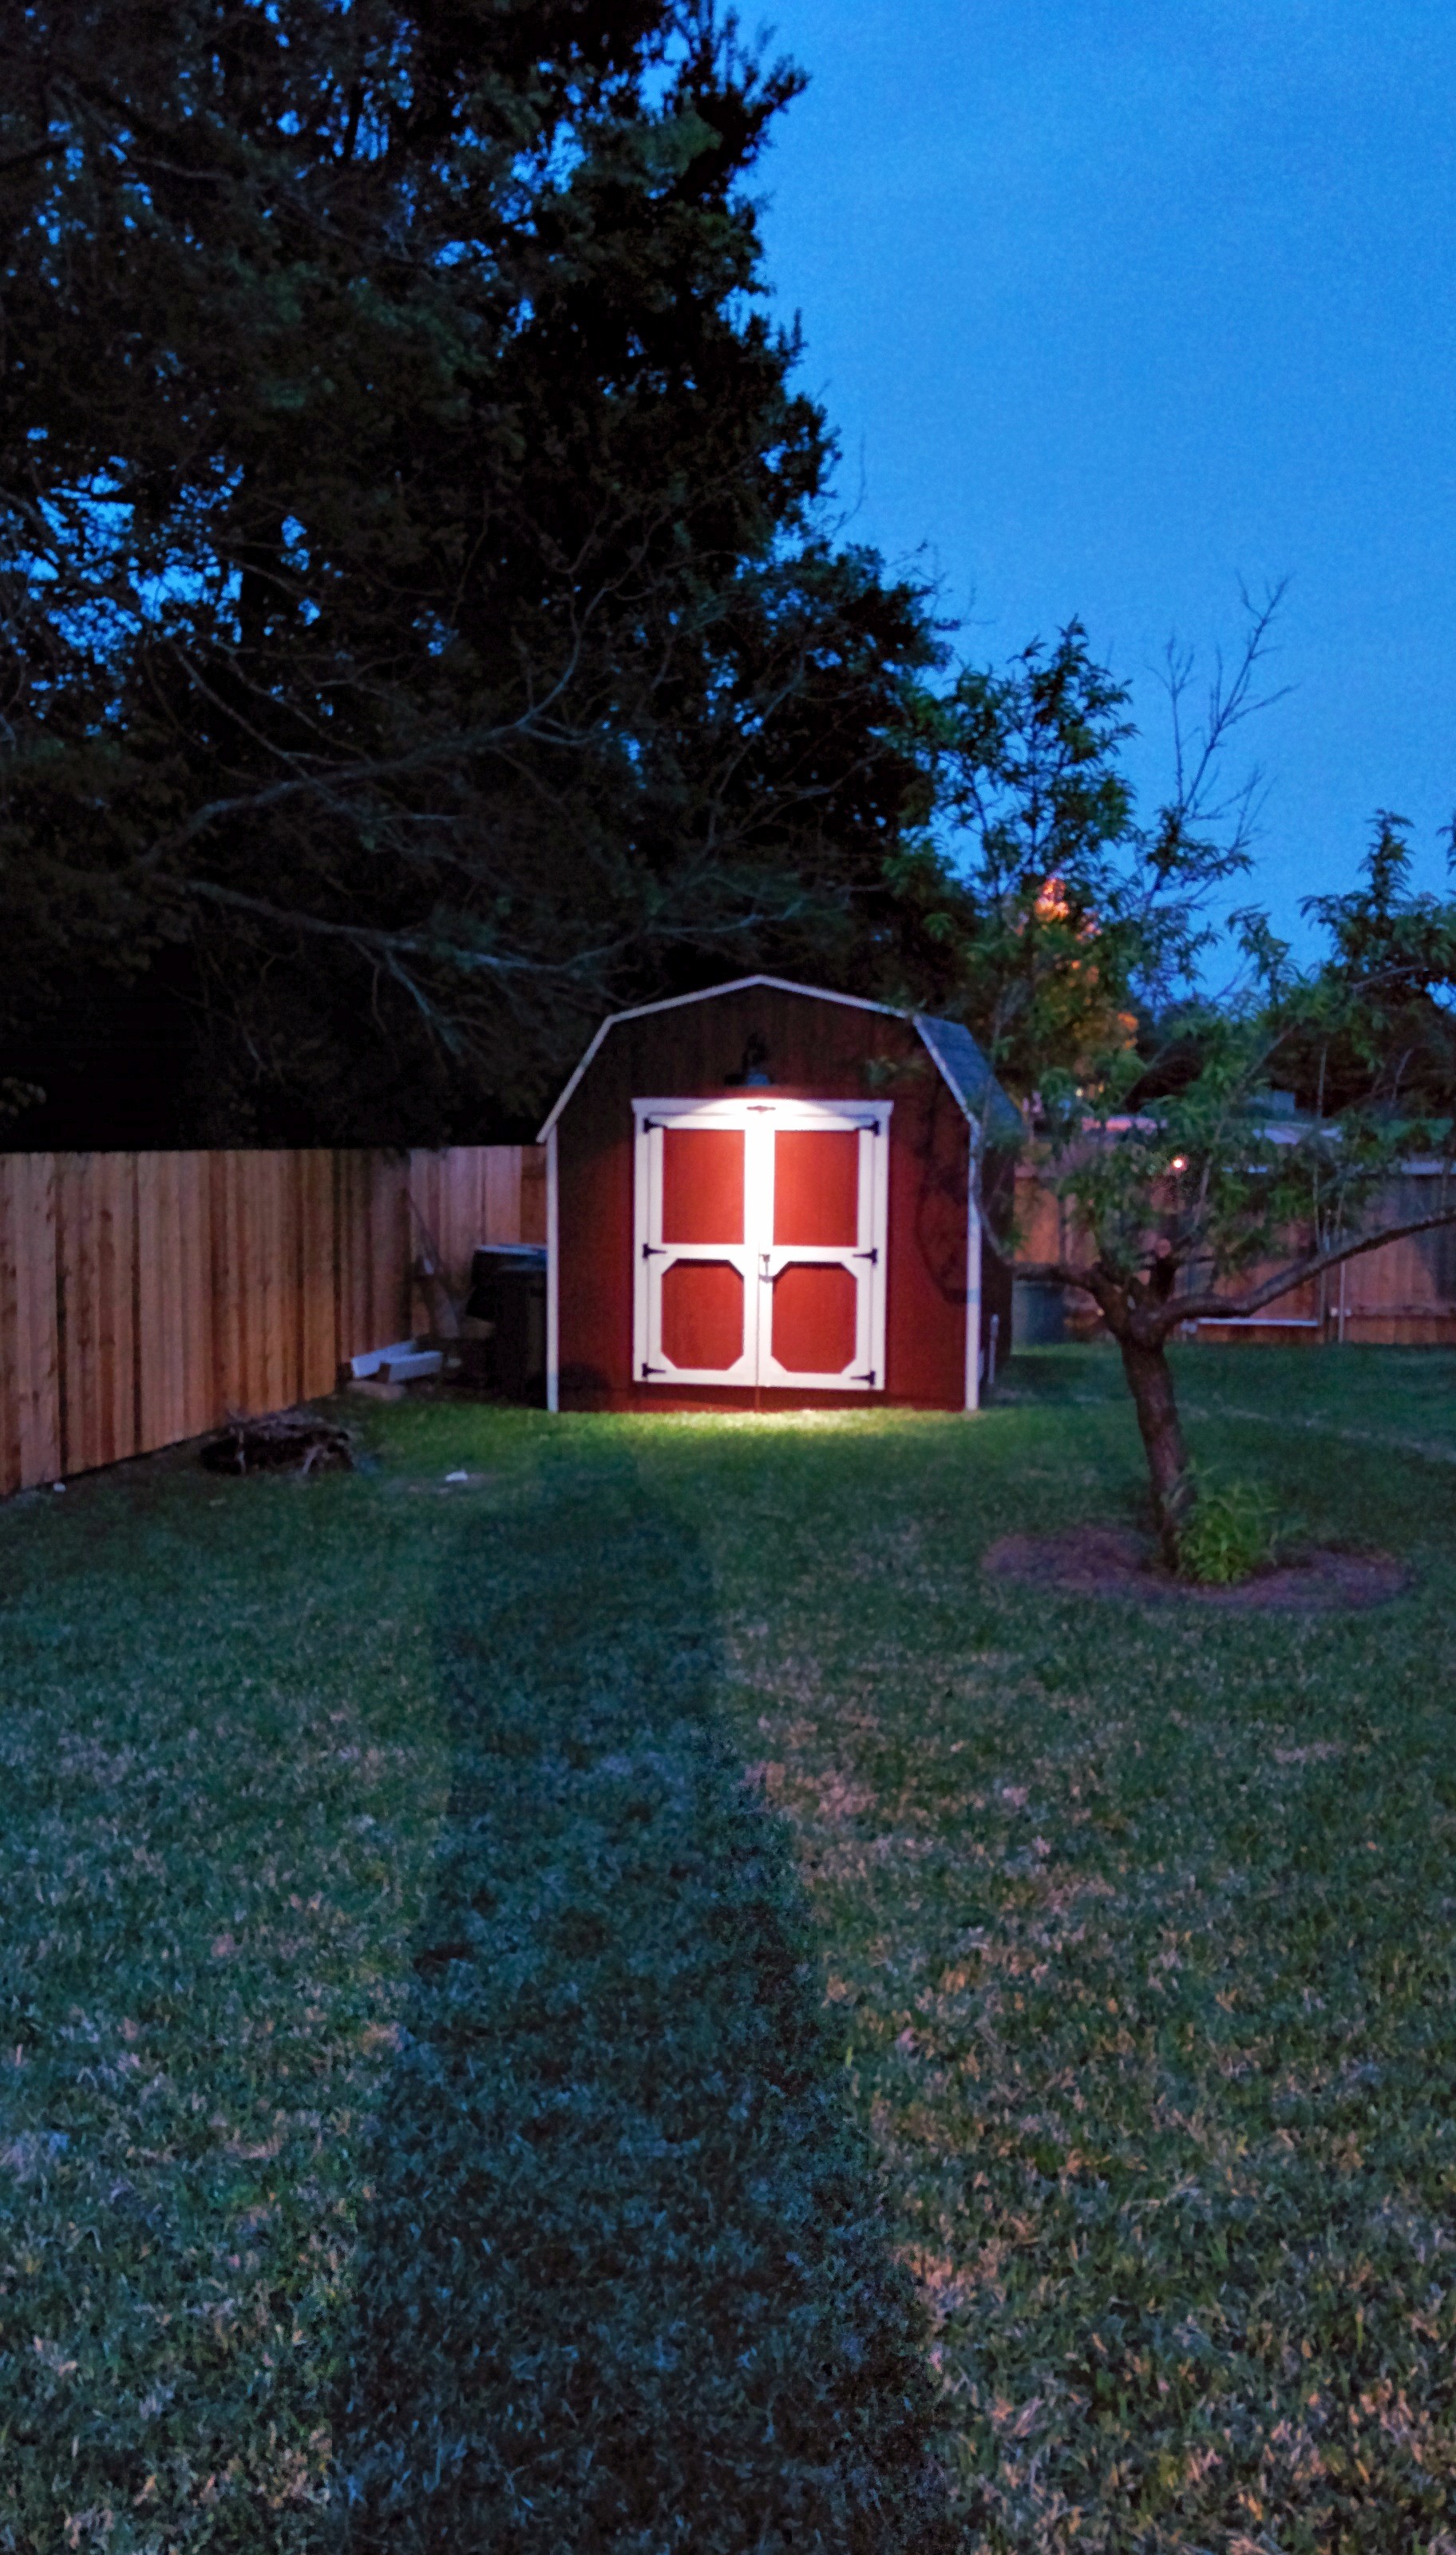
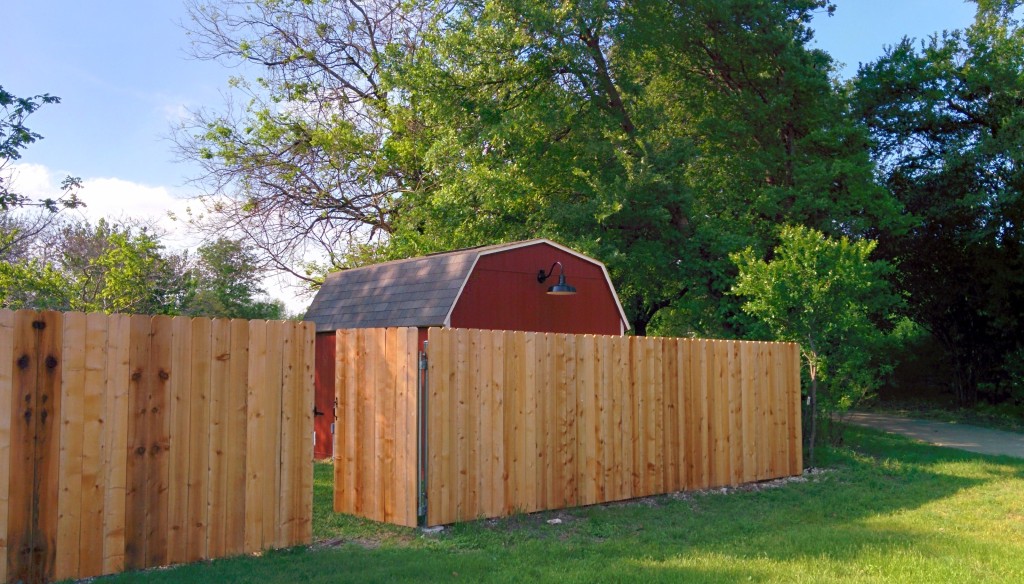
 Instead of cooling on the conical I had looked at cooling the entire shed. The previous shed-cum-rat-shack was just not salvageable since it was rotting from the bottom up. I had a new shed installed and then wired with 60A service which was plenty of electricity for cooling with room to run large appliances as well as potentially running an all electric brewing setup.
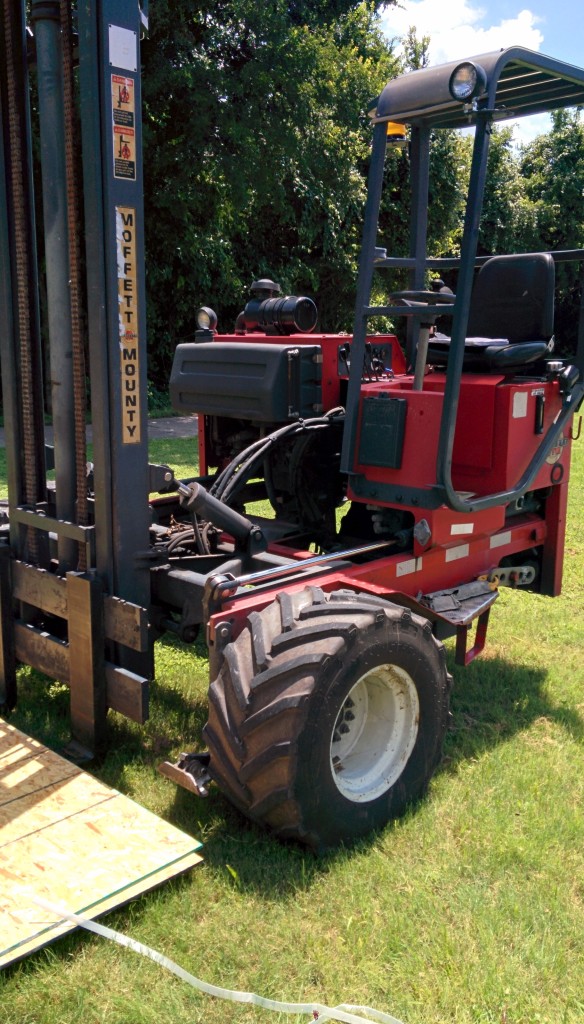
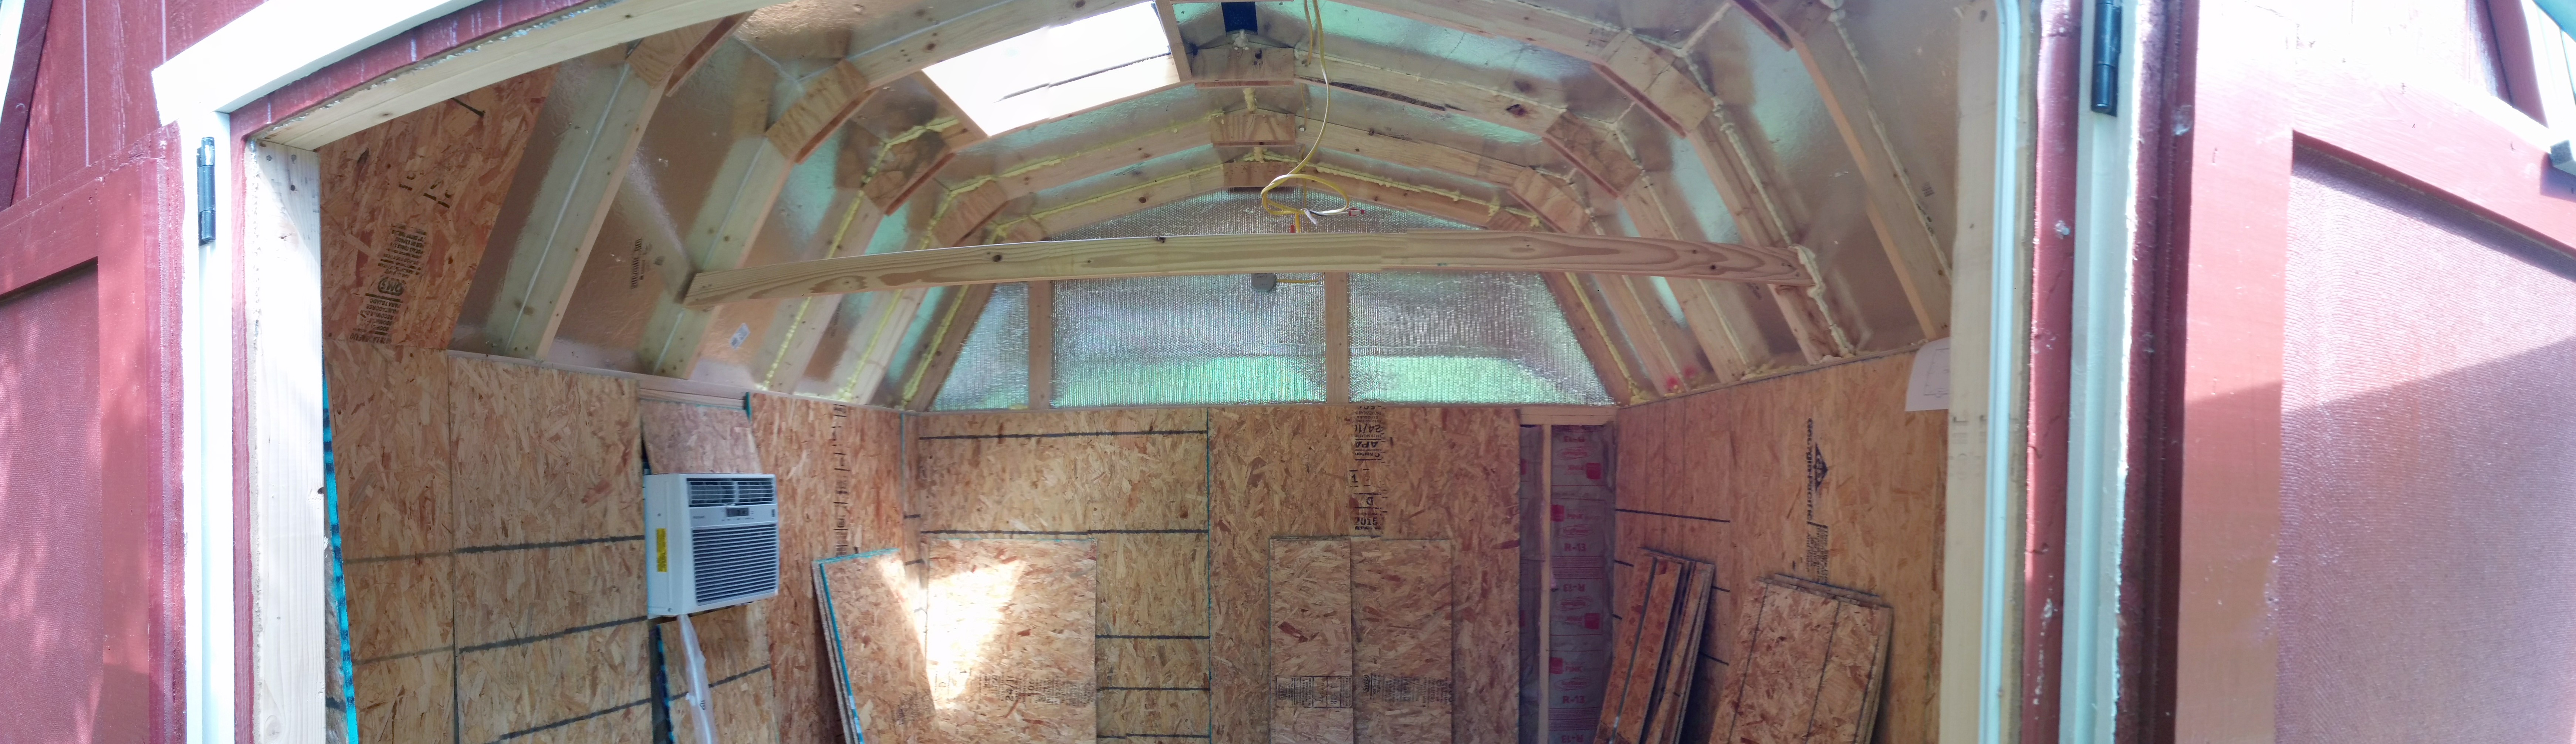
I looked at using spray foam for its speed and R-factor, but the price was just too high, over 4 times the cost versus simple R-13 batts. In short order, several friends and I had insulated the walls and ceiling. What took considerable more time was putting in the OSB walls. I no longer have my truck so I needed a way to get 14 or so OSB 8’x4′ sheets and ended up having Lowe’s deliver.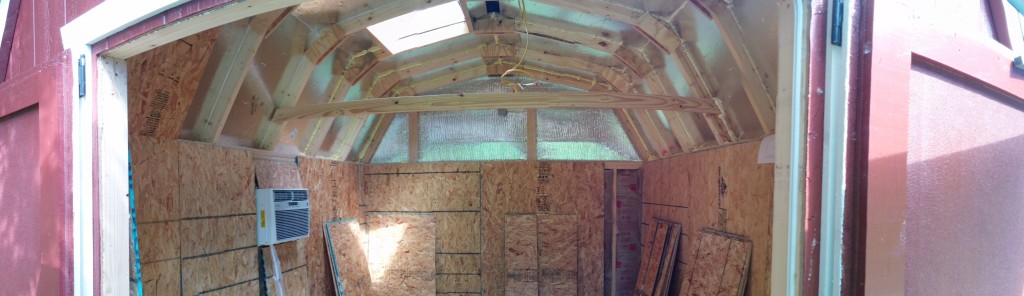
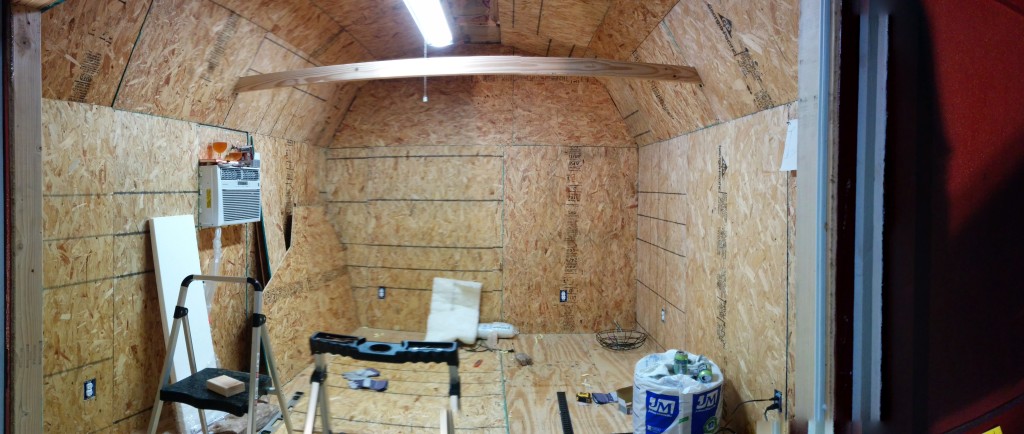
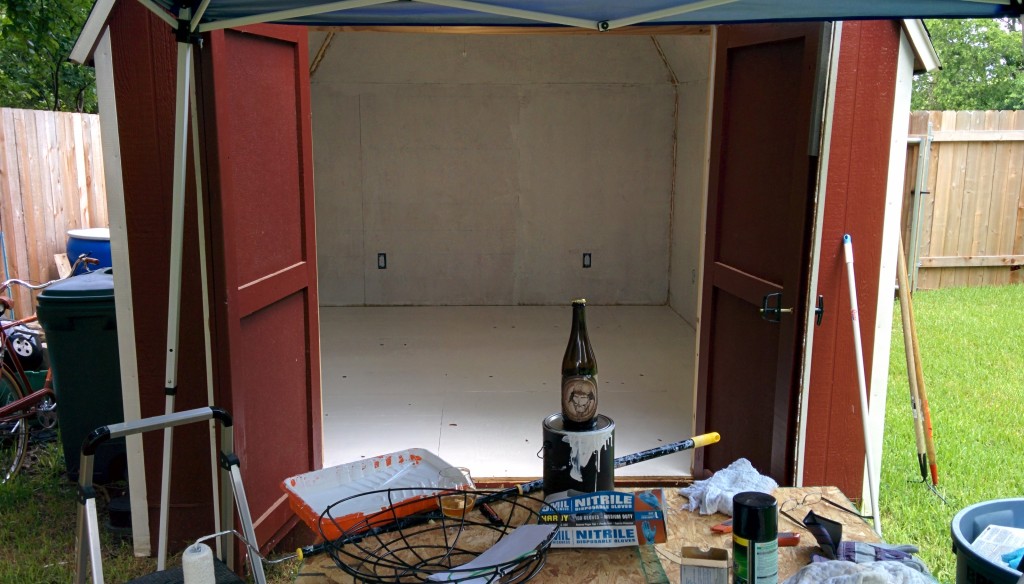
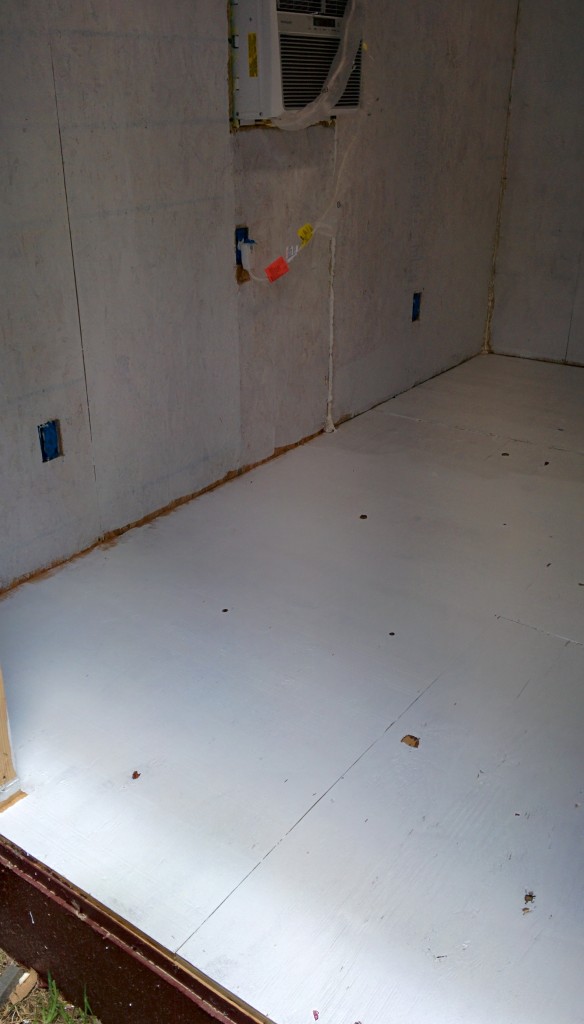
After that we started planning and cutting sheets to fit. We spent about two weeks using the evening hours to put it together. It can be said a carpenter or handyman, I am not. But it’s functional. Painting went quite a bit quicker, a coat of latex primer and then a latex top coat to keep things from getting wet.
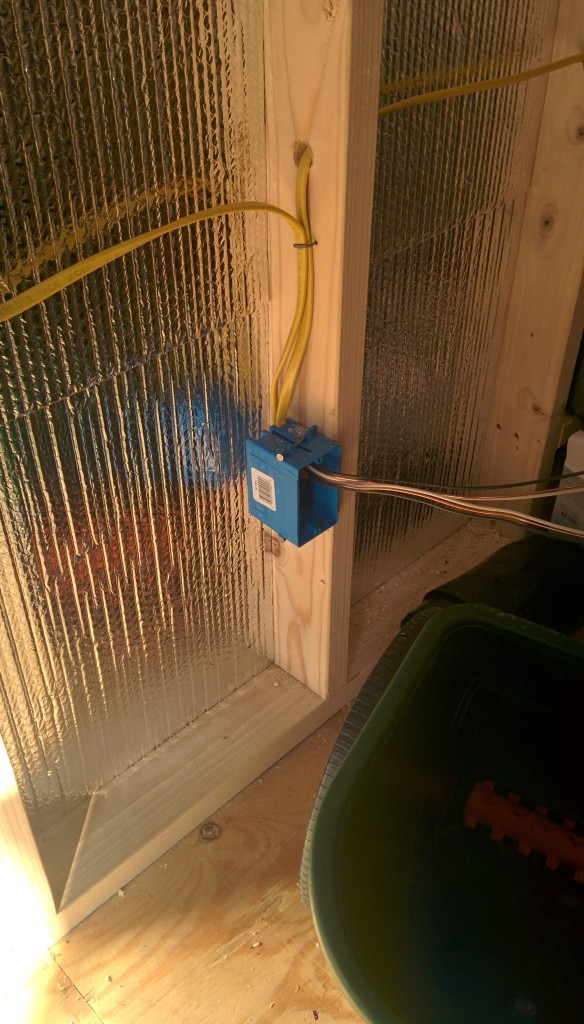
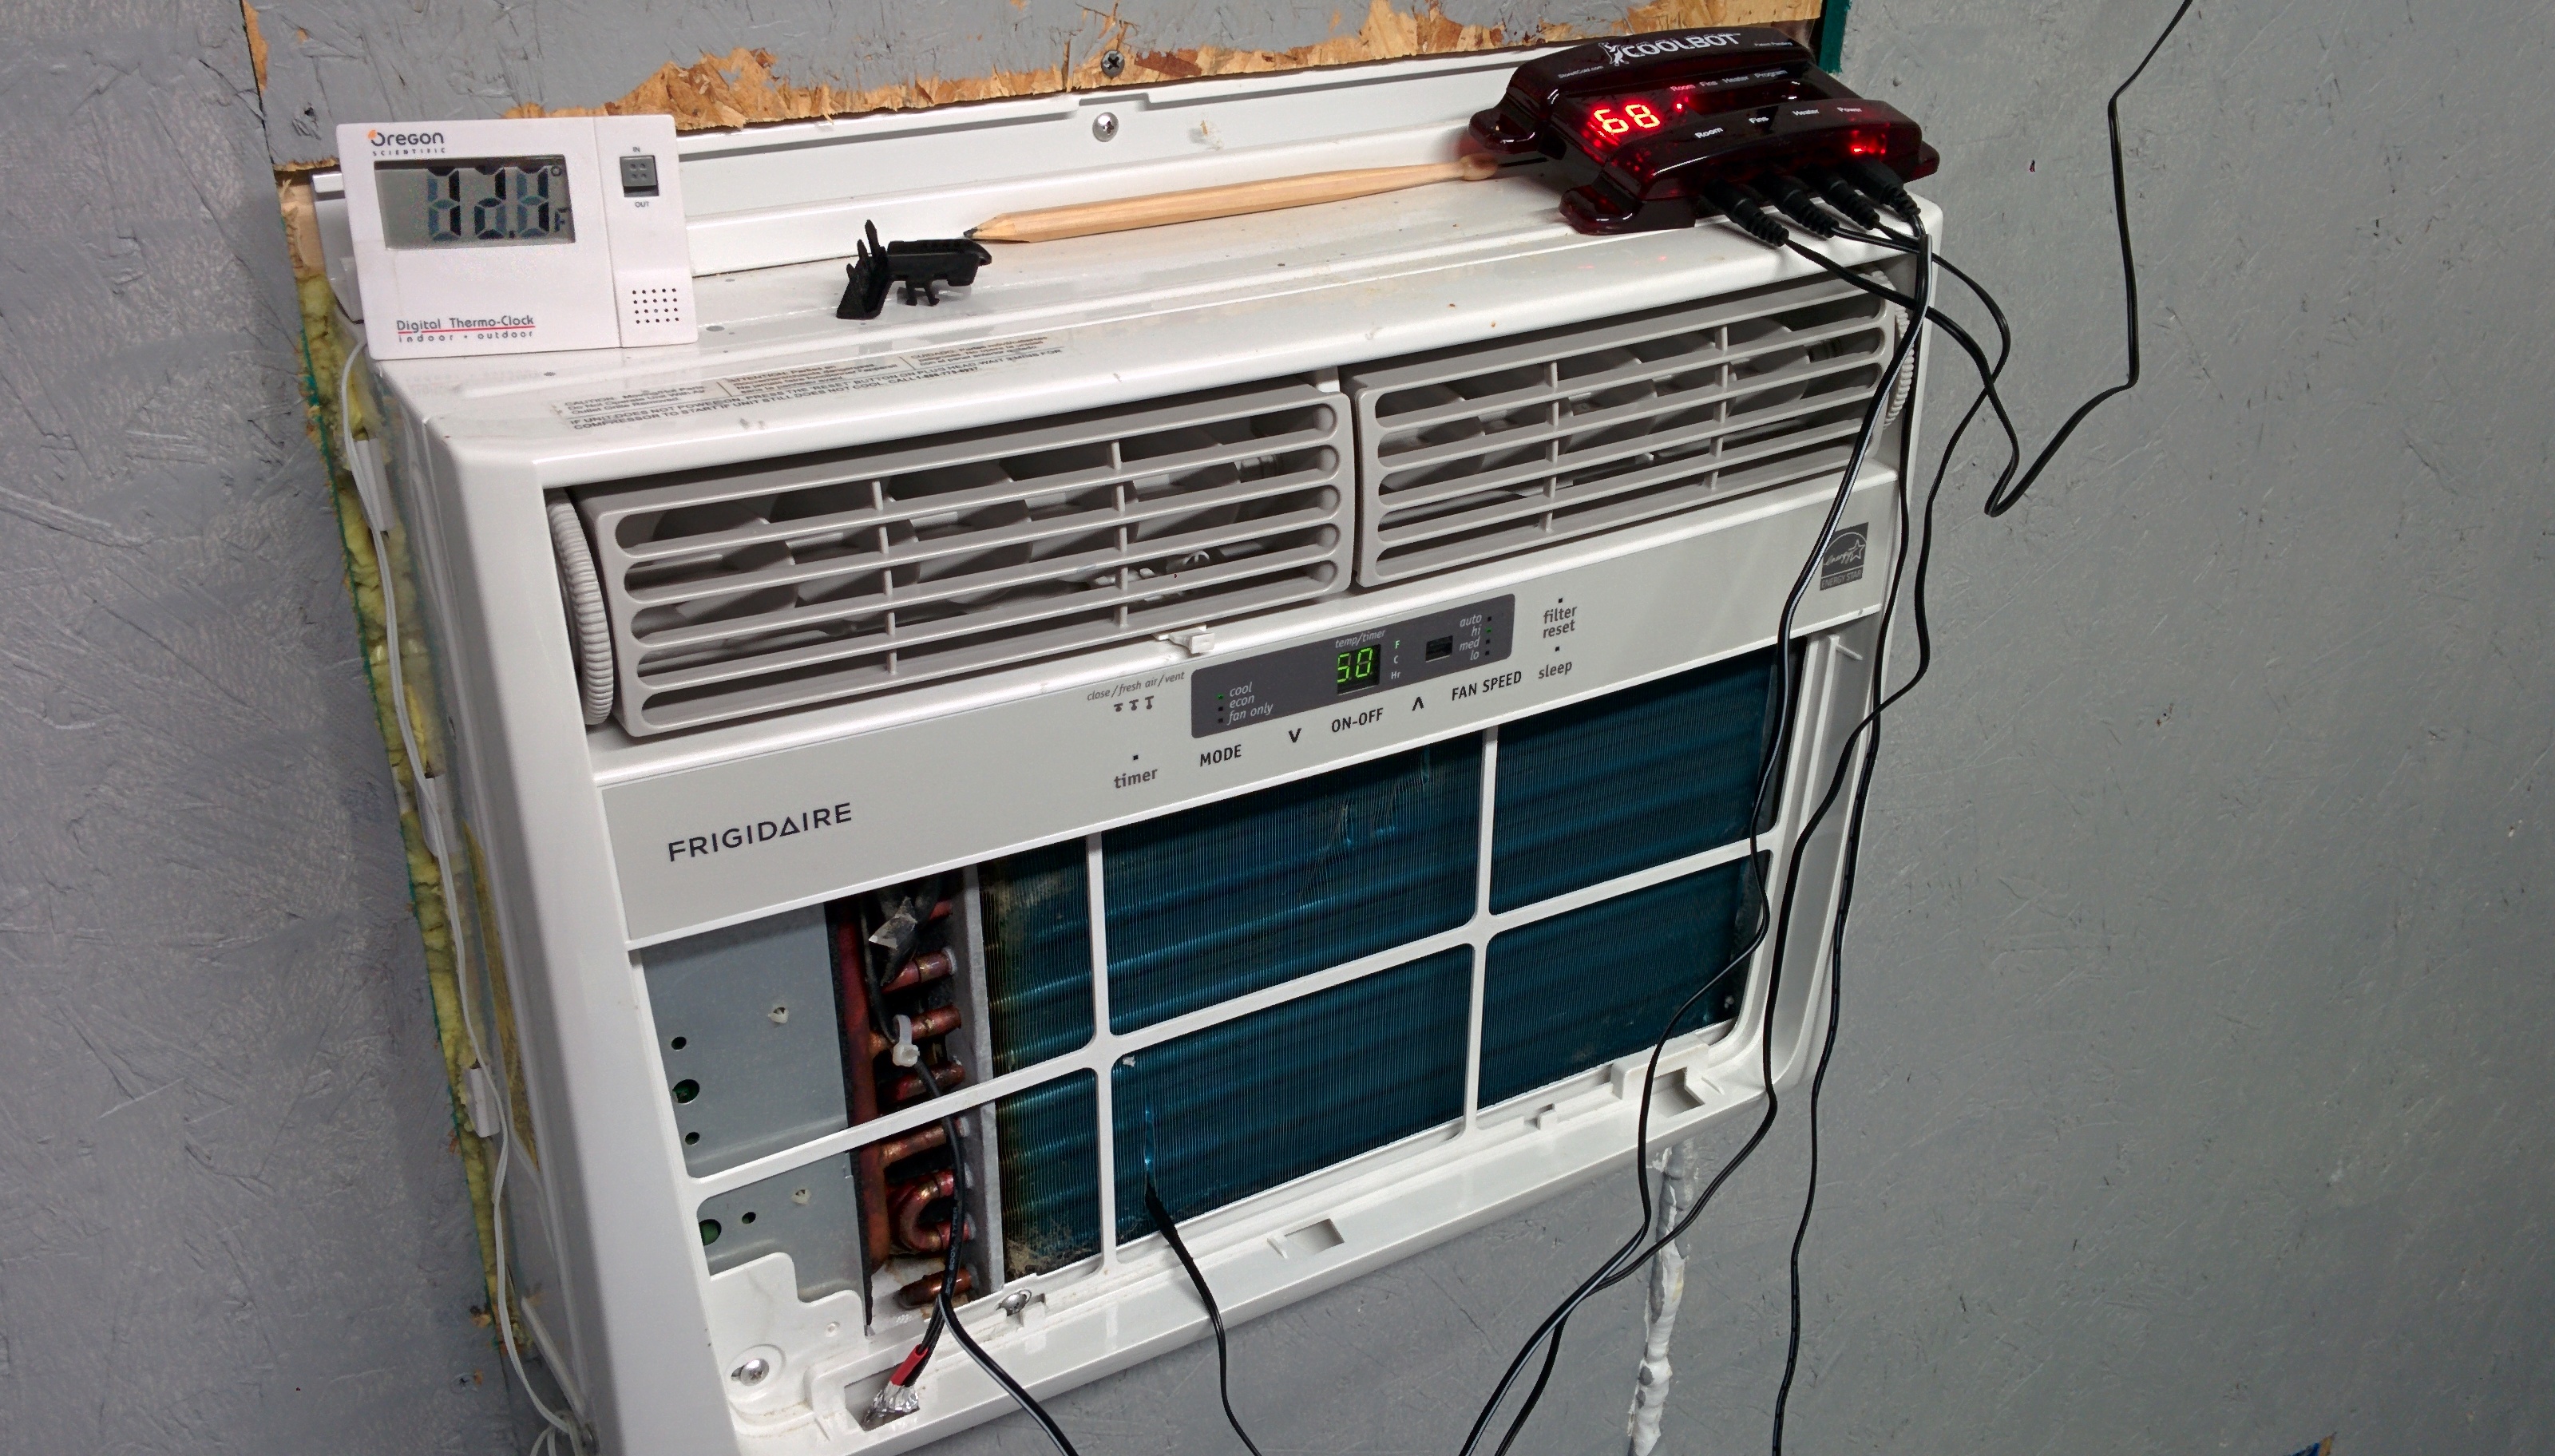
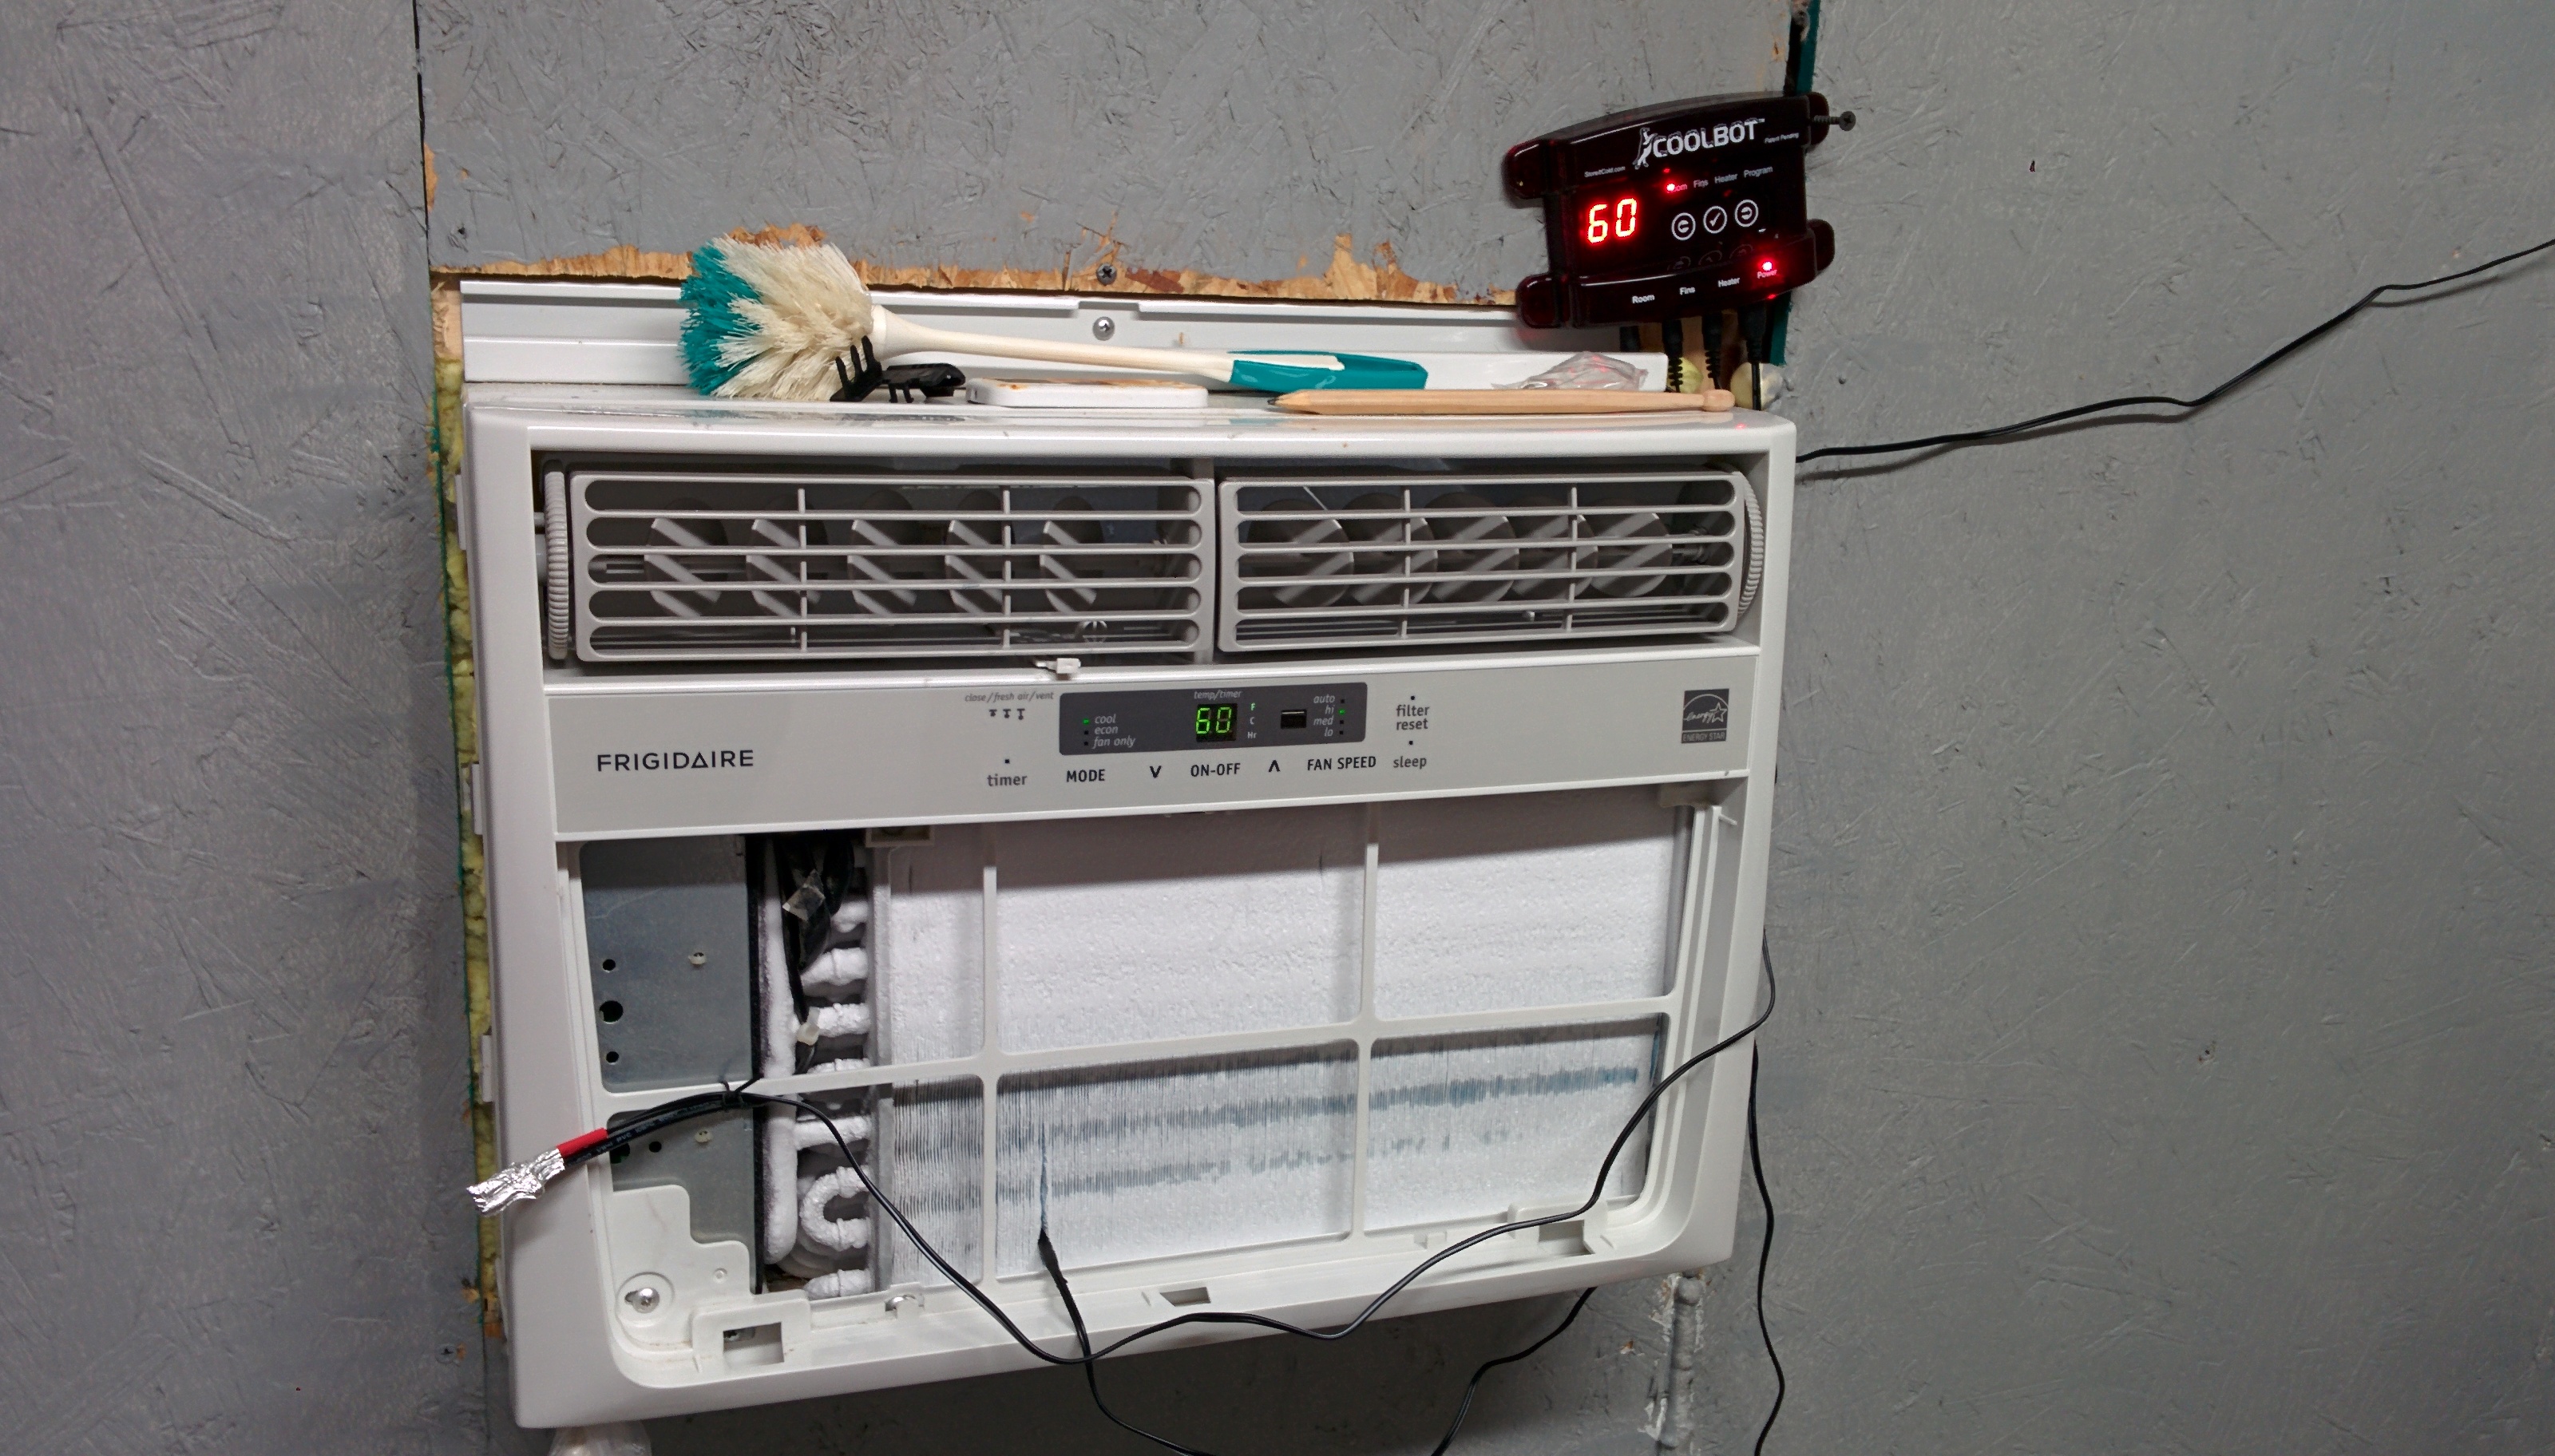
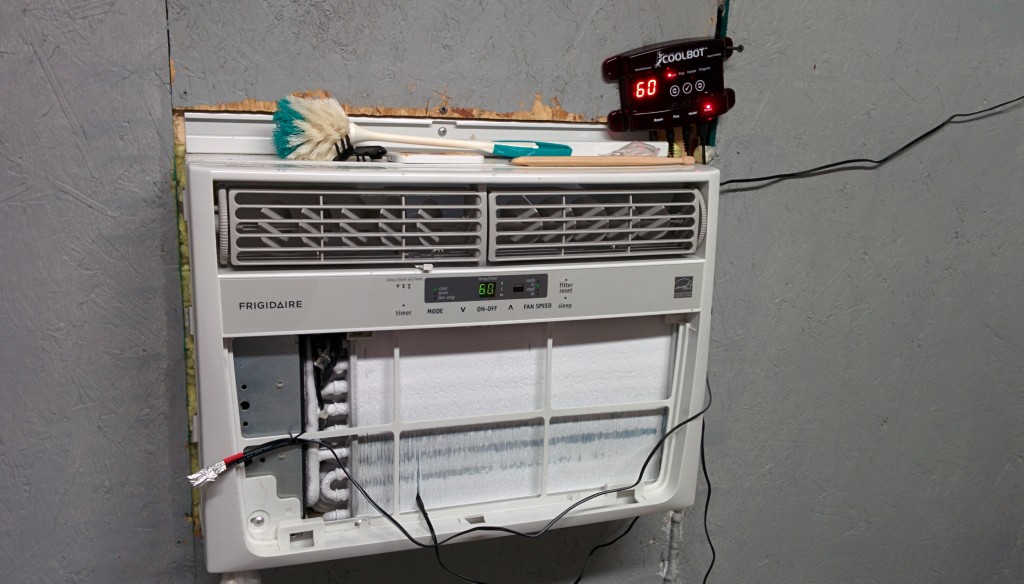
The key to ensuring the shed stays cold enough to ferment and age beer is the use of a CoolBot (insulation helps keep it that way). The Coolbot is a really neat and simple device. It has several temperate probes to get readings on the AC fins and the rooms and also a heat probe, to trick the AC itself to keep running which allows the Coolbot to control how long it runs.
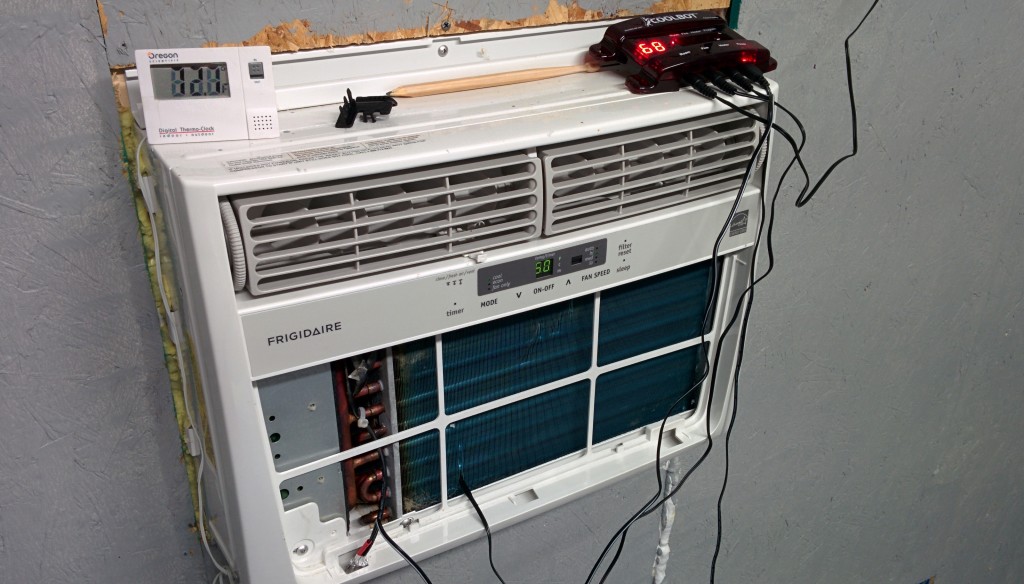
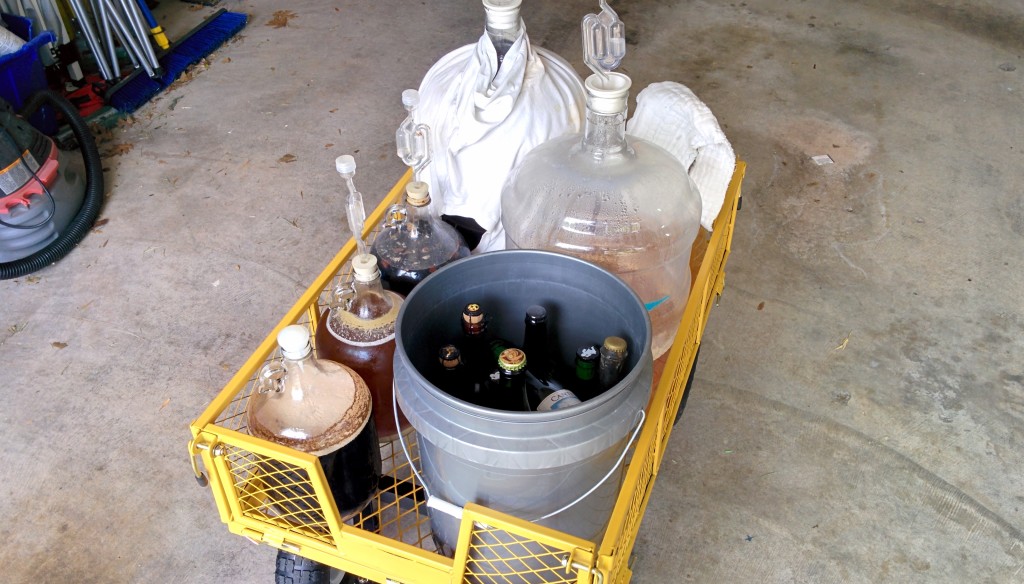
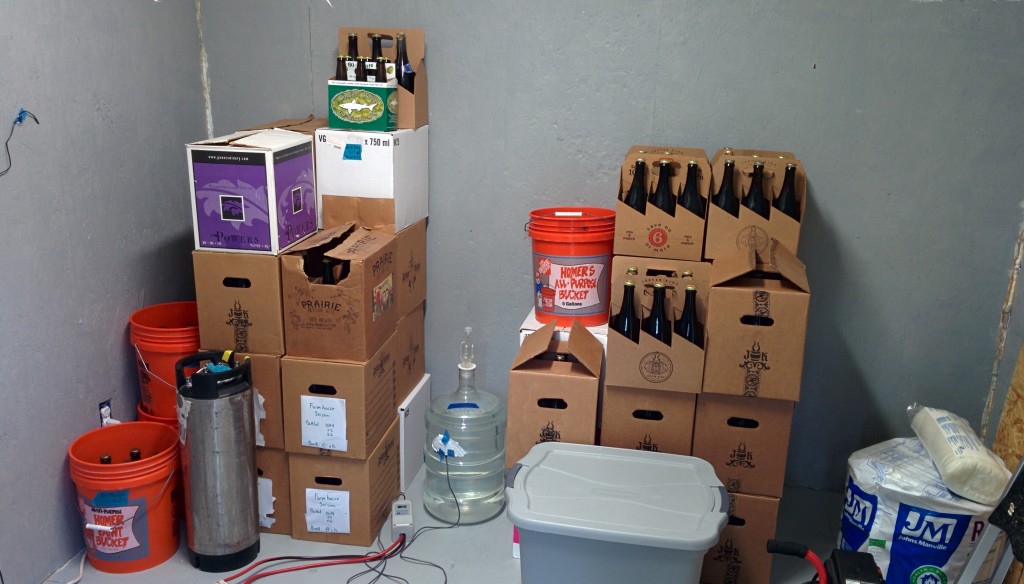
I plugged it in and it worked right off the bat. A quick test showed it cooled a carboy of water down from 80F to 65F in just a few hours. Over the next few days, I filled up the shed with homebrew and commercial beer.
Under heavy stress, the Coolbot ended up freezing the coils. This wasn’t as bad as it sounds since Coolbot has a nice troubleshooting guide to help you tune things. After changing where I placed the fin temperate probe, I was back up and running.
I’m highly impressed with the device. I’ve got a few more things to get the interior the way I’d like but for now, it’s completely operational which means it’s time to brew some more beer!
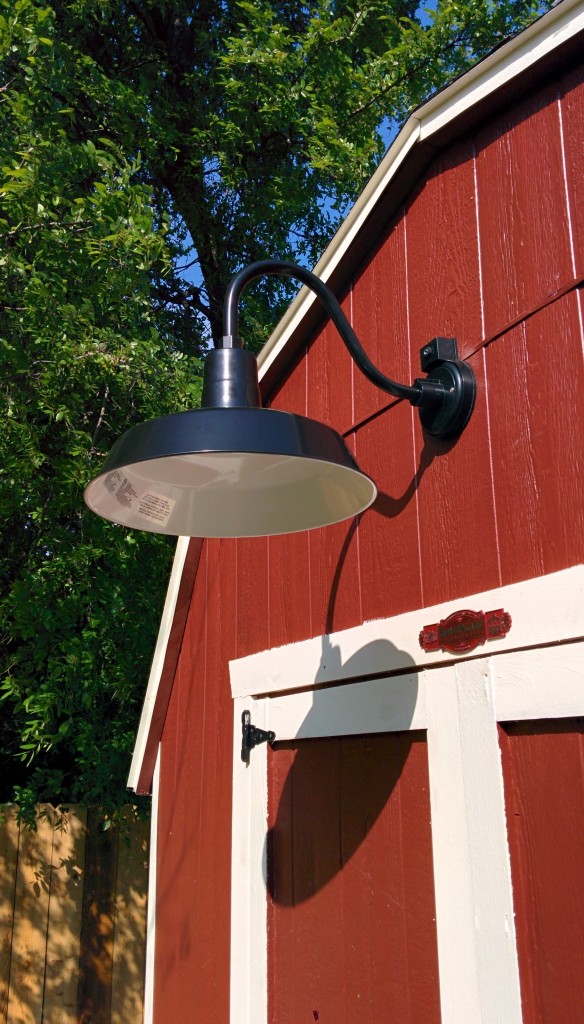
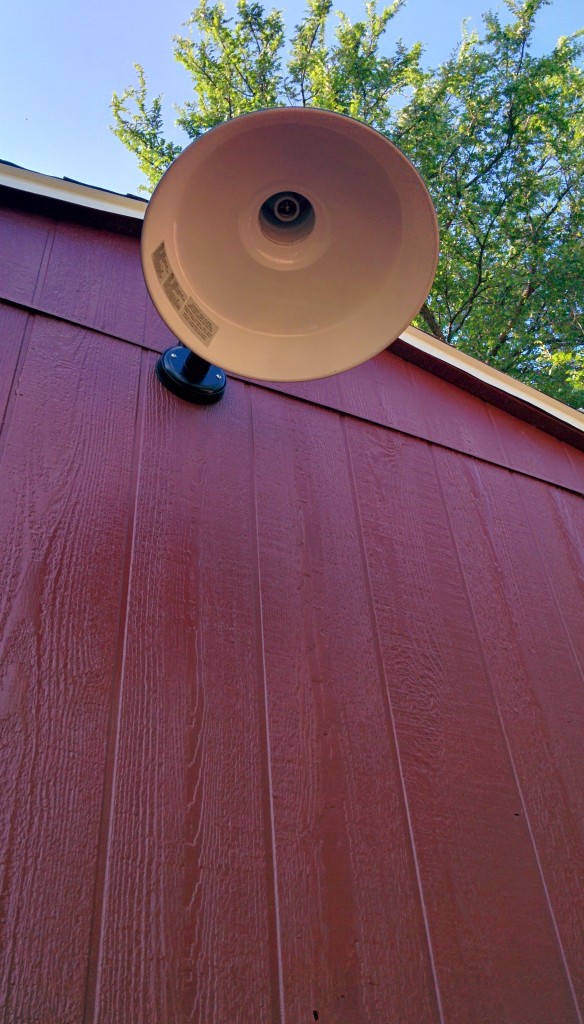
Here’s some more photos from the project.