Woxbic Time

20170115_141856

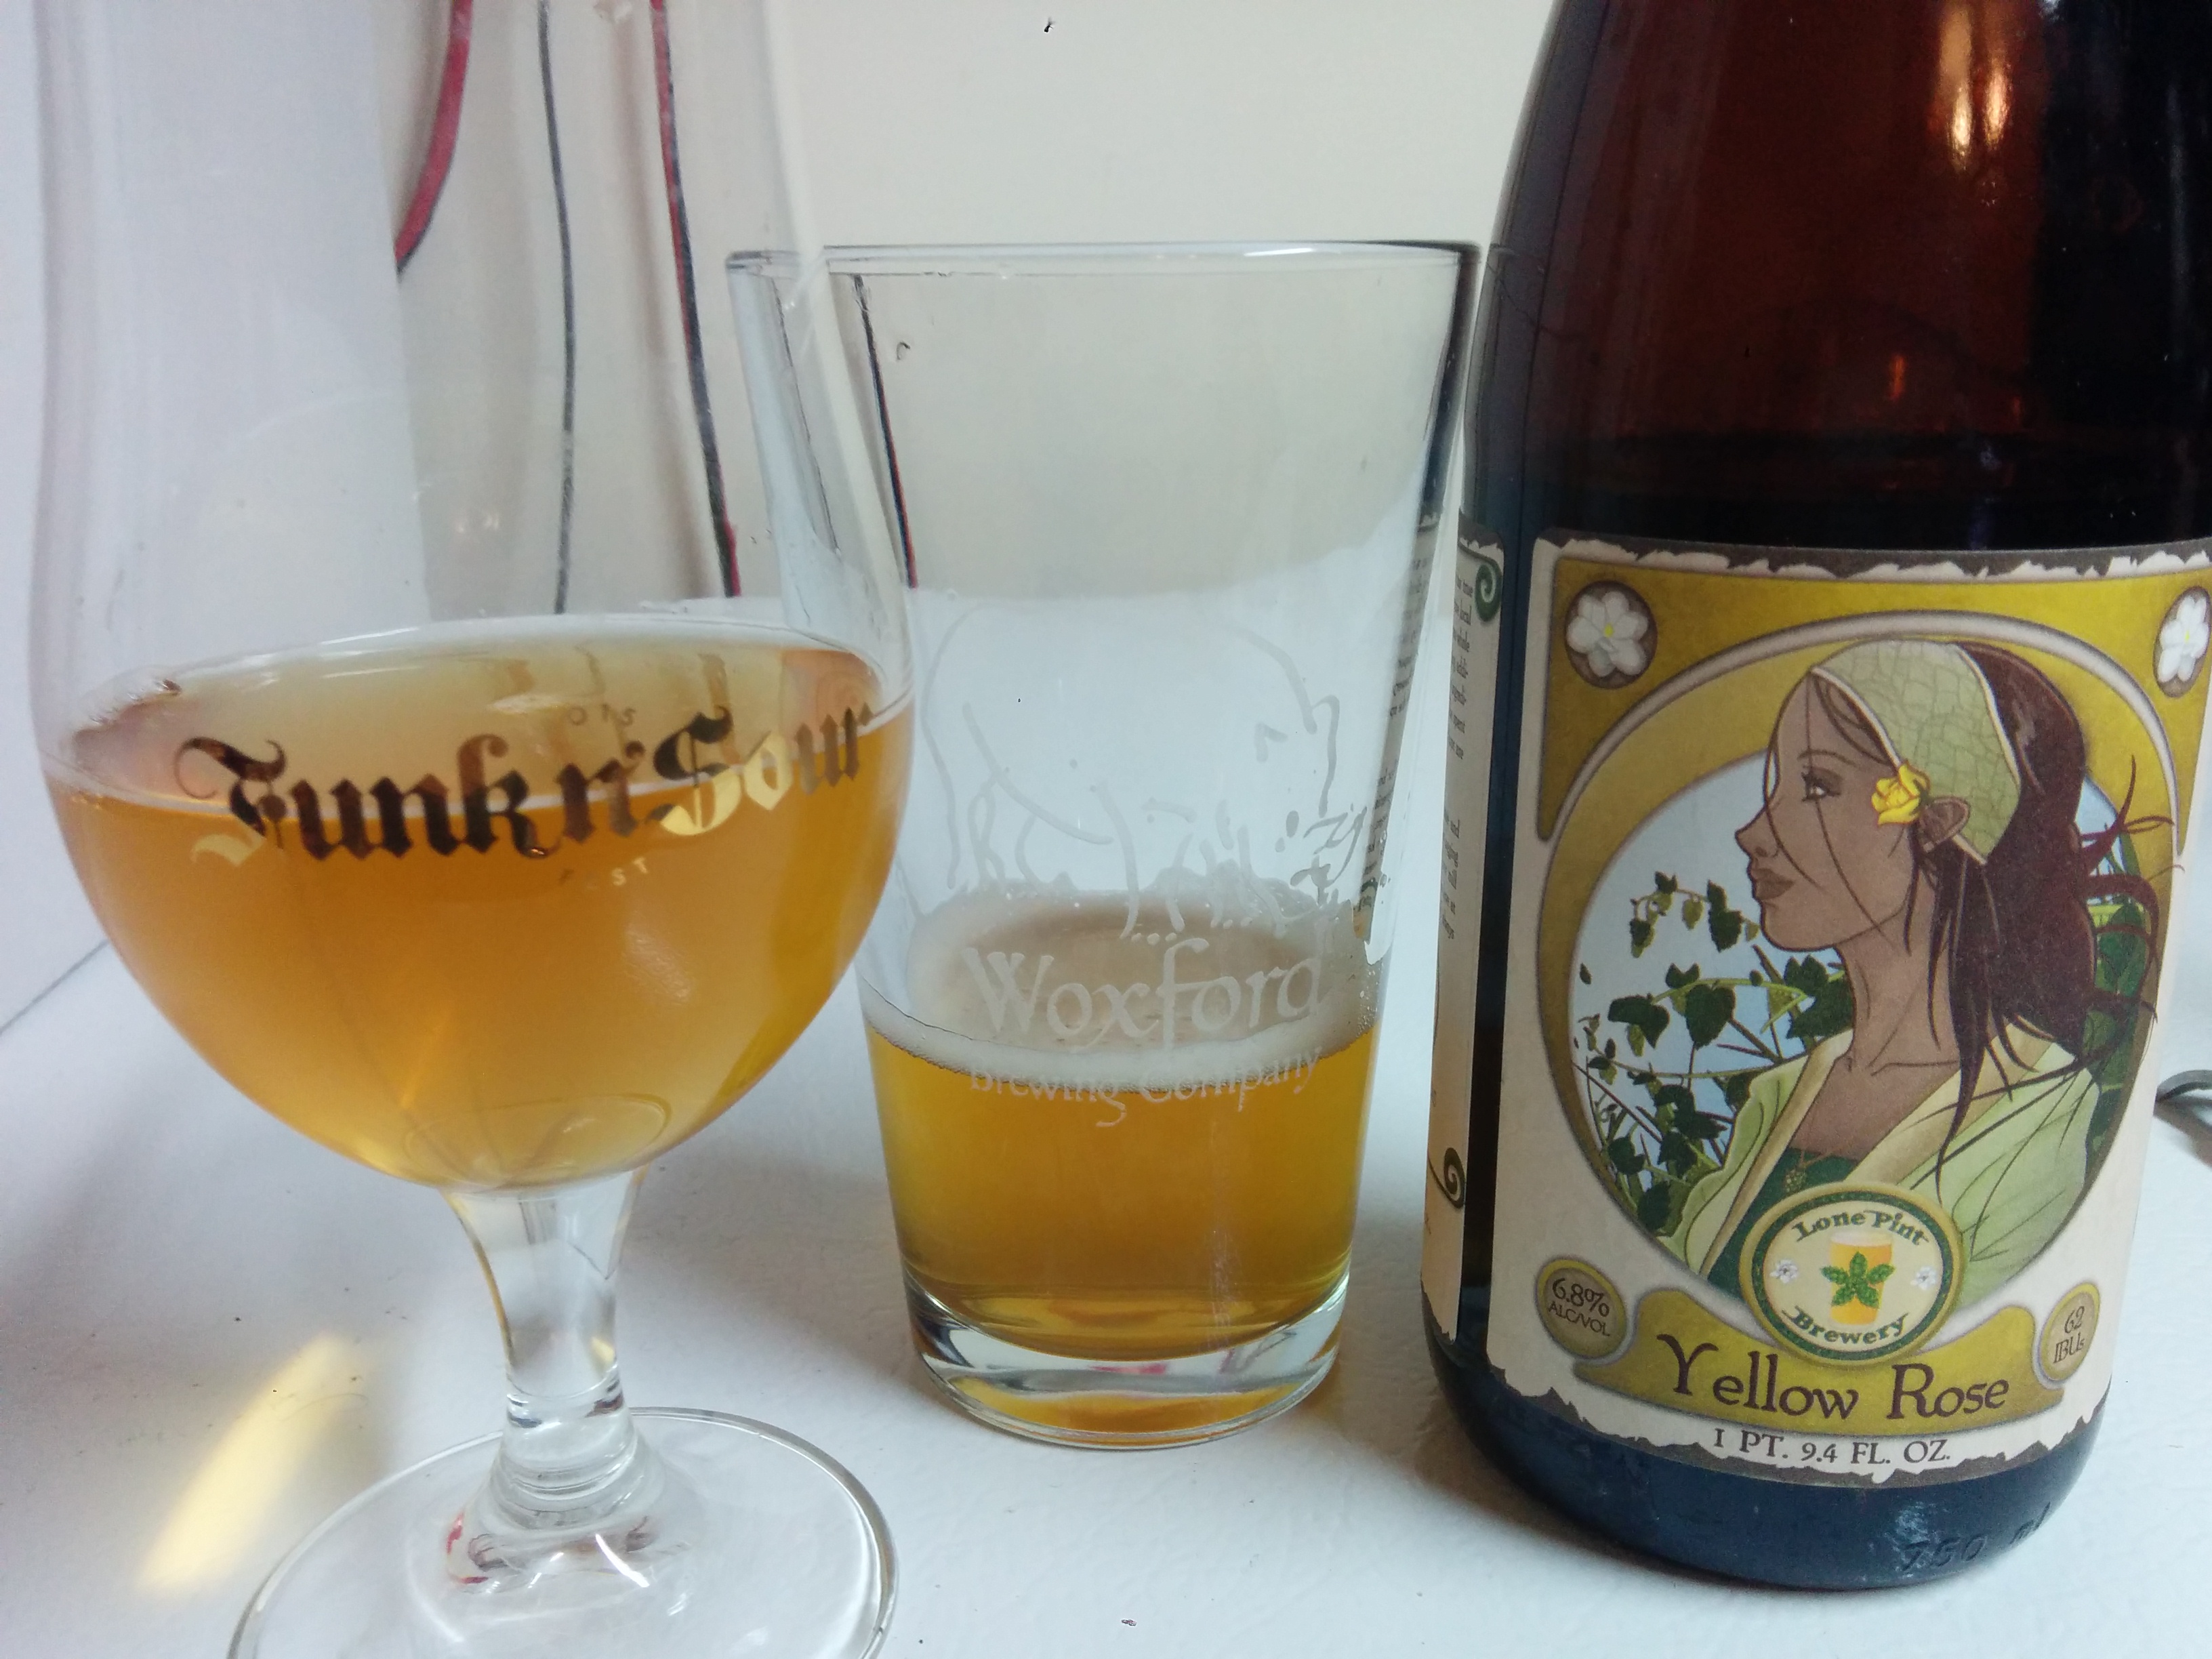
It’s Texas winter time again; well sort of.  Texas has the strangest winters;  it was 85F on December 25th, and then had a high of 28F for 3 days in early January.  Today is 72F. Despite these wild swings in temperatures, it’s time again to brew my annual Lambic-style, or Methode Gueuze, as the newly introduced mark for a process has been released alongside a huge accomplishment from Jester King when they released SPON late last year.  Note, I won’t be performing a turbid mash.  Yet.

20170115_103032

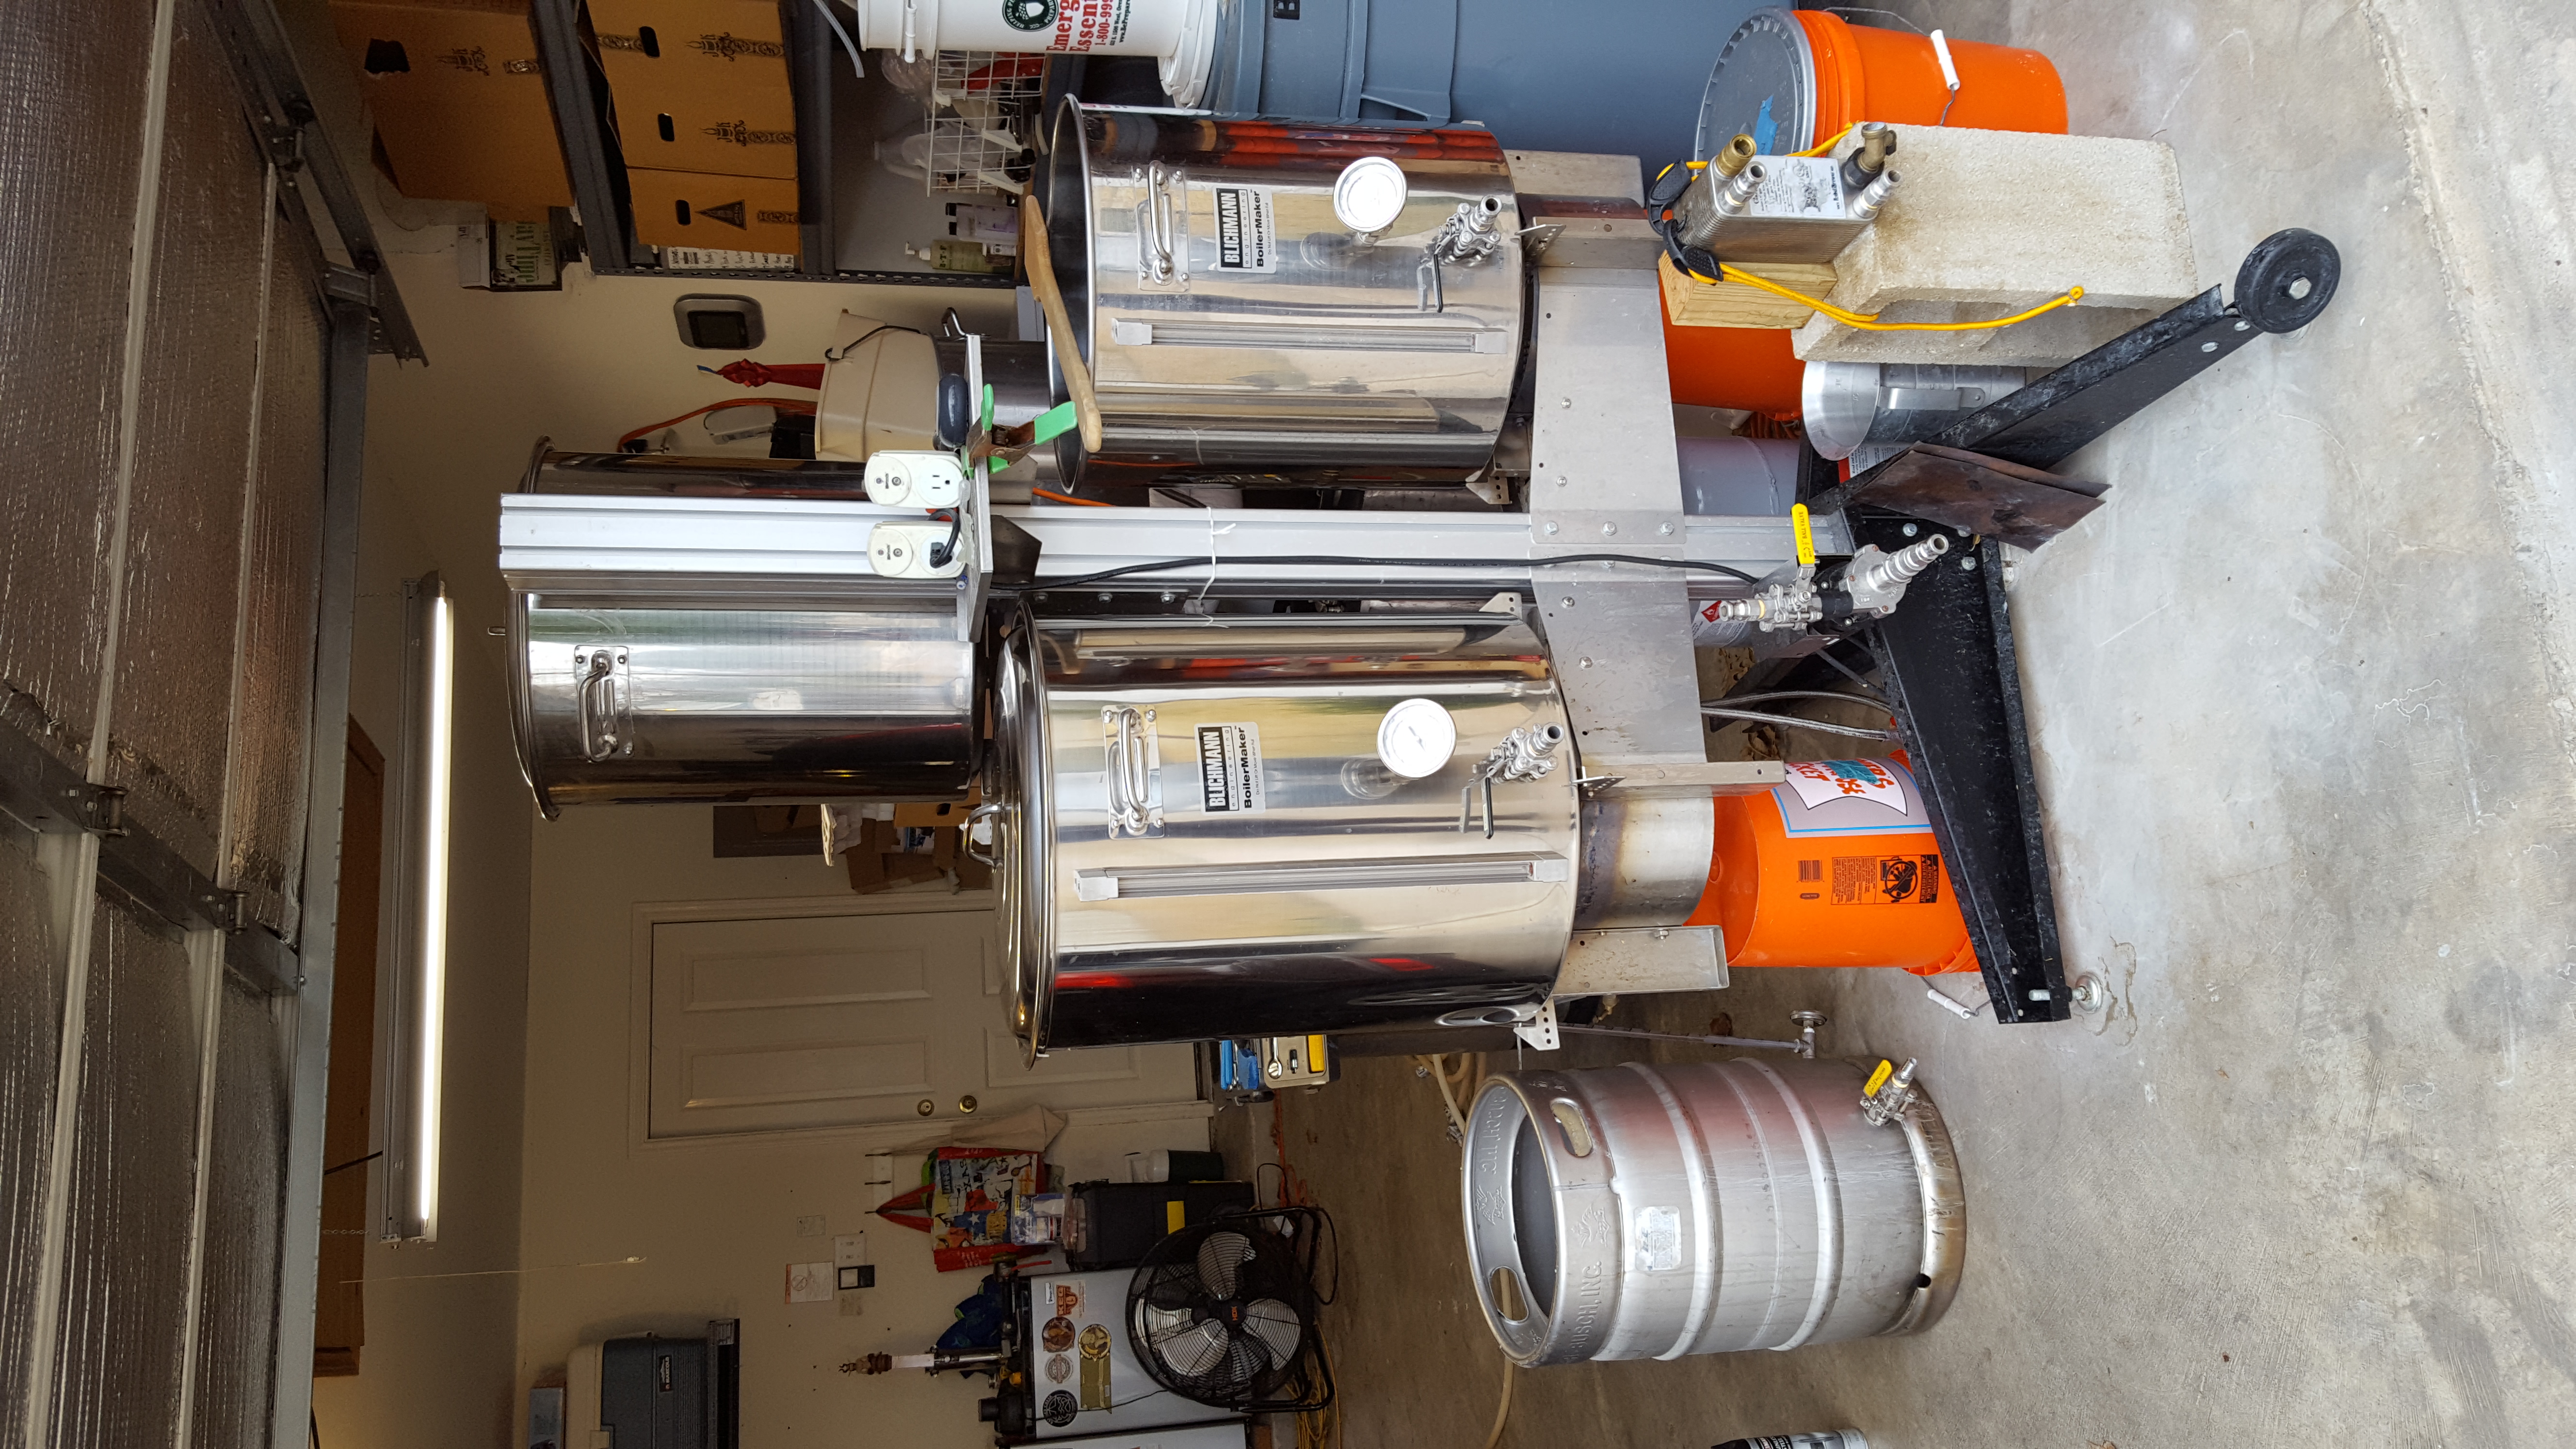
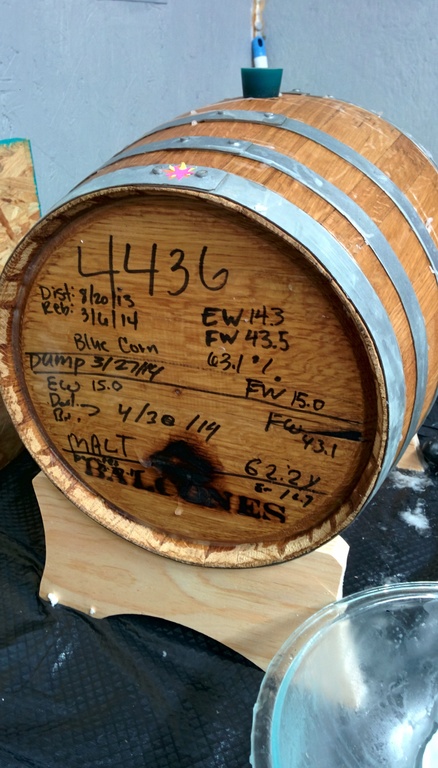
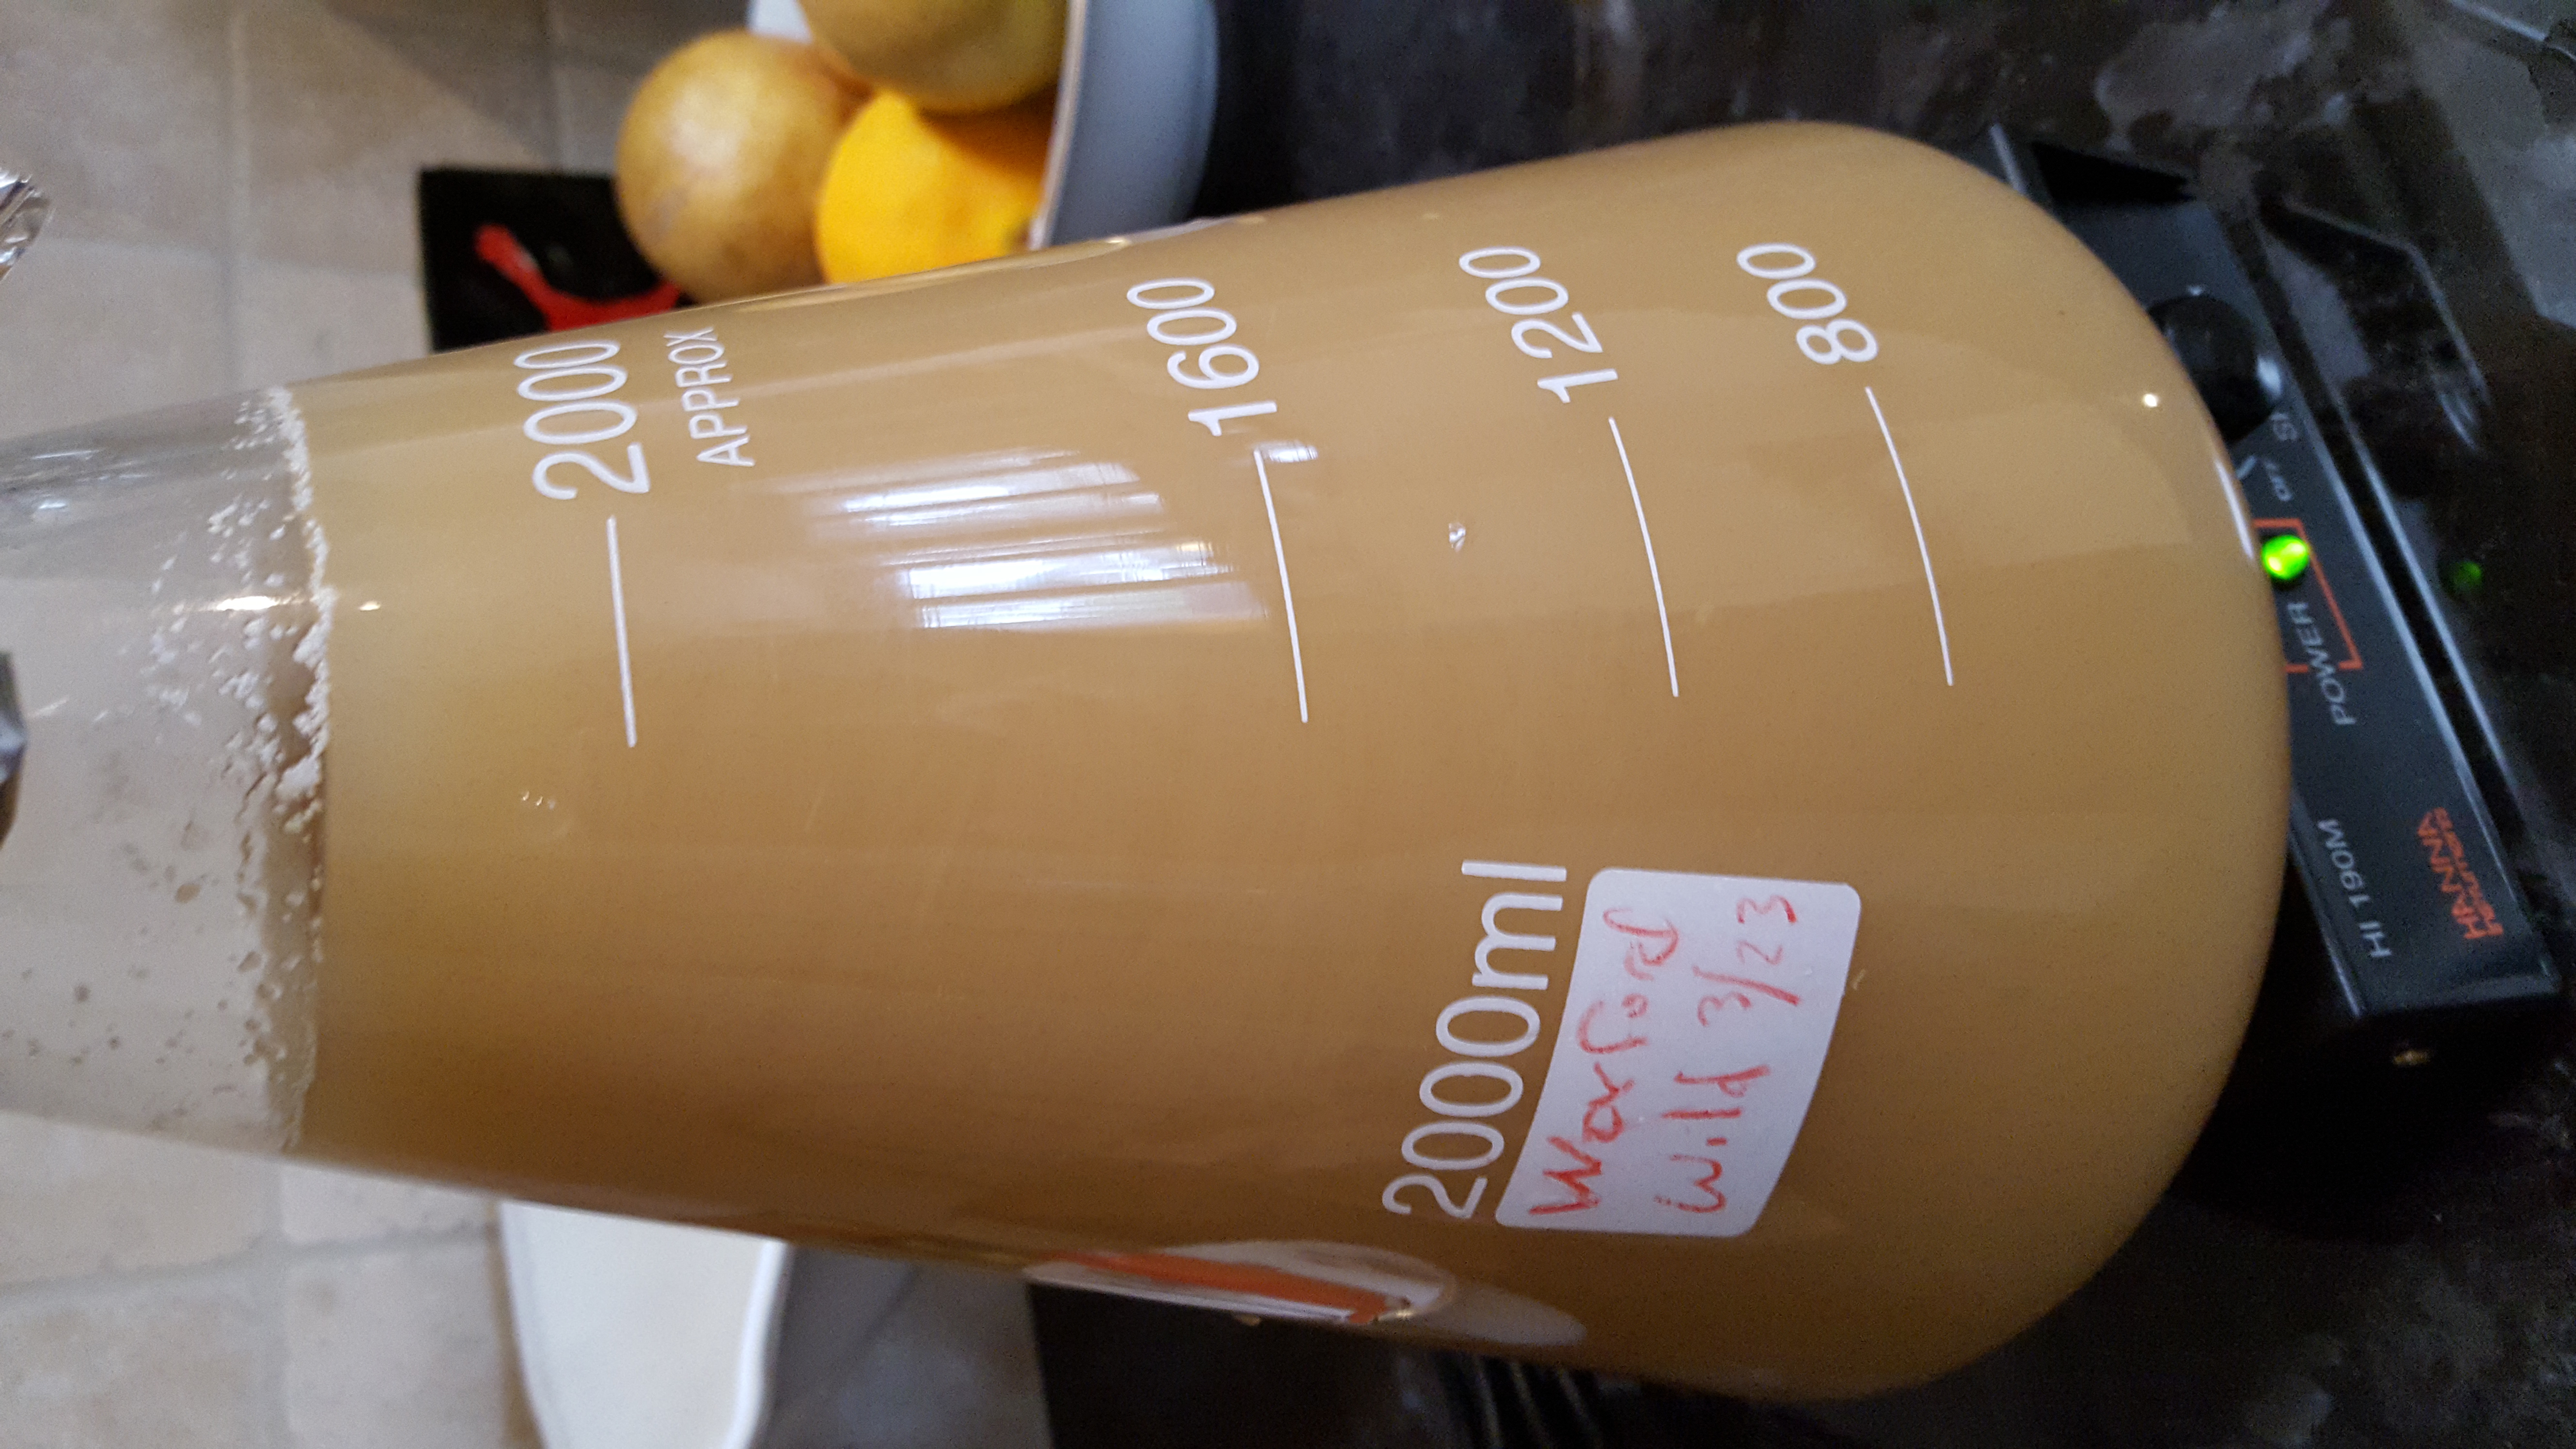
In preparation for my first year of blending, I’m doing my largest single batch.  22 Gallons of wort to be split between a 15 gallon Rye Whiskey barrel, and a 5 gallon Whiskey barrel.  The 15 gallon barrel will get a fresh pitch of ECY 20, my favorite blend for long barrel aging lambic-style beers.  The 5 gallon will get wild yeast I captured under a peach tree from my yard.  I brewed a 1L starter a year ago which produced Belgian-like characteristics by not  much in the way of sour.  After aging for nearly 9 months, the pH dropped from 4.2 to 2.8.  Slow bugs work magic.  I just refreshed this mixed culture to pitch into the 5 gallon barrel to see how that turns out.

20170115_121454

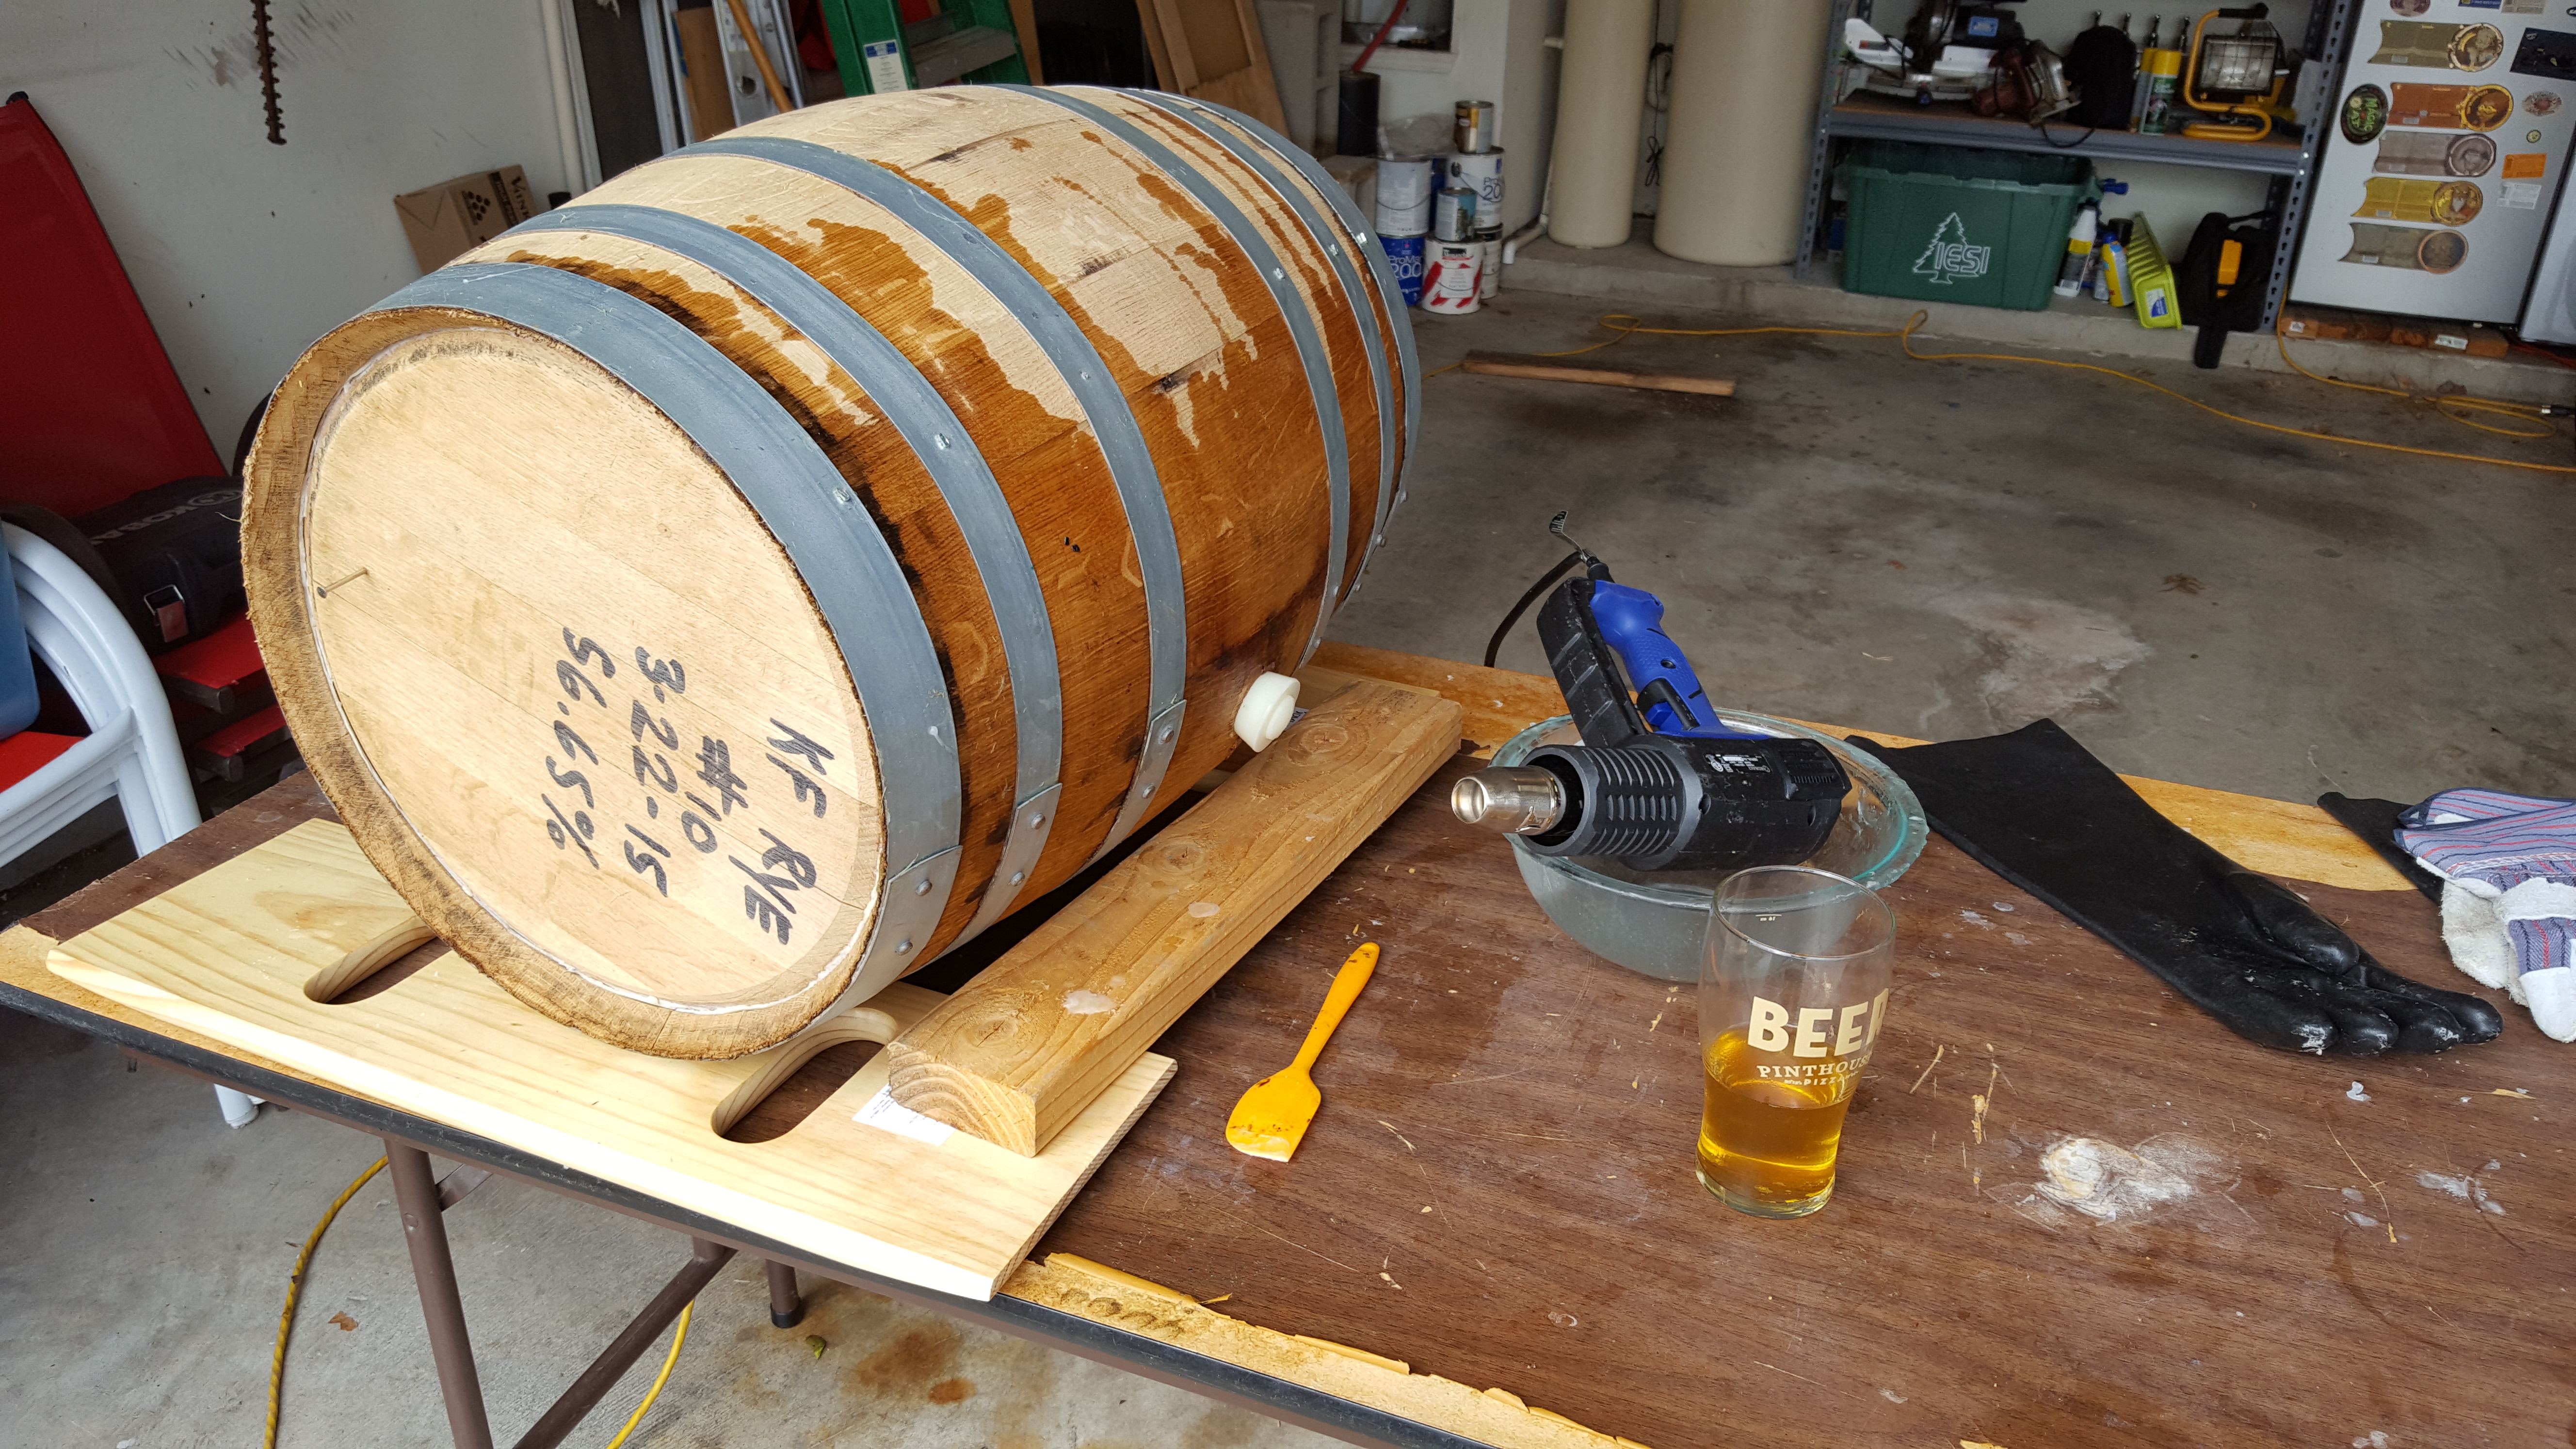
These two barrels are the newest in my collection and need to be parafin waxed.  Using Gulf wax in a glass bowl, heat gun set at 1000F and a thermal glove one can drip and blend hot wax on the whole barrel (outside and both heads) in about 20 to 30 minutes.  I’ve done this for all 3 of my Woxbic barrels and it’s done amazingly well at keeping any acetic character out of even the 3 year old beer which has been stored at approx 75F for the entire time.

After this brewday, the next big challenge is blending the 3, 2 and 1 year old blends, and then how to plan for next years’ blends.  I find it incredibly difficult to determine how to keep a consistent amount of 3, 2 and 1 year old lambic beer around considering the blending ratios may change.  One can always brew more each year but it becomes challenge to use up the remaining beer that’s beyond the 3 year mark.  I plan to take what I need out of the 3 year old barrel and anything that remains will get bottled as straight unblended lambic-style; sort of a Grand Cru or Cuvee.  Maybe I’ll blend with fruits as well.

Recipe Details

Batch Size Boil Time IBU SRM Est. OG Est. FG ABV
20 gal 60 min 8.7 IBUs 3.7 SRM 1.054 1.018 4.7 %
Actuals 1.046 1.01 4.7 %

Style Details

Name Cat. OG Range FG Range IBU SRM Carb ABV
Straight (Unblended) Lambic 17 D 1.04 - 1.054 1.001 - 1.01 0 - 10 3 - 7 1.8 - 2.6 5 - 6.5 %

Fermentables

Name Amount %
Pilsner (Weyermann) 24.306 lbs 60
Wheat (BestMälz) 14.583 lbs 36
Acidulated (Weyermann) 1.62 lbs 4

Hops

Name Amount Time Use Form Alpha %
Northern Brewer 2.46 oz 60 min Boil Leaf 3.2

Miscs

Name Amount Time Use Type
Phosphoric Acid 32.40 ml 60 min Mash Water Agent
Epsom Salt (MgSO4) 2.60 g 60 min Mash Water Agent
Calcium Chloride 1.30 g 60 min Mash Water Agent
Gypsum (Calcium Sulfate) 1.30 g 60 min Mash Water Agent
Wheat Flour 5.00 oz 5 min Boil Other

Yeast

Name Lab Attenuation Temperature
Bug Country (20) East Coast Yeast 70% 63°F - 75°F

Mash

Step Temperature Time
Protein Rest 122°F 30 min
Saccharification 156°F 30 min
Mash Out 168°F 10 min

Notes

After mash-out, drain all liquid into boil kettle, raise temp to 190, pump back to mash for second rinse through grain bed.

Pitching ECY20 Bugcountry in 15G barrel, 5G

Sparge acidification:
Gypsum: 1.9 Grams
Epsom Salt: 2.6 Grams
Calcium Chloride: 1.3 Grams
Phosphoric Acid: 61.9 mL

Bottling from the Chronical

15 gallons is a lot of bottles for one person

Bottling from the conical setup including rinsing and capping equipment.

I bottled for the first time using the Chronical last night.  It was quite a bit of work; roughly as long as a brew session including clean-up time. A lot of the extra time can be eliminated after applying the fixes I’ll list below. But for now, let’s walk through the process and I’ll describe The Good, The Bad and The Ugly.

Recirculating – The Good

The first step of the evening was to dump the existing yeast that had collected at the bottom of the conical during fermentation and aging.  I picked up two 48 oz Nalgene water bottles with graduated markings.   After sanitizing them, I connected a tri-clover 1.5″ to 3/8″ barb fitting, opened up the bottle, next the dump butterfly valve.  A slow stream of yeast soup pushed out and then much faster some amount of beer.  I quickly closed the valve and had about 40 oz of yeast sludge which has gone to the fridge.  I may or may not reuse it.  That ended up being really painless.  I like the bottom dump!

chronical-priming-sugar-yeast-recirc-1024x768

Next, I needed to mix in the priming sugar (approx 13 oz of table sugar) and yeast (.5 Liter starter stepped up).  I mixed the yeast into a second Nalgene bottle, opened the top port and dumped it in.  I replaced the bottom barb tri-clover fitting with a hose to connect the bottom port to the input-side of the diaphragm pump from Morebeer.  The output side of the pump has a host connecting it to a 90 degree 1.5″ tri-clover elbow into to top of the conical.  As a pre-caution around pressure build-up, I loosened all of the lid clamps; the were over the lip of the top but not locked down.  I then opened the bottom butterfly valve and then started the pump.  This ran flawlessly for about 15 minutes, then there was some foaming and the pump lost prime and stopped.  I’ll save the explanation for the Ugly section.

Recirculating – The Bad

I had planned to do both recirculation and pressurized transfer from the conical and had purchased additional fittings to make this easier.  However, none of the vendors have exactly what is needed.  The blow-off accessory includes a built-in pressure relief valve in the 3″ fitting and then an open 17mm hole which is filled with a 1/2″ NPT to 1/2″ Barb fitting to allow you to connect a blow-off tube.  The SSBrew Tech store will sell you a 3″ fitting with a 90 degree elbow barb, but if you want to use different connections, then you really want a 3″ fitting with 1.5″ tri-clover adapter *plus* the pressure relief valve.  I didn’t end up having any pressure issues, however, I do plan on creating my own by modifying the current fittings with a small change.  Instead if having the barb on the outside, I’ll reverse it and expose the 1/2″ threads through the top and connect that to a 1/2″ FPT to 1.5″ Tri-clover adapter.  This allows me to connect any other tri-clover fittings (like a 90 degree elbow barb), but I can also put something different on it since it ends in a tri-clover fitting.

Recirculating – The Ugly (my fault)

The recipe had been dry-hopped. I put the hops into a stainless steel mesh container and let it float in the conical for about two weeks. It was still floating when I started recirculating. After about 15 minutes, it started to appear foamy in the site-glass at the bottom of the conical. Then the pump struggled for prime and stopped. It slowly filled up and I restarted the pump. Same thing happened again; I thought something must be blocking it … oh NO! Yes, the mesh had been pulled down to the bottom of the conical and was blocking the flow. With some long sanitized gloves and a stainless spoon the hops were recovered with no issue. This did not help reduce oxygen exposure though. Note to self: Remove dry-hop container before recirculating.

Bottling from the Conical – The Good

The good news is that I got things working and 5 gallons of beer ended up in 49 750mL bottles, 10 gallons into kegs. That’s about it.

chronical-dirty-1024x768

Bottling from the Conical – The Bad

The biggest issue I faced was that the conical does not have any easy way to apply CO2 pressure. All of the connections are tri-clamp (save the sampling port) and the recommended way requires one to build an adapter. It would be very nice if the Chronical came with it, or SSBrewTech sold it as a kit. Most of my hair-pulling this evening was related to this as all of my gas lines have female Flare fittings for easy attachment to check-valves and ball-lock quick disconnects. The Last Straw bottling equipment I purchased to compare to my Blichmann Beergun did not come with a 3-way flare tee for splitting the CO2 gas between the filler and the source (though NB lists them as a required part). I had to build one which was rather leaky and quite a bit of CO2 was lost while in use. The liquid line from the Chronical to the where I was filling and capping was probably 12 feet. This extra length is useful for when your filling with already carbonated beer as it slows the flow down. For uncarbonated beer, this just slowed down each bottle fill. The Last Straw itself appears designed specifically for filling already carbonated beer as the diameter of the liquid tube is very small, certainly smaller than the Blichmann.

Bottling from the Conical – The Ugly (my fault)

I have a 3-way flare tee but I couldn’t find it.
I have a 1/2″ barb to ball-lock post adapter, but I couldn’t find it.

The Fix!

First, I’m building the 3″ pressure relief tri-clover adapter to 1.5″ tri-clover. From there, I can switch between elbows and other things. Second, the fancy folks at brewershardware make tri-clover to ball-lock posts, both gas and liquid which allows instant connection to any of my current kegging and bottling equipment. Third, reducing the length of line used to as short as possible since I want to maximize fill-speed for bottling uncarbonated beer. Last, I’ll likely switch to the Beergun as it has a faster flow. I’m really torn as the single-handed orientation of the Last Straw was much more comfortable than how you have to hold the BeerGun.

New parts I’m ordering (Updated 2016-10-07):

Smoking malts for a Sour Smoky Stout

IMG_20151231_161800

I remember when I really fell in love with Jester King sours. Years ago I volunteered at Jester King with my good friend Mark on a bottling day. Turns out it was a Funk Metal day which is an amazing beer to bottle. Back then, the volunteers got to take some of the failed QC (almost always underfills or busted labels) bottles home. The other benefit was being able to drink Jester King beer on the job. It so happened that along with Black Metal Stout (non-farmhouse, aka OG BMS) and the ever present Le Petite Prince they had Salt Lick Saison, renamed Censored Saison due to the ridiculous laws here in Texas which don’t allow breweries to endorse a product by putting the name on the label. The massive level of smoke was initially too much but strong sour really wom me over; the combination was amazing. At the end of my shift I knew why Jester King prefers something light like Le Petite as I was feeling the 6% smoked saison.  Salt Lick Saison hasn’t been produced since that summer but the other smoked beers by Jester King, namely Gotslandricka, has similar levels of smokiness and a touch of sour.

My cellar is almost bare of these great smoked sours so I decided it was time to brew something of my own. Last summer Jester King brewed Black Metal Stout  for the first time in years and due to the time of the year, winter, the cold fermentation favored sour acid production resulting in an amazing combination of roast and sour. In this homebrew I’m hoping to clone that combination and add some smoke as well.

IMG_20151231_161749

This is my first experiment with smoking my own malt. Cursory reading of the homebrew forums indicated that a low temperature, about 100F,  is best, as is the use of some sprayed water to help the malt absorb the smoke. I didn’t make my own basket but I did find a sink colander which does the right thing for exposing the malt to the smoke. I smoked 15# of Maris Otter, roughly 50% of the base malt bill in the Black Metal Stout recipe for approximately 45 minutes with a combination of oak and mesquite smoke. Only time will tell if this was enough, or too much (ha!).

I’ll be sure to report back on how this one turned out.  Happy New Year!

Recipe Details

Batch Size Boil Time IBU SRM Est. OG Est. FG ABV
11 gal 60 min 31.3 IBUs 69.2 SRM 1.082 1.014 9.0 %
Actuals 1.082 1.014 9.0 %

Style Details

Name Cat. OG Range FG Range IBU SRM Carb ABV
Imperial Stout 13 F 1.075 - 1.115 1.018 - 1.03 50 - 90 30 - 40 1.8 - 2.6 8 - 12 %

Fermentables

Name Amount %
Maris Otter (Thomas Fawcett) 14.938 lbs 39.12
Smoked Pale Malt, Maris Otter (Thomas Fawcett) 14.938 lbs 39.12
Black Barley (Stout) 2.467 lbs 6.46
Black (Patent) Malt 1.599 lbs 4.19
Chocolate Malt (Thomas Fawcett) 1.599 lbs 4.19
Brown Malt 15.21 oz 2.49
Caramel/Crystal Malt - 40L 15.19 oz 2.49
Crystal Dark - 77L (Crisp) 12 oz 1.96

Hops

Name Amount Time Use Form Alpha %
Citra 1 oz 60 min Boil Pellet 14.4
Goldings, East Kent 2 oz 5 min Boil Pellet 5

Miscs

Name Amount Time Use Type
Calcium Chloride 5.00 g 60 min Mash Water Agent
Gypsum (Calcium Sulfate) 5.00 g 60 min Mash Water Agent
Epsom Salt (MgSO4) 1.20 g 60 min Mash Water Agent

Yeast

Name Lab Attenuation Temperature
JK01 (JK01) Jester King Brewery 86% 60°F - 90°F

Mash

Step Temperature Time
Saccharification 156°F 40 min
Mash Out 168°F 10 min

Notes

Kunsei (smoked) Makkuro-Kurosuke

Mosaic IPA v3

Mmm, Yellow Rose

Homebrew Mosaic IPA on the left, Yellow Rose on the right.

Brewing and IPA just the way you want has always proved to be more difficult that I’ve wanted.  The Mosaic IPA is no different.  I’ve had plenty of Lone Pint’s Yellow IPA to know what I really liked about it:  huge amazing Mosaic nose and aromatics, sweet, but light malt flavors, and a solid bitter and dry finish.

V1 was a small batch and didn’t quite attenuate exactly as intended, partly due to learning temps and mashing in the small batch setup but it was in the ballpark for what we wanted in a clone.

V2 was a scaled up to a 6 gallon batch.  When I brewed V2 I did have a slight shortage of Mosaic hops and had to go with a Mosaic/Simcoe blend.  In tasting, this had almost zero impact in aroma and flavor.  That wasn’t too surprising considering Mosaic’s heritage.   Color was spot on as well as clarity.  The real difference was in the taste.  In a side-by-side with a bottle of Yellow Rose, it was clear that my V2 was sweeter than YR; something I knew as I was sampling V2.  V2 finished around 1.016 or so which is much sweeter than my palate enjoys nowadays.  However, beyond the sweeter malt flavors it was lacking some of the hop bite.

The reviews of V2 were all similar: good, but not quite right, needs more hops.  Well, that’s not a problem.  So on to V3!  I wanted to achieve two things.  First, and foremost, the beer needed to finish drier than V2.  Considering the yeast I have, Dry English Ale, which already does a really solid 75 to 80% attenuation, I decided I’d employ some step mashing to maximize beta amylase hoping to reduce the final gravity.  The second goal was to bump up the bitter a bit as well, oh and this time use all Mosaic for sure.

The recipe below includes these changes.  Brewing of V3 was picture perfect.  However, somewhere along the mash, we accidentally bumped the efficiency from 72% to around 93%.  The pre-boil gravity target was to be 1.045 and we ended up with 1.055.  The final O.G ended at 1.083 instead of 1.067 meaning we had a 9% beer bordering on double IPA rather than a solid 6.5% IPA.  Worse things have happened.

Upon tasting V3 though it wasn’t significantly more bitter than V2 and it immediately dawned on me that the additional efficiency was the source of the trouble.  Since the boil gravity was much higher than expected, that resulted in a lower alpha-acid isomerization, and lower IBUs in the final product.  I should have adjusted the amount of hops in the boil to combat the higher gravity wort.  Clearly a V4 will be needed.

V3 finished at 1.016, but considering the starting gravity I don’t think I can expect WLP 007 and mash techniques to get any lower.  80% attenuation is the top end for this ale strain.  But I know some other strains that can go a bit higher.  For V4, I’ll brew another 6 gallons of wort but this time pitch my favorite strain, the Jester King mixed culture.

The Jester King blend attenuates just about anything down to 1.000 SG.  Jester King already produces a number of highly hopped beers, namely Wytchmaker Rye IPA and El Cedro, Cedar IPA.  I’m also interested in their collaborations with many breweries in which they use wort produced by their partners and then pitch the mixed culture and see what sort of beer it becomes.

V4 will use the same recipe as V3, but will use the JK mixed culture instead. Fermentation temperature will change as well, the JK blend tends to produce a more sour wort at cooler temperatures, so a minimum temp of about 75F or higher will be used to encourage the yeast to dominate and keep the bacteria in check (at least for a while).  As a bonus, cold conditioning in bottle will keep hop aroma as the brett is an oxygen consumer and the bacteria like to produce some lactic acid!  Who doesn’t want a hoppy sour beer? =)

Recipe Details

Batch Size Boil Time IBU SRM Est. OG Est. FG ABV
6 gal 90 min 81.0 IBUs 4.1 SRM 1.066 1.015 6.7 %
Actuals 0 1.01 -75.8 %

Style Details

Name Cat. OG Range FG Range IBU SRM Carb ABV
American IPA 14 B 1.056 - 1.075 1.01 - 1.018 40 - 70 6 - 15 2.2 - 2.7 5.5 - 7.5 %

Fermentables

Name Amount %
Pilsen (BestMälz) 14.764 lbs 100

Hops

Name Amount Time Use Form Alpha %
Mosaic 0.99 oz 90 min Boil Pellet 11.6
Mosaic 1.62 oz 10 min Boil Pellet 11.6
Mosaic 1.62 oz 20 min Aroma Pellet 11.6
Mosaic 3.17 oz 5 days Dry Hop Pellet 11.6

Miscs

Name Amount Time Use Type
Gypsum (Calcium Sulfate) 4.60 g 60 min Mash Water Agent
Calcium Chloride 2.70 g 60 min Mash Water Agent
Epsom Salt (MgSO4) 1.90 g 60 min Mash Water Agent
Whirlfloc Tablet 1.00 Items 15 min Boil Fining

Yeast

Name Lab Attenuation Temperature
Dry English Ale (WLP007) White Labs 75% 65°F - 70°F

Mash

Step Temperature Time
Beta Rest 140°F 45 min
Saccharification 152°F 20 min
Mash Out 168°F 10 min

Notes

Beta Focus for dryer beer:
Mash in 140F, hold 40 mins
Raise to 152, hold for 20 mins

Some like it hot!

parafin_waxed_barrel_side-1024x768

Quite a departure from what we normally do but my good friend Mark Hamzy has been playing with using Jester King’s mixed culture in many places, including making hot sauce!  Mark shared with me his first small batch and it was a resounding success. Full of hatch and smokey flavor, noticeable sour bite; oh and hot!  Mark asked me, how can we make it bigger this time?

Why not do 5 gallons and age it in a whiskey barrel?  Neither of us had done this before and we didn’t exactly have a recipe.  Our best guess was to come up with a ratio of hatch roasted chilis to beer and yeast.  We brewed up a smoked-malt base beer, about 4 gallons, unhopped and targeting 1.040.  While the wort was boiling we worked on de-skinning and blending up roughly two cases of freshly roasted hatch chilis.

pot_filled_with_hatch_chilis-1024x768

After we’d collected enough chili we would mix in a couple ounces of fresh wort, some of the mixed culture and then pour into the barrel via a funnel.   We’ll age this combination for many months, checking on it as we go, topping it off with both fresh mixed culture and wort to ensure we get it sour enough.

barrel_with_hatch_chilis-1024x768

Wunder Hatch

Recipe Details

Batch Size Boil Time IBU SRM Est. OG Est. FG ABV
4 gal 90 min 0.0 IBUs 7.0 SRM 1.045 1.009 4.6 %
Actuals 1.046 1.01 4.7 %

Style Details

Name Cat. OG Range FG Range IBU SRM Carb ABV
Wild Specialty Beer 28 C 1.02 - 1.09 1 - 1.016 5 - 50 2 - 50 2 - 3 2 - 10 %

Fermentables

Name Amount %
Pilsen (BestMälz) 3.5 lbs 50
Smoked Malt 3.5 lbs 50

Miscs

Name Amount min Type
Phosphoric Acid 6.50 ml 60 min Mash Water Agent
Gypsum (Calcium Sulfate) 1.30 g 60 min Mash Water Agent
Calcium Chloride 0.90 g 60 min Mash Water Agent

Yeast

Name Lab Attenuation Temperature
Jester King Mixed Culture (0001) Jester King 83% 65°F - 77°F

Mash

Step Temperature Time
Saccharification 156°F 40 min
Mash Out 168°F 10 min